Why You’ll Love This Lemon Curd
Bright, silky, and full of fresh citrus flavor, Lemon Curd is one of those recipes that feels fancy but comes together with simple pantry ingredients. It is a go-to filling for pies and cakes, but it also works for breakfast, snacks, and easy desserts. If you like recipes that feel homemade without taking all afternoon, this one is a keeper.
- Easy to make: You only need a few ingredients and about 10 minutes of active cooking time. The process is simple enough for new bakers, yet the result looks and tastes bakery-worthy.
- Bright flavor: Fresh lemon juice and lemon zest give this curd a bold tang that cuts through sweetness in the best way. The flavor is sunny, fresh, and lively.
- Versatile: Use it as a cake filling, tart filling, cookie layer, or spread for scones and toast. It also fits many eating styles since it is naturally gluten-free.
- Great for make-ahead baking: Lemon curd keeps well in the fridge, so you can make it before a party, holiday brunch, or baking project and have it ready when needed.
If you enjoy citrus desserts, you may also like this collection of easy homemade recipes on Recipes Valentina for more sweet ideas to pair with this filling.
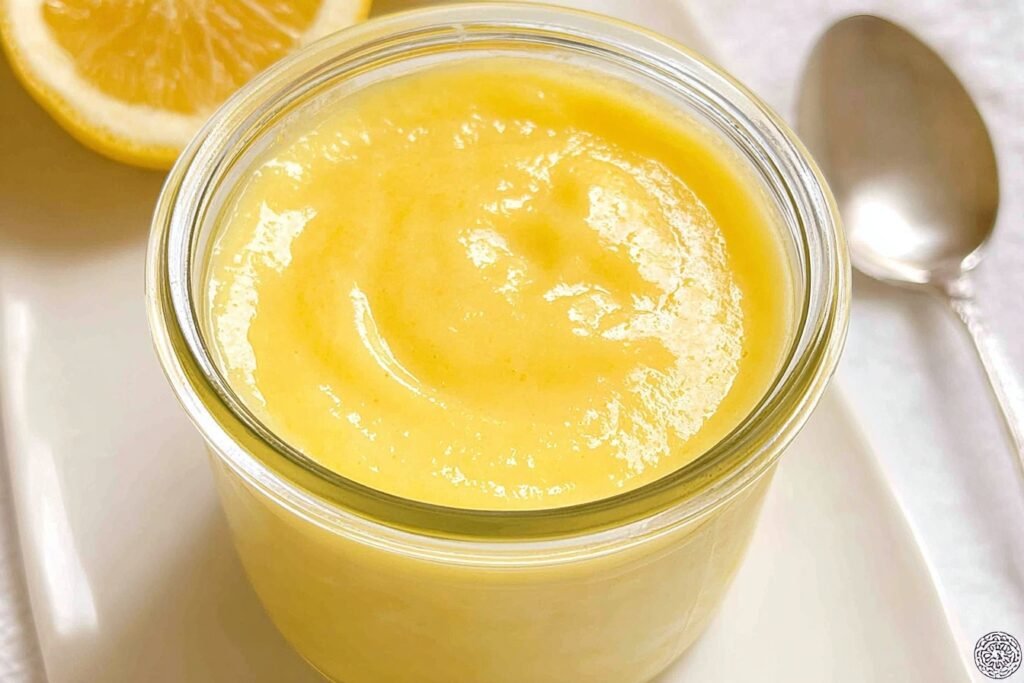
Fresh lemon curd tastes like sunshine in a spoon. It is tart, creamy, and smooth enough to turn simple cakes and pastries into something special.
According to the Cleveland Clinic’s guide to lemon benefits, lemons bring vitamin C and other helpful plant compounds to the table, making this treat feel just a little brighter in every way.
Jump to:
- Why You’ll Love This Lemon Curd
- Essential Ingredients for Lemon Curd
- Ingredient notes and smart swaps
- How to Prepare the Perfect Lemon Curd: Step-by-Step Guide
- First Step: Mix the base
- Second Step: Cook low and slow
- Third Step: Watch the temperature
- Fourth Step: Add the butter
- Fifth Step: Strain for the smoothest texture
- Final Step: Cool and chill
- Dietary Substitutions to Customize Your Lemon Curd
- Protein and Main Component Alternatives
- Vegetable, Sauce, and Seasoning Modifications
- Mastering Lemon Curd: Advanced Tips and Variations
- Pro cooking techniques
- Flavor variations
- Presentation tips
- Make-ahead options
- How to Store Lemon Curd: Best Practices
- FAQs: Frequently Asked Questions About Lemon Curd
- What is lemon curd and how is it used?
- Can I make lemon curd with other citrus fruits?
- How long does homemade lemon curd last in the fridge?
- Can you freeze lemon curd?
- Why did my lemon curd curdle and how do I fix it?
- Lemon Curd
- Ingredients
- Instructions
- Last Step:
- Notes
- Nutrition
- Did you make this recipe?
Essential Ingredients for Lemon Curd
Here is everything you need to make a classic batch of lemon curd. Each ingredient plays an important role in the texture and flavor, so it is best to measure carefully before you start cooking.
| Ingredient | Amount | Why it matters |
|---|---|---|
| Egg yolks | 4 large | Give the curd its rich, silky body and help it thicken as it cooks. |
| Granulated sugar | 2/3 cup | Balances the tart lemon flavor and creates a smooth, spoonable texture. |
| Lemon zest | 1 tablespoon from about 1 lemon | Adds fragrant lemon oil for a stronger citrus flavor. |
| Fresh lemon juice | 1/3 cup from about 2 to 3 lemons | Provides the tangy flavor that makes lemon curd shine. |
| Salt | 1/8 teaspoon | Sharpens the flavor and keeps the curd from tasting flat. |
| Unsalted butter, softened and cut into 6 pieces | 6 tablespoons | Makes the curd glossy, smooth, and creamy. |
Ingredient notes and smart swaps
- Egg yolks: These are the base of the custard. For thicker lemon curd, replace 2 egg yolks with 1 whole egg. This gives the curd a firmer set that works well for layered cakes and tart shells.
- Lemon juice: Fresh is best here. Bottled juice can work in a pinch, but the flavor will not be as bright.
- Butter: Use unsalted butter so you can control the salt level. Softened butter melts in smoothly at the end.
- Gluten-free: This recipe is naturally gluten-free as written, making it a good choice for many guests.
- Vegan: For a plant-based version, use a cornstarch-thickened lemon filling with dairy-free butter and a vegan egg substitute.
- Low-calorie: You can reduce the sugar slightly, though the texture and sweetness will be less classic. A smaller portion also goes a long way because the flavor is so bold.
How to Prepare the Perfect Lemon Curd: Step-by-Step Guide
This lemon curd recipe is simple, but the trick is gentle heat and constant whisking. That keeps the eggs smooth instead of scrambled. Set aside a medium saucepan, a whisk, a heatproof bowl, and a fine-mesh strainer if you want the smoothest finish.
First Step: Mix the base
In a medium saucepan, whisk together the 4 large egg yolks, 2/3 cup granulated sugar, 1 tablespoon lemon zest, 1/3 cup fresh lemon juice, and 1/8 teaspoon salt. Whisk until the mixture looks well combined and slightly lighter in color. The sugar should start dissolving right away.
Second Step: Cook low and slow
Place the saucepan over low heat. Cook the mixture slowly, whisking constantly, for about 8 to 10 minutes. Keep the heat gentle so the eggs do not curdle. The mixture will start to thicken as it warms.
At first it will look thin and bubbly. After a few minutes, it should become smooth, glossy, and more pudding-like. A good test is to dip a spoon into the curd and run your finger across the back of it. If the line holds, the curd is ready for the butter.
Third Step: Watch the temperature
If you use a thermometer, aim for about 170 to 175 degrees Fahrenheit. That range is hot enough to thicken the curd but not so hot that it scrambles the eggs. If you see steam rising strongly or tiny bits forming, pull the pan off the heat right away and whisk harder.
Low heat is the secret to silky lemon curd. Patience here gives you a smooth finish instead of a grainy one.
Fourth Step: Add the butter
Remove the pan from the heat. Add the 6 pieces of softened butter one at a time, whisking until each piece melts before adding the next. This step makes the curd rich, glossy, and extra smooth. If you add all the butter at once, it may take longer to melt evenly.
Fifth Step: Strain for the smoothest texture
For an especially silky lemon curd, pour it through a fine-mesh strainer into a clean bowl. Use a spoon or spatula to push it through. This removes any tiny cooked egg bits, zest pieces, or lumps. If your curd looks perfect already, you can skip this step, but straining gives a beautifully polished texture.
Final Step: Cool and chill
Let the lemon curd cool for about 15 minutes at room temperature. Then transfer it to a jar or airtight container. Cover the surface with plastic wrap if you want to prevent a skin from forming, then refrigerate until fully chilled. It will thicken more as it cools, usually within 1 to 2 hours.
Once chilled, the curd is ready to use as a pie filling, cake layer, tart filling, or spread. One batch makes about 2 cups, which is plenty for a few desserts or several breakfasts.

Dietary Substitutions to Customize Your Lemon Curd
Protein and Main Component Alternatives
If you need a different base, there are a few easy ways to adapt this recipe. For a thicker lemon curd, replace 2 egg yolks with 1 whole egg. That small change gives the curd a firmer texture, which is helpful for piping or filling layer cakes. If you want a dairy-free version, use plant-based butter and thicken the mixture with cornstarch instead of eggs.
For an egg-free option, whisk together lemon juice, zest, sugar, and a cornstarch slurry until thick. The texture will be a little different from classic lemon curd, but it still works well in desserts and pastries. If you are serving guests with different needs, it can help to make one batch of the traditional version and one batch of the egg-free style so everyone has a choice.
Vegetable, Sauce, and Seasoning Modifications
Lemon curd is easy to flavor in new ways. Try lime juice and lime zest for a sharper edge, orange juice for a sweeter citrus profile, or grapefruit juice for a light bitter note. A small pinch of vanilla can round out the flavor, while a touch of ginger adds warmth.
You can also pair lemon curd with other fillings in layered desserts. It works well with whipped cream, berry compote, or vanilla pastry cream. If you like baking with seasonal flavors, a spoonful of cranberry puree can bring a festive twist. For more dessert inspiration, you might enjoy this easy dessert ideas page on Recipes Valentina while planning your next baking day.
Mastering Lemon Curd: Advanced Tips and Variations
Pro cooking techniques
For the smoothest result, whisk constantly and keep the heat low. A heavy-bottomed saucepan helps distribute heat more evenly, which lowers the chance of curdling. If you prefer extra control, cook the mixture in a heatproof bowl set over simmering water. That gentle method is especially helpful for beginners.
Another useful trick is to add the butter after the curd thickens, not before. This gives you a better texture and a more polished finish. If you notice tiny lumps, strain the curd while it is still warm.
Flavor variations
Once you master the basic lemon curd, you can have fun with flavor. Add a little vanilla for a softer taste, a pinch of salt for more depth, or a spoonful of berry puree for a fruity version. You can also stir in finely chopped fresh herbs like mint for a bright spring dessert, though a little goes a long way.
For a holiday twist, try using Meyer lemons if they are in season. They are sweeter and less sharp than regular lemons, so you may want to reduce the sugar slightly.
Presentation tips
Spoon the curd into small jars for gifts, swirl it into yogurt parfaits, or layer it with whipped cream and crushed cookies in dessert cups. For cakes, spread it between layers and chill the cake before slicing so the filling stays neat. A little lemon zest on top adds a pretty finish.
Make-ahead options
Lemon curd is a smart make-ahead filling for busy weeks. You can prepare it 2 to 3 days before you plan to use it, then store it in the fridge until needed. It also works well in batch baking, since a chilled batch can be used for pies, cupcakes, thumbprint cookies, and breakfast toast throughout the week.
How to Store Lemon Curd: Best Practices
Refrigeration: Store lemon curd in an airtight container or sterilized jar in the fridge for 1 to 2 weeks. Press plastic wrap directly on the surface if you want to stop a skin from forming. Keep it cold at about 40 degrees Fahrenheit or below.
Freezing: Lemon curd freezes well for up to 3 months. Cool it completely first, then spoon it into freezer-safe containers with a little headspace. Thaw it overnight in the refrigerator and stir before serving if needed.
Reheating: If chilled lemon curd feels too firm, let it sit at room temperature for a few minutes. If you need to warm it, do so very gently over low heat while stirring. Too much heat can break the texture.
Meal prep considerations: Make a double batch if you like to bake ahead. Portion it into small jars so you can use what you need without opening the full batch every time. This is especially handy for breakfast spreads and dessert fillings during a busy week.

FAQs: Frequently Asked Questions About Lemon Curd
What is lemon curd and how is it used?
Can I make lemon curd with other citrus fruits?
How long does homemade lemon curd last in the fridge?
Can you freeze lemon curd?
Why did my lemon curd curdle and how do I fix it?

Lemon Curd
🍋 Indulge in silky smooth lemon curd that adds a burst of tangy brightness to your pies and cakes, making every dessert a standout.
🍰 Perfect versatile filling that’s quick to make and elevates simple bakes into gourmet treats with its fresh zesty flavor.
- Total Time: 2 hours 20 minutes
- Yield: 1 1/2 cups (12 servings)
Ingredients
– 4 large egg yolks for rich, silky body and thickening
– 2/3 cup granulated sugar for balancing tart lemon flavor and smooth texture
– 1 tablespoon lemon zest from about 1 lemon for fragrant lemon oil and stronger citrus flavor
– 1/3 cup fresh lemon juice from about 2 to 3 lemons for tangy flavor
– 1/8 teaspoon salt for sharpening flavor and preventing flat taste
– 6 tablespoons unsalted butter, softened and cut into 6 pieces for glossy, smooth, and creamy texture
Instructions
1-First Step: Mix the base In a medium saucepan, whisk together the 4 large egg yolks, 2/3 cup granulated sugar, 1 tablespoon lemon zest, 1/3 cup fresh lemon juice, and 1/8 teaspoon salt. Whisk until the mixture looks well combined and slightly lighter in color. The sugar should start dissolving right away.
2-Second Step: Cook low and slow Place the saucepan over low heat. Cook the mixture slowly, whisking constantly, for about 8 to 10 minutes. Keep the heat gentle so the eggs do not curdle. The mixture will start to thicken as it warms. At first it will look thin and bubbly. After a few minutes, it should become smooth, glossy, and more pudding-like. A good test is to dip a spoon into the curd and run your finger across the back of it. If the line holds, the curd is ready for the butter.
3-Third Step: Watch the temperature If you use a thermometer, aim for about 170 to 175 degrees Fahrenheit. That range is hot enough to thicken the curd but not so hot that it scrambles the eggs. If you see steam rising strongly or tiny bits forming, pull the pan off the heat right away and whisk harder. Low heat is the secret to silky lemon curd. Patience here gives you a smooth finish instead of a grainy one.
4-Fourth Step: Add the butter Remove the pan from the heat. Add the 6 pieces of softened butter one at a time, whisking until each piece melts before adding the next. This step makes the curd rich, glossy, and extra smooth. If you add all the butter at once, it may take longer to melt evenly.
5-Fifth Step: Strain for the smoothest texture For an especially silky lemon curd, pour it through a fine-mesh strainer into a clean bowl. Use a spoon or spatula to push it through. This removes any tiny cooked egg bits, zest pieces, or lumps. If your curd looks perfect already, you can skip this step, but straining gives a beautifully polished texture.
6-Final Step: Cool and chill Let the lemon curd cool for about 15 minutes at room temperature. Then transfer it to a jar or airtight container. Cover the surface with plastic wrap if you want to prevent a skin from forming, then refrigerate until fully chilled. It will thicken more as it cools, usually within 1 to 2 hours.
Last Step:
Please leave a rating and comment letting us know how you liked this recipe! This helps our business to thrive and continue providing free, high-quality recipes for you.Notes
🍋 Use fresh lemons for the brightest flavor and best results.
🔥 Whisk constantly and use low heat to prevent the eggs from curdling.
🧈 For thicker curd, substitute 2 yolks with 1 whole egg as noted.
- Prep Time: 10 minutes
- Chilling: 2 hours
- Cook Time: 10 minutes
- Category: Desserts
- Method: Stovetop
- Cuisine: British
- Diet: Vegetarian
Nutrition
- Serving Size: 2 tablespoons
- Calories: 110 calories
- Sugar: 10g
- Sodium: 35mg
- Fat: 8g
- Saturated Fat: 4.5g
- Unsaturated Fat: 2.5g
- Trans Fat: 0g
- Carbohydrates: 11g
- Fiber: 0g
- Protein: 1g
- Cholesterol: 85mg


