

Peanut Butter Cups
Homemade Peanut Butter Cups are the easy answer for anyone who loves chocolate and peanut butter together. This recipe is a homemade copycat of Reese’s Peanut Butter Cups, and it needs only 4 ingredients. There are no preservatives and no long list of unidentifiable ingredients, just creamy peanut butter, powdered sugar, vanilla extract and chocolate melting wafers.

The cups come together quickly, with about 20 minutes of hands on work before they chill. The recipe makes 12 candies, which is a comfortable batch for a small household, a bake sale tray or a plate for the neighbors. If you keep a cupcake pan and liners in the kitchen, you already have everything you need.
Jump to:
- Peanut Butter Cups
- Copycat Reese’s Peanut butter Cups
- Ingredient Notes
- How to Make Peanut Butter Cups
- Storage Tips
- Tips and Tricks
- FAQs
- What type of peanut butter is best for homemade peanut butter cups?
- How long does it take for homemade peanut butter cups to set in the refrigerator?
- Can you freeze homemade peanut butter cups?
- What chocolate is recommended for making peanut butter cups?
- Peanut Butter Cups
- Ingredients
- Instructions
- Last Step:
- Nutrition
- Did you make this recipe?
Copycat Reese’s Peanut butter Cups
Chocolate and peanut butter is one of those pairings that never really gets old, and it turns up again and again in the recipes readers come back to.
Buckeye Bars, Chocolate Peanut Butter Lasagna, classic Buckeyes and a chocolate peanut butter cheesecake all belong to the same family. For plenty of people, though, the very first taste of that combination came straight out of a Halloween bucket.
Reese’s Peanut Butter Cups are a common childhood introduction to chocolate and peanut butter, and they are one of the most popular trick or treat candies on the block.
I still remember sorting a pillowcase of candy on the living room floor and pushing the orange wrapped cups into a separate pile so nobody could trade them away. That small ritual is part of why making them at home feels so satisfying now.
Recreating favorite store bought candy is a habit in this kitchen. Orange Peel Candy, Reese’s eggs and treats inspired by Cadbury Eggs have all been tested here, and each one taught me something about how commercial candy gets its texture.
Peanut butter cups are the simplest of the group, which makes them the best place to start if you have never made candy before.
Reese’s are inexpensive and widely available, so nobody needs a homemade version out of necessity. The reasons to make them at home are different, and they are good ones:
- It is genuinely fun to build a candy from scratch and watch it set in the refrigerator.
- There is a real sense of accomplishment when the tray comes out looking like something from a candy shop.
- The homemade cups taste better, with richer chocolate and a more pronounced peanut butter flavor than the packaged version.
- You control what goes in them, so there are no preservatives and no unidentifiable ingredients.
The flavor difference comes down to freshness. Packaged candy has to survive months on a shelf and a long ride in a truck, so the chocolate and the peanut butter are built for that trip.
A cup made in your own kitchen is eaten within days, which means the peanut butter tastes like peanut butter and the chocolate tastes like chocolate.
The filling here is soft and creamy rather than dry, and the chocolate layers hold it in place without turning waxy.
That is the whole appeal of a good copycat recipe. You are not trying to fool anyone into thinking a factory made your dessert.
You are taking a candy that people already love and giving it a fresher, richer version that costs very little and takes one afternoon.
If you have kids, this is a good project for a rainy Saturday, because the steps are short and the payoff is immediate.
The only hard part is waiting for the tray to chill. Once the cups are firm, they lift right out of the liners and look like something you bought, which is a nice feeling when the whole batch took less time than a trip to the store.
Ingredient Notes
Four ingredients carry the whole recipe: chocolate melting wafers, peanut butter, powdered sugar and vanilla extract. That is the complete list, and the only equipment you need is a cupcake pan and liners. Powdered sugar sweetens the filling without any grit, and the vanilla rounds out the flavor.
A note on the chocolate. Ghirardelli melting wafers are the recommendation here because they stay a little softer after they firm up, which makes the finished cups easier to bite into, closer to the texture of a classic peanut butter cup. Chocolate chips can be substituted in a pinch, but the chocolate sets harder and the bite changes.
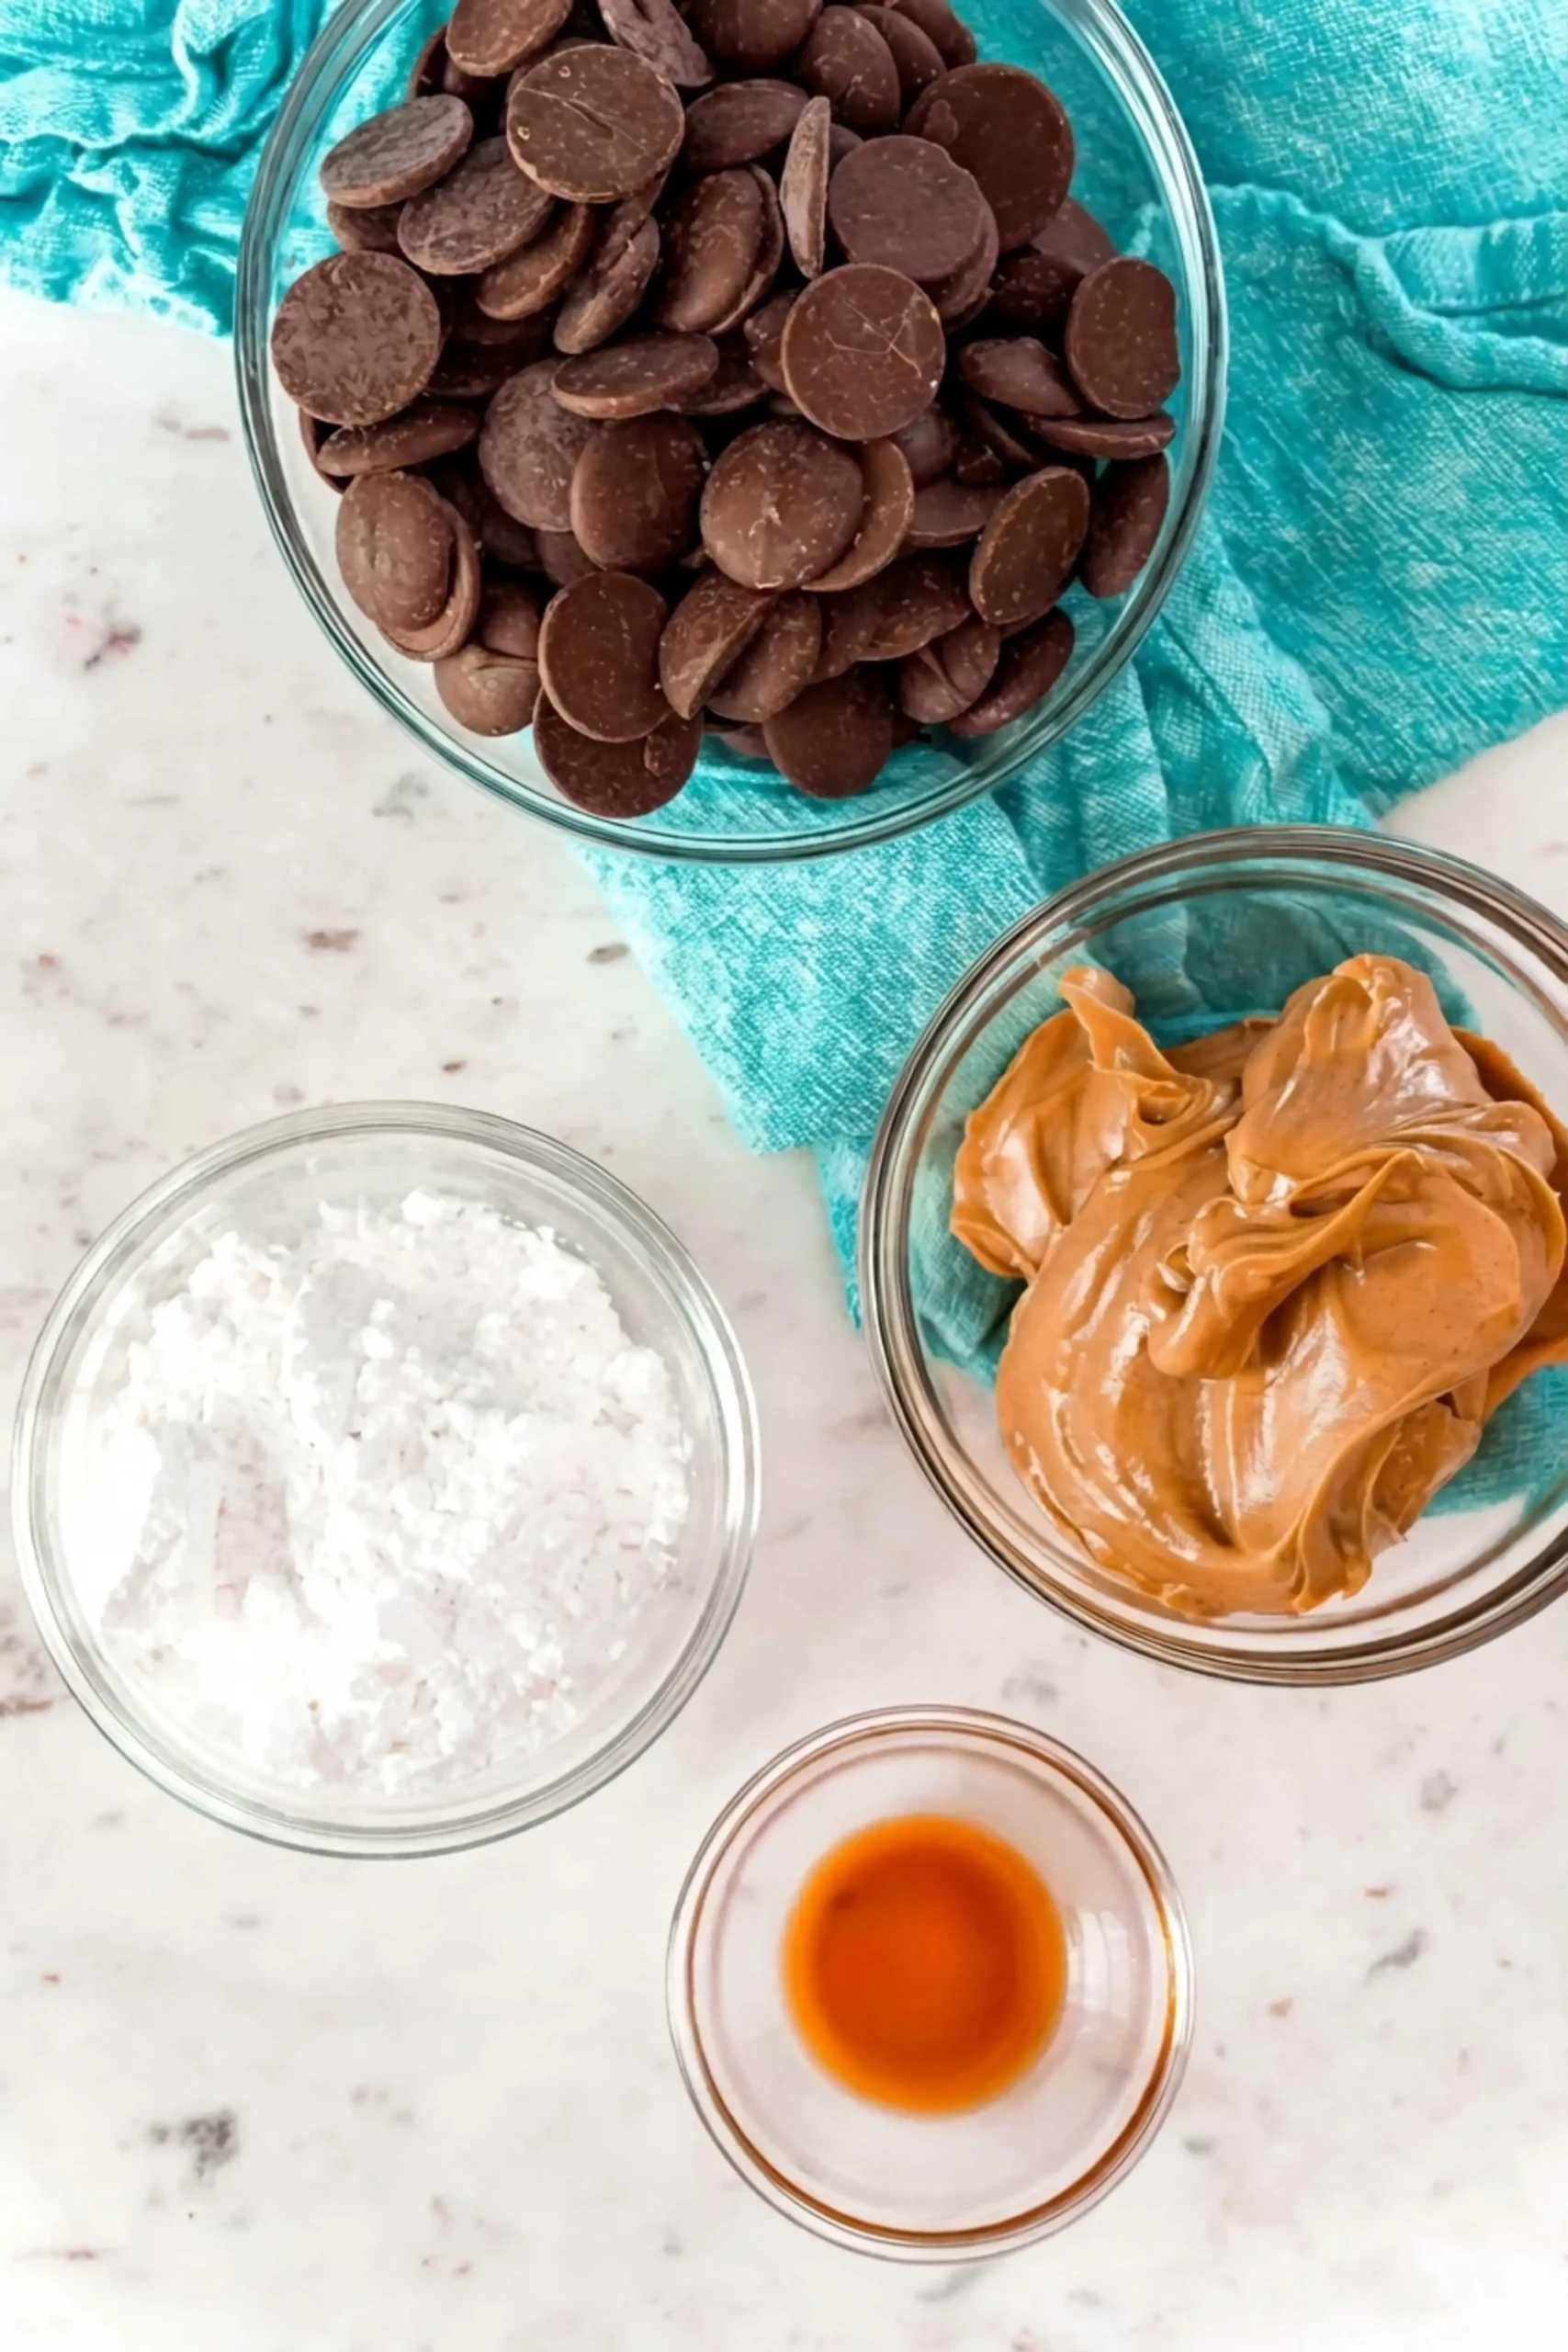
For the peanut butter, reach for a shelf stable creamy peanut butter rather than the natural kind with oil that separates on top. The creamy style gives the filling the smooth texture this recipe is built around.
How to Make Peanut Butter Cups
The recipe starts with about 20 minutes of hands on work and finishes with 1 hour in the refrigerator, so plan for roughly 1 hour 20 minutes from the first step to the first bite.
- Line a cupcake pan with cupcake liners and set it aside.
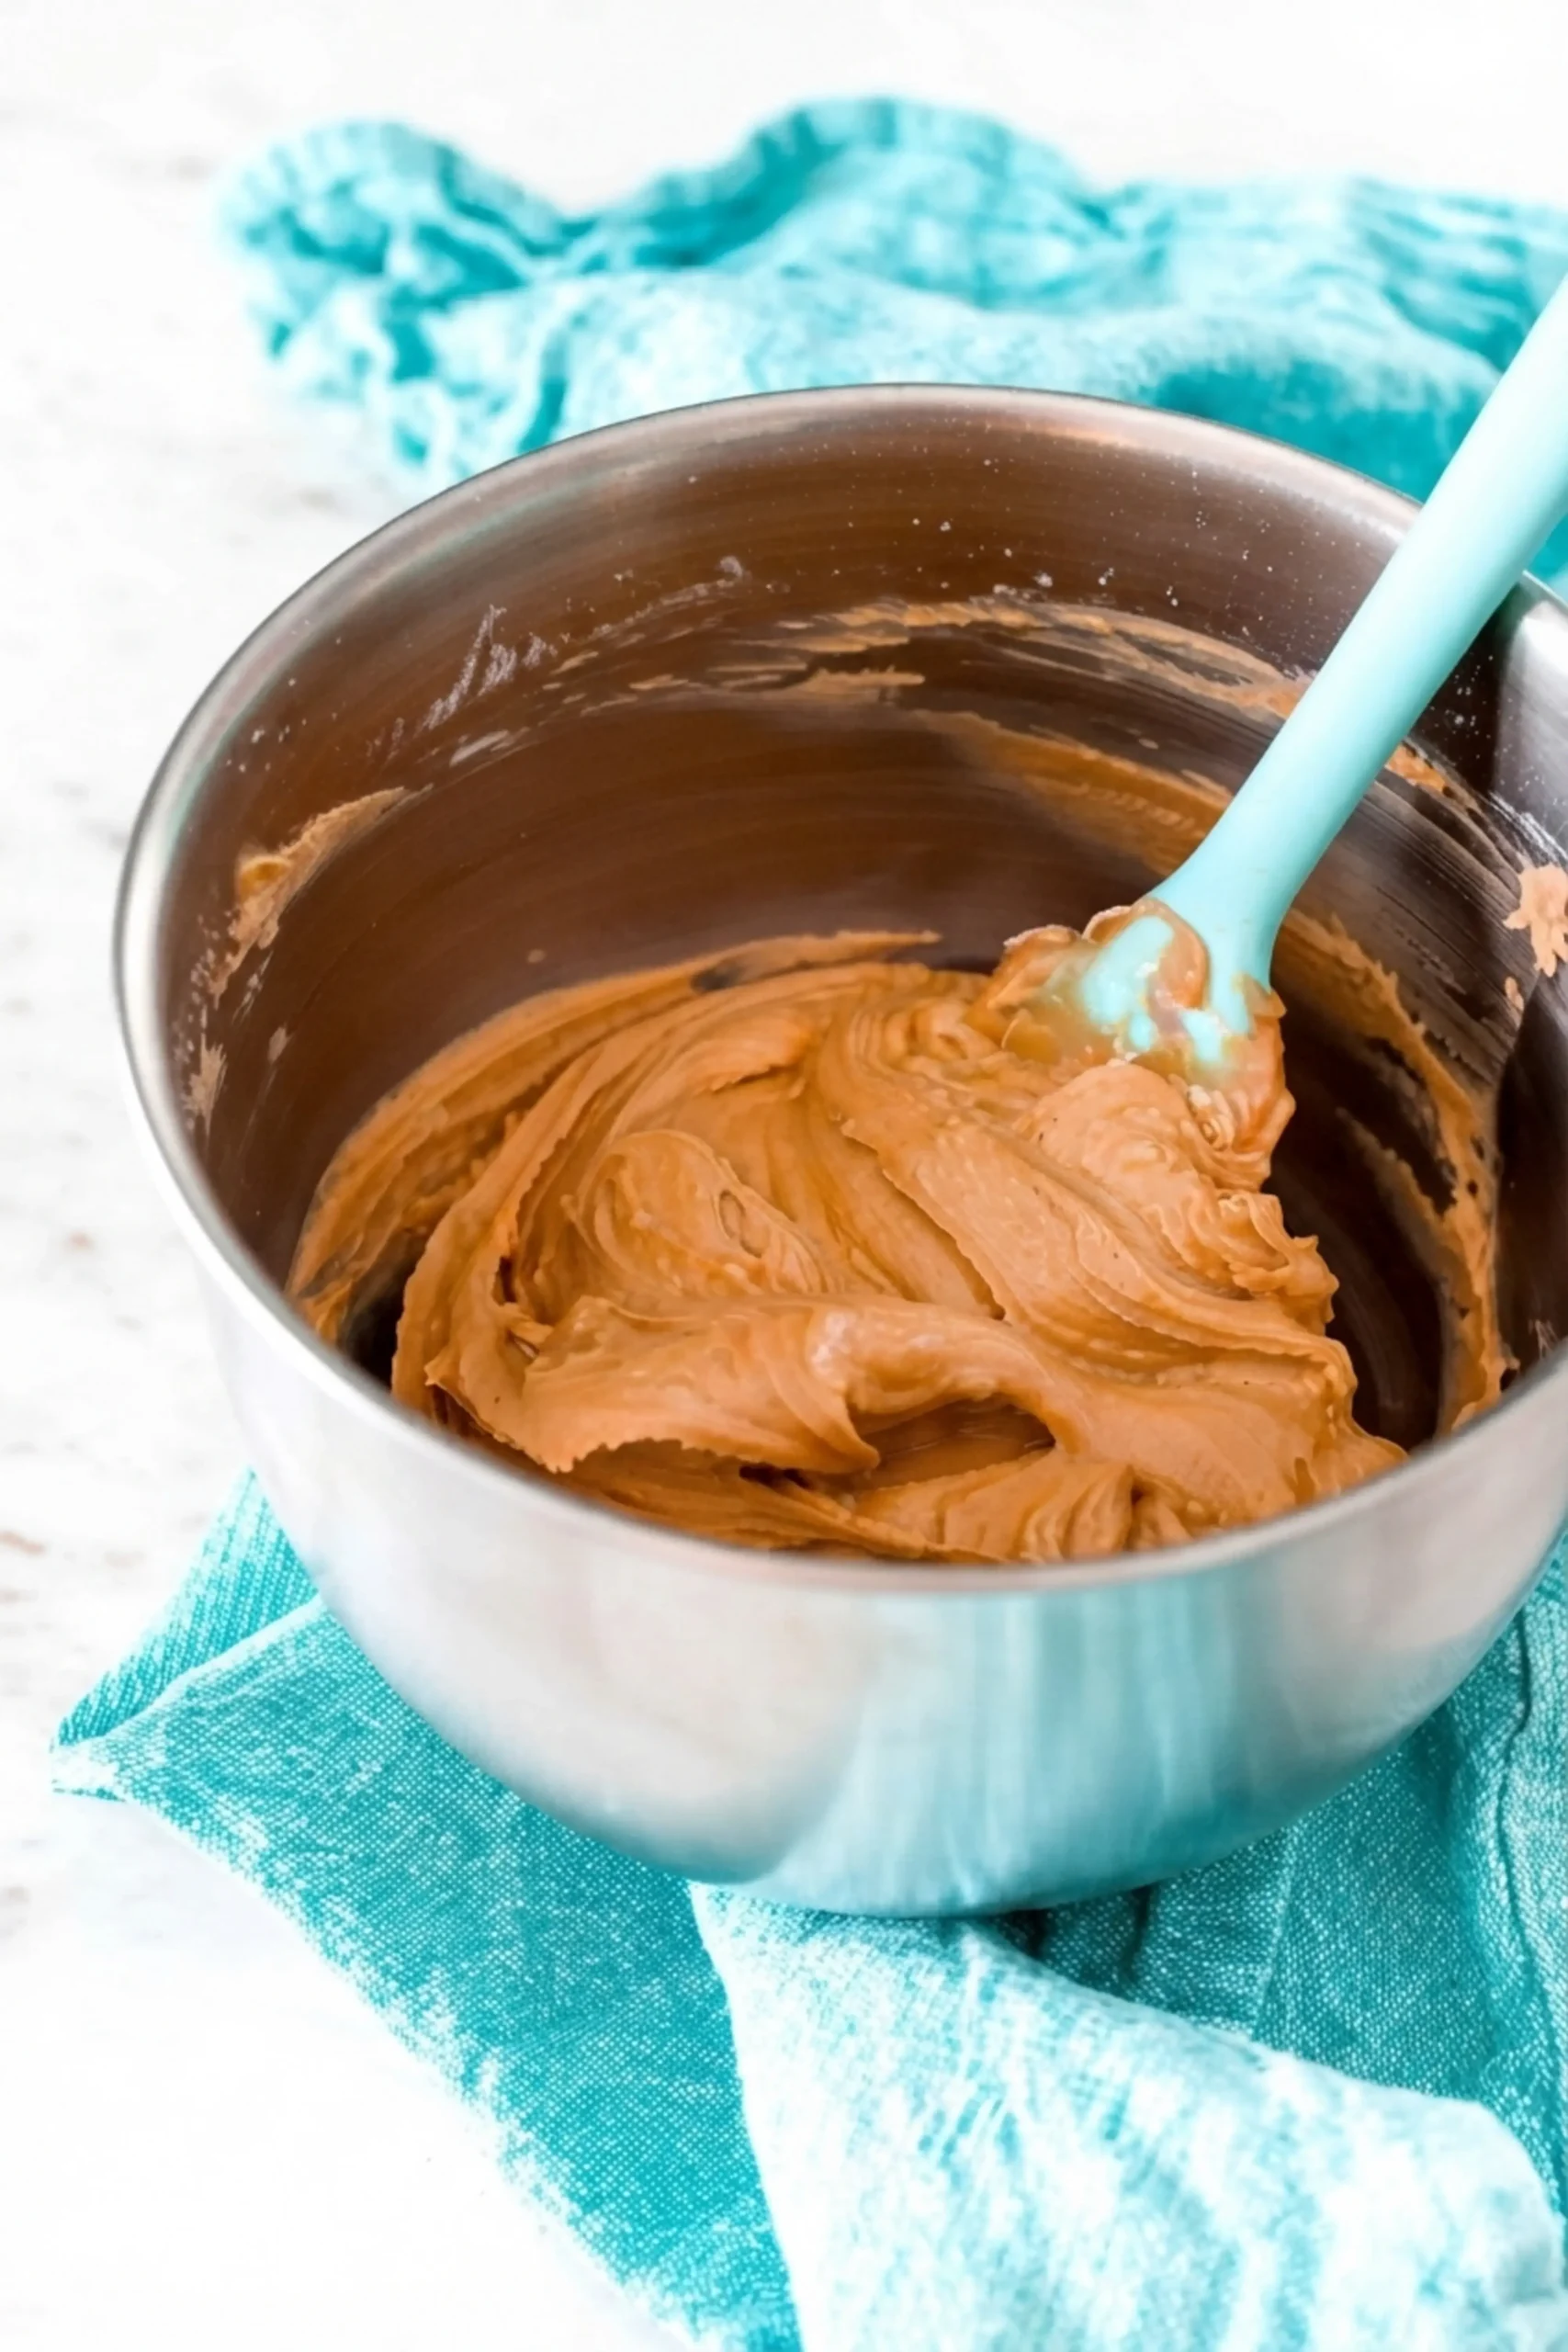
- In a medium bowl, mix together the peanut butter, powdered sugar and vanilla until smooth.
- Transfer the peanut butter mixture to a pastry bag or a ziploc bag with a small section of the corner cut off.
- Melt the chocolate melting wafers in a medium microwave safe bowl in 30 second intervals, stirring between each one, until fully melted.
- Add 2 teaspoons of melted chocolate to the bottom of each liner.
- Pipe the peanut butter mixture on top of the chocolate.
- Top the peanut butter with 1 tablespoon of melted chocolate.
- Place the pan in the refrigerator for about 1 hour to set.
- Remove and enjoy.
Work in that order and the layers stay neat. The chocolate on the bottom firms while you pipe the filling, and the top layer seals everything in. If your kitchen is warm, the melting wafers may need an extra 30 second interval or two, so stir patiently instead of rushing the bowl back into the microwave.

A pastry bag gives you the cleanest layers, but a ziploc bag with the corner snipped works just as well and is easier to toss when you are done. Pipe the filling in a slow, even spiral so it spreads toward the edges of the liner without pressing through the chocolate.
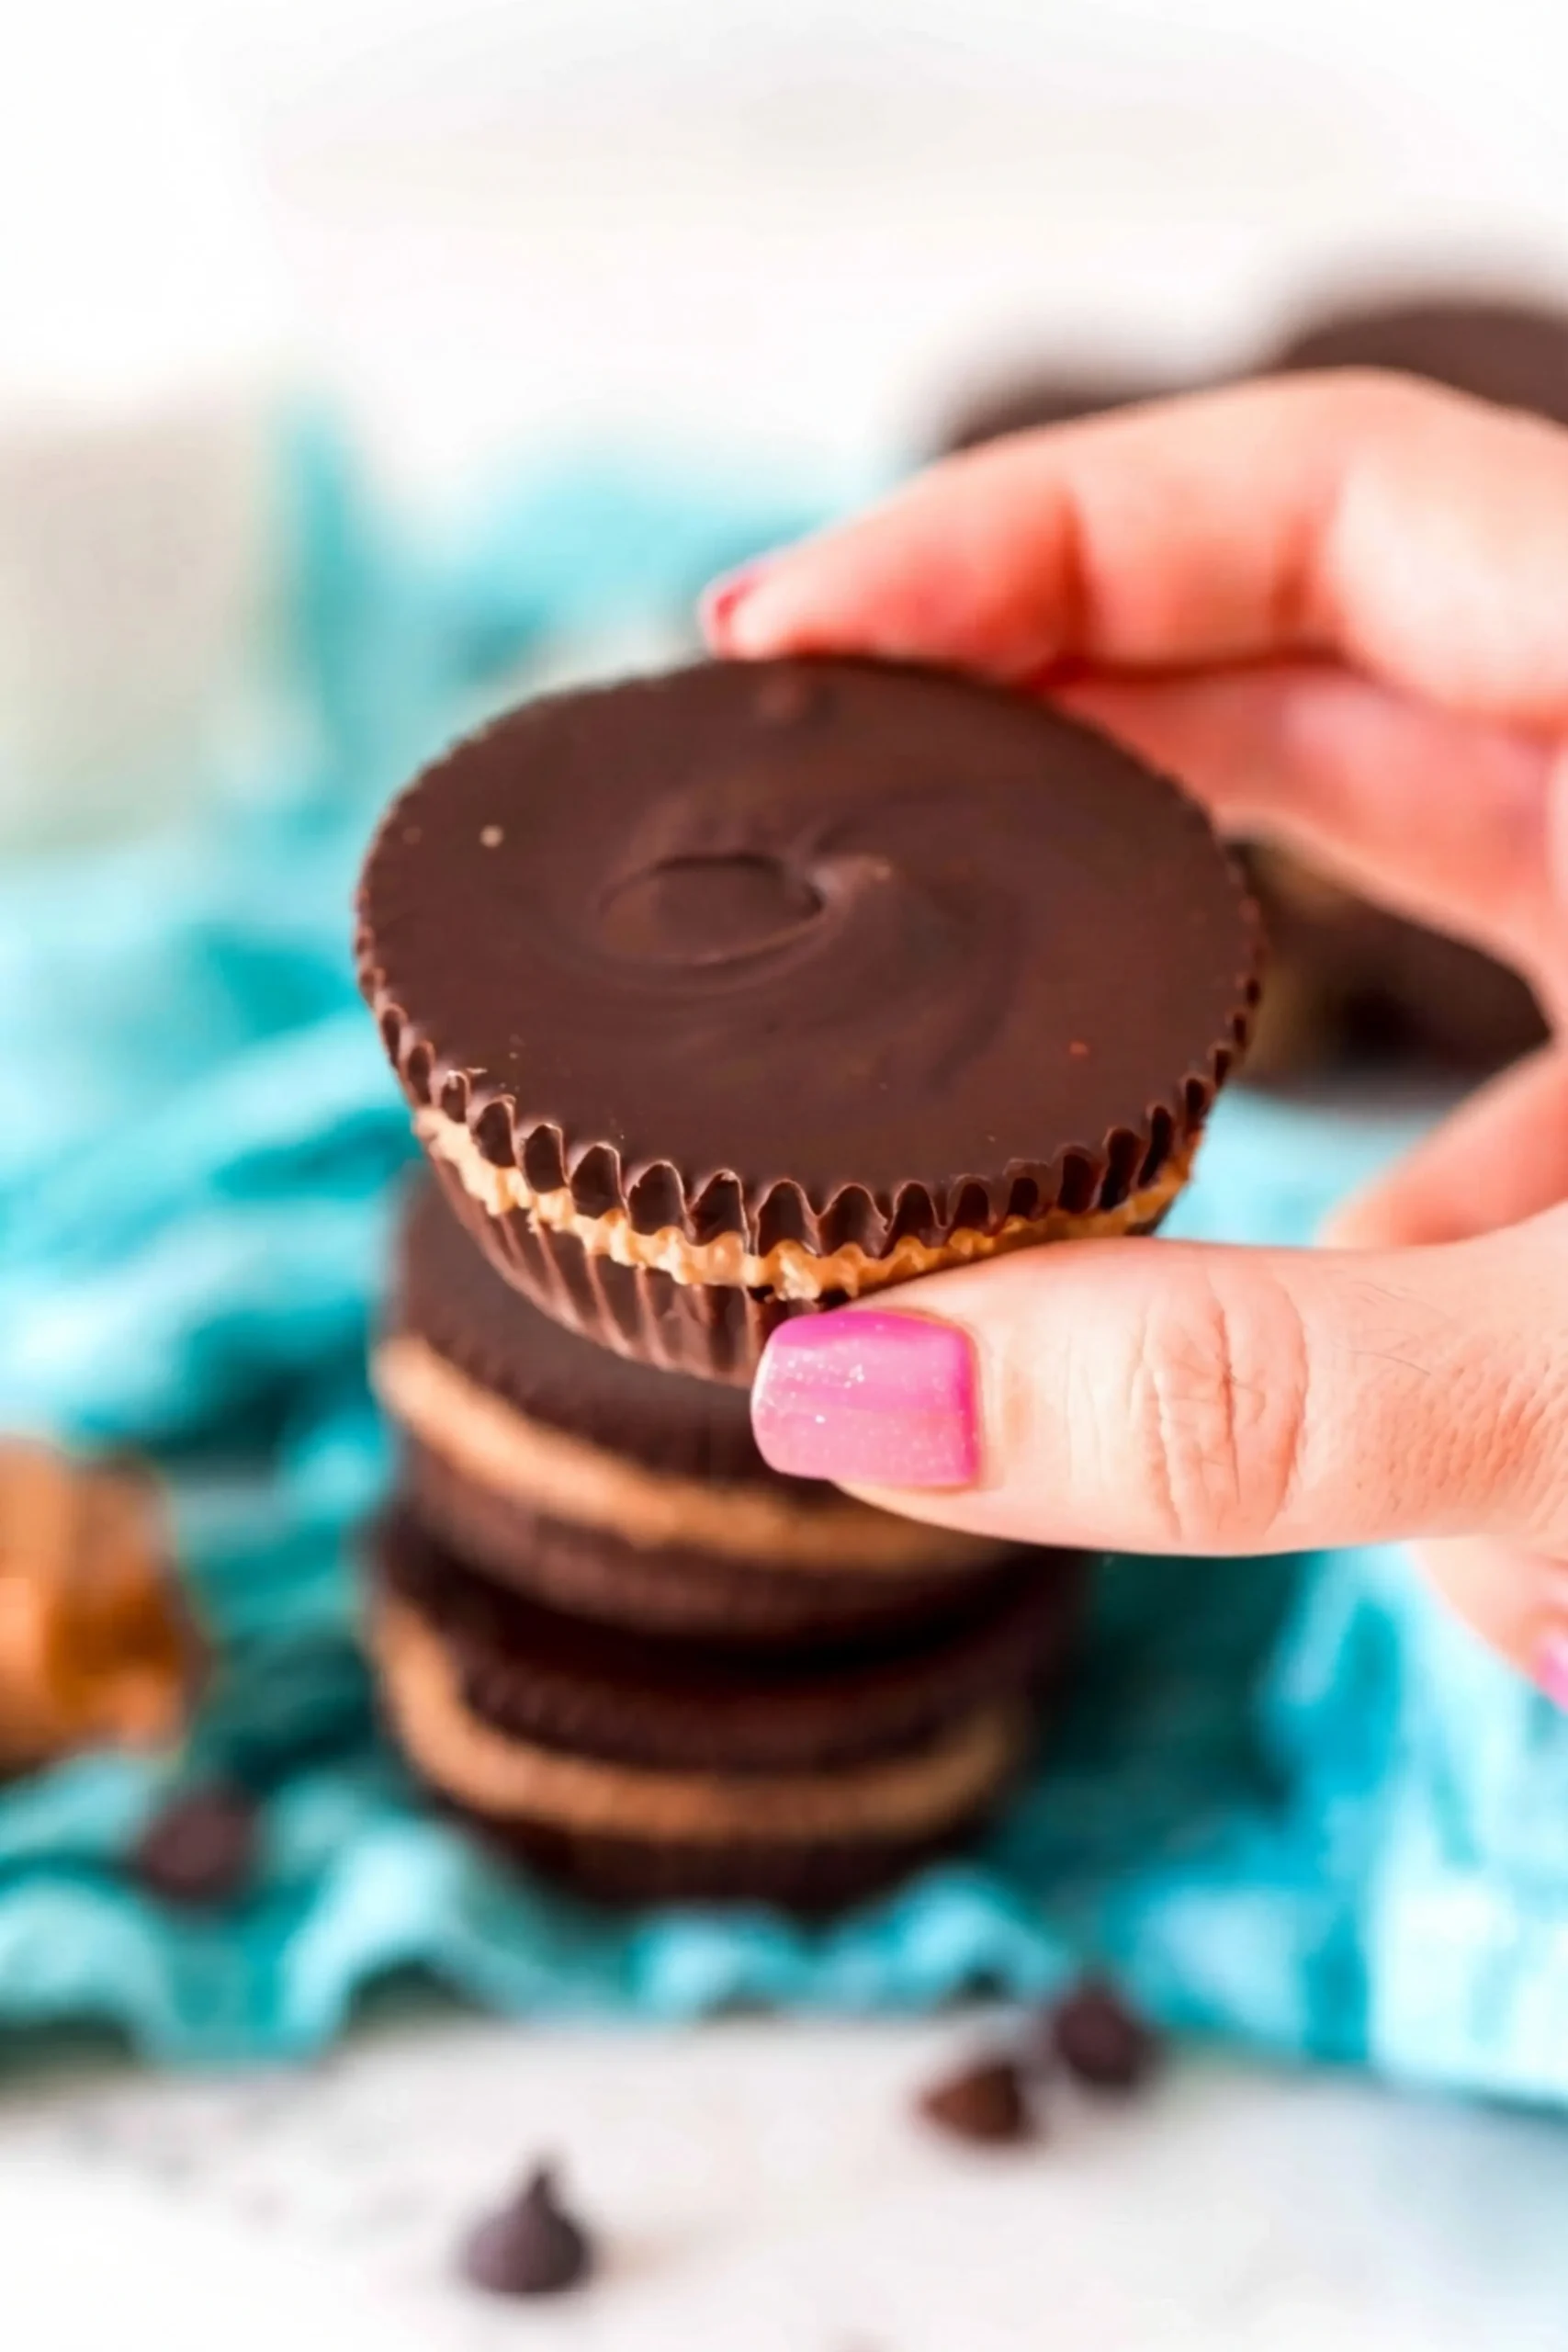
Storage Tips
These cups keep well, and you have two options.
- Refrigerator: transfer the cups to an airtight container and store them in the fridge.
- Freezer: place the cups in a freezer bag and squeeze out the excess air to maintain freshness. They keep well in the freezer for as long as 6 months.
Chilled cups hold their shape best, so if you are packing them for a lunchbox, a cookie tray or a gift box, keep them cold until you are ready to serve.
A short rest at room temperature softens the filling just enough to make the first bite pleasant. For a small gathering, take out only what you plan to serve and leave the rest in the refrigerator.
If you stack the cups, put a sheet of parchment between the layers so the chocolate does not rub or stick. Label the freezer bag with the date so you can keep track of how long they have been stored, since six months goes by faster than you expect.
Tips and Tricks
Once you have made the batch once, the variations are easy.
Make them bite sized. A mini muffin pan turns the recipe into small treats for a party platter. With a mini pan, use 1 teaspoon of melted chocolate on the bottom of each cup instead of 2, and 2 teaspoons on top.
The smaller cups still need time in the refrigerator to firm up, so keep the tray cold until you are ready to serve.
Dress them up. Sprinkles on top add a festive touch for a party, a holiday or any special occasion. Add them right after the top layer of chocolate goes on, while it is still wet, so they stay in place.
Change the nut butter. Almond butter or another favorite nut butter can be substituted for the peanut butter if you want a different flavor. The method stays the same, and the filling still pipes easily.
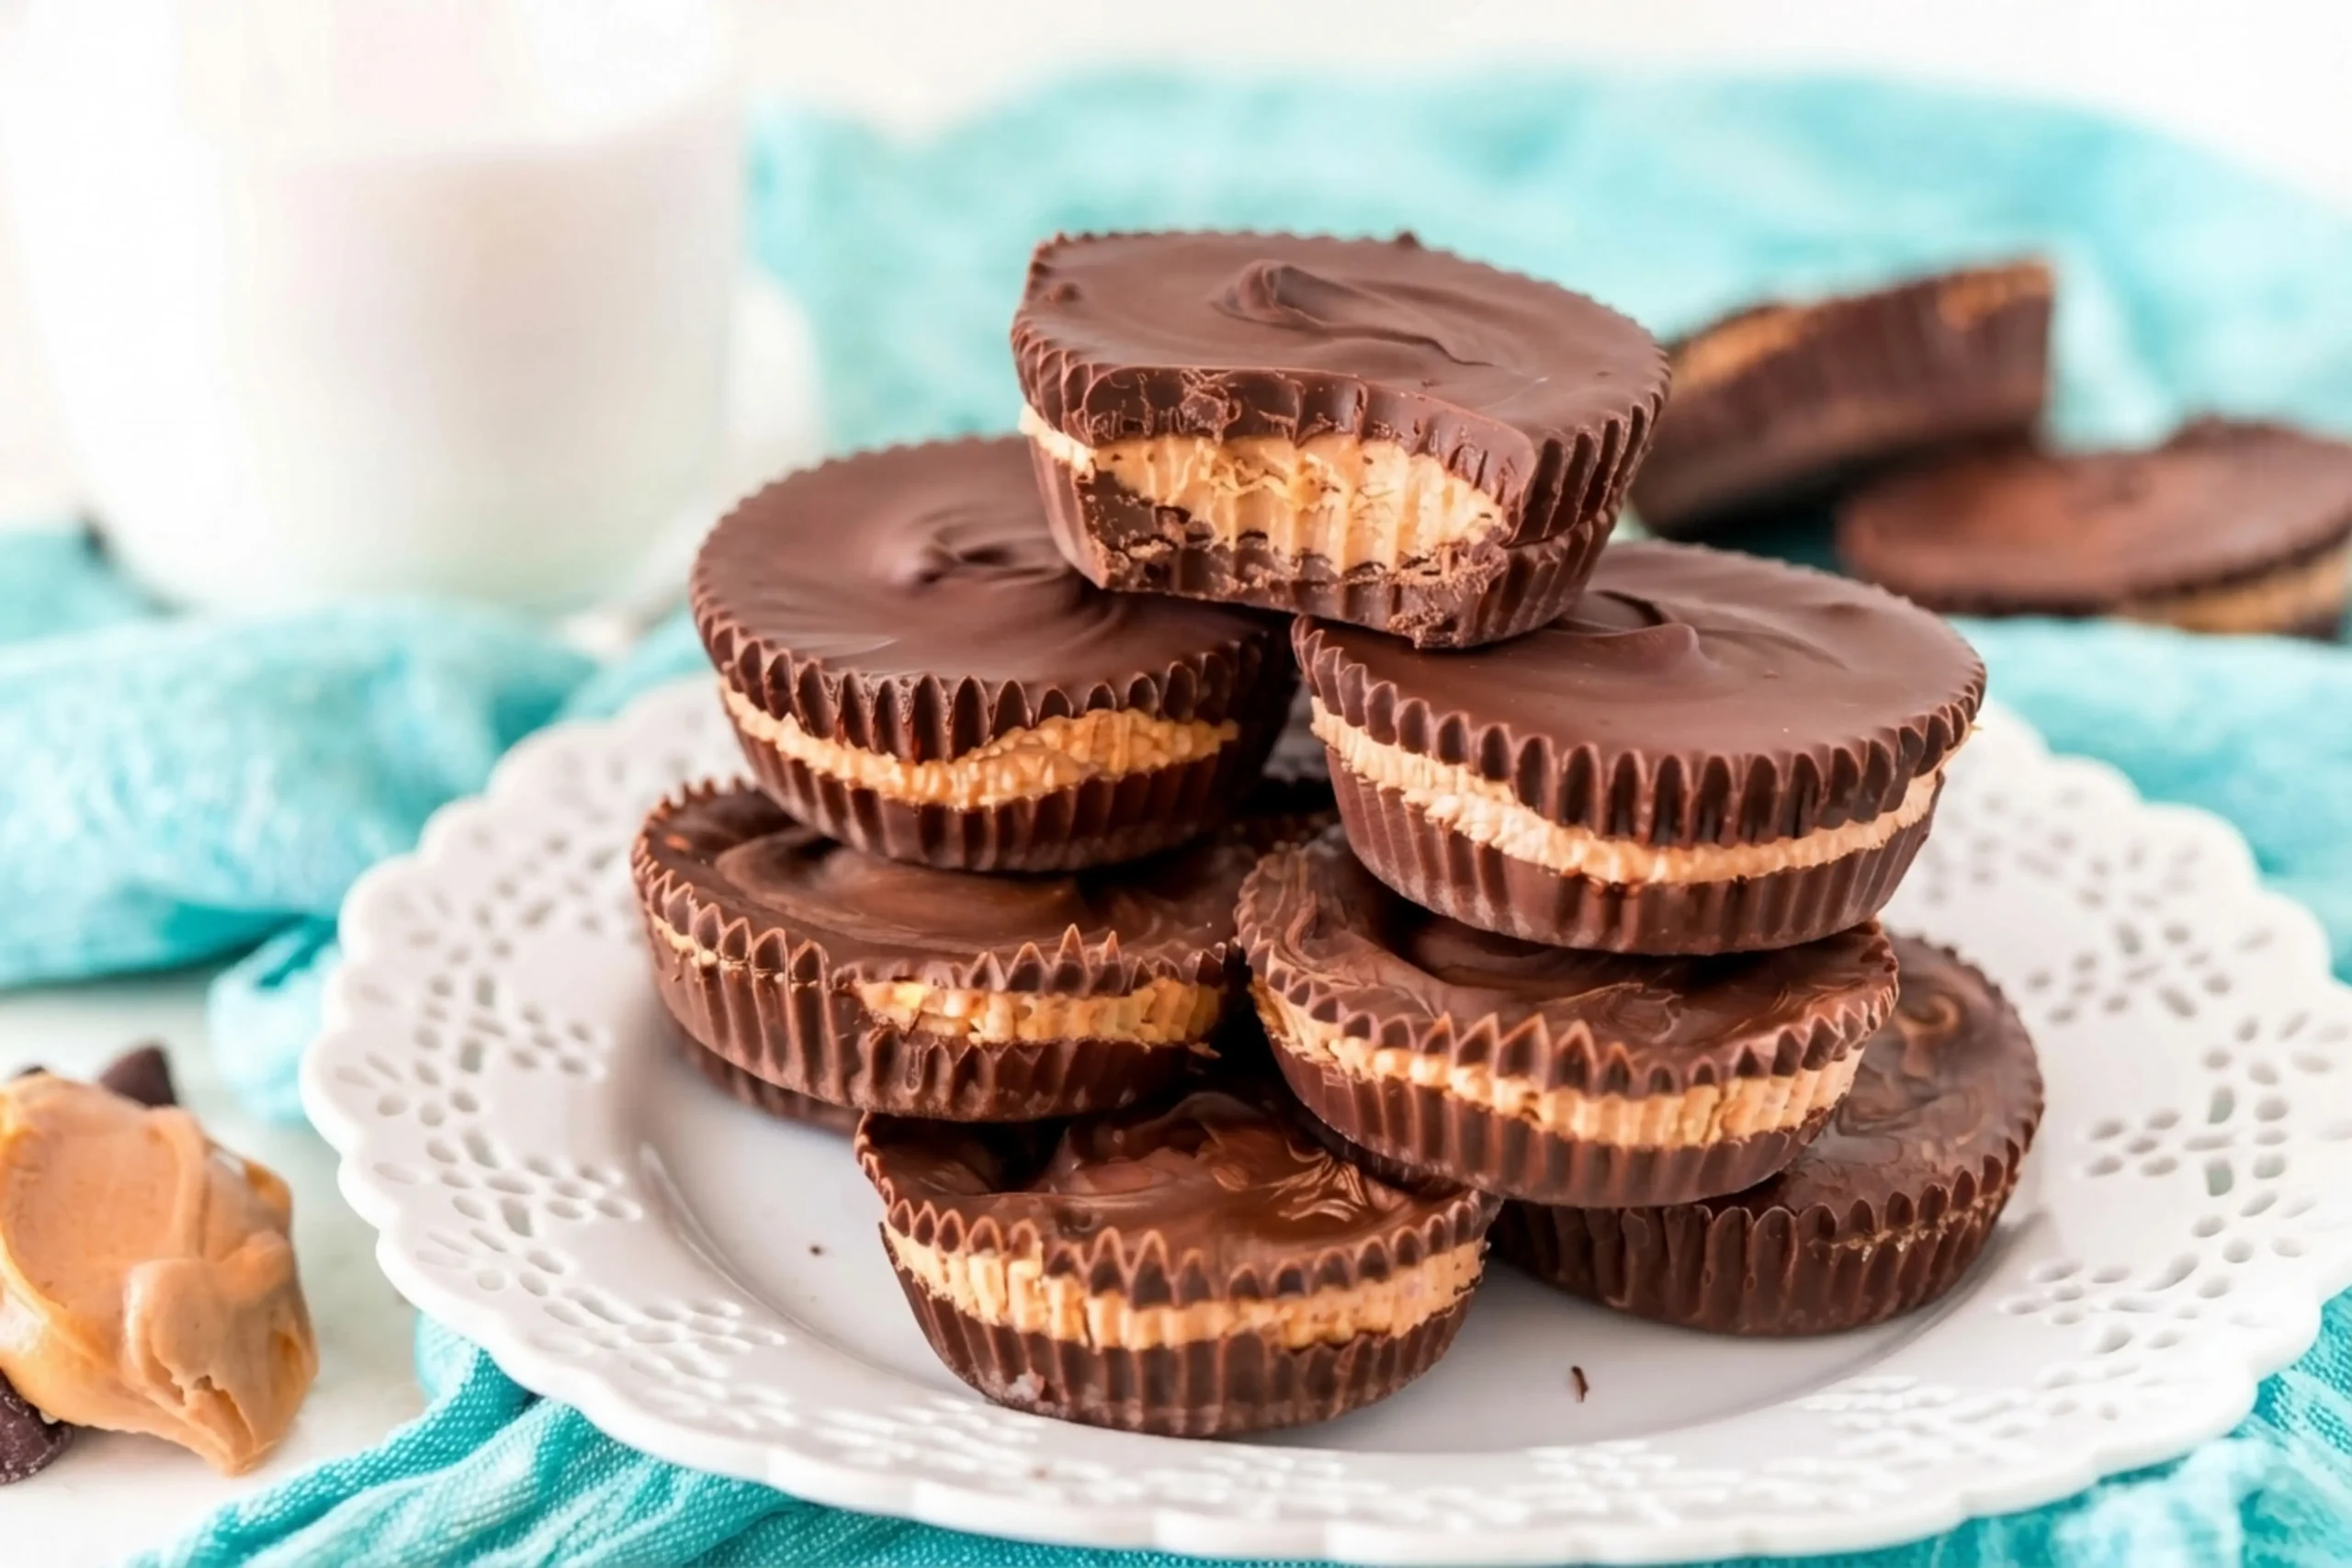
Hide a few. Kids love these cups, and a full tray tends to disappear in one afternoon. The advice here is to tuck a few in the back of the fridge for yourself. It sounds silly until you have watched the last one get eaten before you had a chance.
Check the portions. If you are watching portions, the source nutrition for this recipe is listed per 1 candy serving.
| Nutrient | Per 1 candy |
|---|---|
| Calories | 338 |
| Carbohydrates | 31 g |
| Protein | 7 g |
| Fat | 21 g |
| Saturated fat | 9 g |
| Fiber | 2 g |
| Sugar | 23 g |
| Sodium | 140 mg |
| Cholesterol | 8 mg |
If you have never made candy before, this is a forgiving place to start. There is no thermometer, no tempering and no tricky timing, just melting, piping and chilling. Even a slightly uneven layer of chocolate tastes good, and the liner covers most of it anyway.
One batch makes 12 candies, which is a good size for a family dessert, a small gift box or a plate for a neighbor. Pack them in a paper liner inside a box, keep the box cold, and they travel well.
FAQs
What type of peanut butter is best for homemade peanut butter cups?
How long does it take for homemade peanut butter cups to set in the refrigerator?
Can you freeze homemade peanut butter cups?
What chocolate is recommended for making peanut butter cups?

Peanut Butter Cups
Peanut Butter Cups Homemade Peanut Butter Cups are the easy answer for anyone who loves chocolate and peanut butter together. This recipe is a homemade copycat of Reese’s Peanut Butter Cups, and it needs only 4 ingredients.
- Total Time: 80 min
- Yield: 12 candies 1x
Ingredients
1 cup creamy peanut butter
⅓ cup powdered sugar
1 teaspoon vanilla extract
2 ½ cups chocolate melting wafers
Instructions
1-Line a cupcake pan with cupcake liners: Line a cupcake pan with cupcake liners and set aside.
2-In a medium bowl, mix together peanut: In a medium bowl, mix together peanut butter, sugar, and vanilla until smooth.
3-Transfer the peanut butter mixture to a: Transfer the peanut butter mixture to a pastry bag or ziploc bag with a small section of the corner cut off.
4-Melt the chocolate melting wafers in a: Melt the chocolate melting wafers in a medium microwave-safe bowl for 30-second intervals, stirring between each one, until fully melted.
5-Add 2 teaspoons of melted chocolate to: Add 2 teaspoons of melted chocolate to the bottom of each liner.
6-Pipe the peanut butter mixture on top: Pipe the peanut butter mixture on top of the chocolate.
7-Top the peanut butter with 1 tablespoon: Top the peanut butter with 1 tablespoon of melted chocolate.
8-Place in the refrigerator for about 1: Place in the refrigerator for about 1 hour to set.
9-Remove and enjoy: Remove and enjoy.
Last Step:
Please leave a rating and comment letting us know how you liked this recipe! This helps our business to thrive and continue providing free, high-quality recipes for you.- Prep Time: 20 min
- Cook Time: 60 min
- Method: stovetop
Nutrition
- Serving Size: 1 candy
- Calories: 338
- Sugar: 23
- Sodium: 140
- Fat: 21
- Saturated Fat: 9
- Carbohydrates: 31
- Fiber: 2
- Protein: 7
- Cholesterol: 8