


How to Make the Cookie Dough
Harvest marble chocolate chip cookies are exactly what the name promises: a classic chocolate chip cookie dressed up in fall colors. The concept is simple and a little bit brilliant.
You mix one batch of familiar chocolate chip cookie dough, divide it into three equal portions, tint two of the portions orange and brown, and leave the third plain white. Chocolate chips get folded into every portion, not just one.
Then you pinch off random pieces of the orange, brown, and white dough and press them together into 2 ounce balls.
When the cookies bake, each one shows a swirl of harvest colors with chocolate chips running through it, while the flavor stays true to the standard chocolate chip cookie you already know.
The original recipe comes with a charming confession. The author does not like pie, and every year she lobbies for a non pie Thanksgiving dessert, requesting a batch of these gorgeous cookies instead. That backstory tells you exactly where these cookies shine.
Bring them to a fall bake sale and watch the tray empty. Set them out at a neighborhood potluck next to the usual desserts. Or bake a batch on a random Sunday afternoon just because the kitchen smells better with cookies in the oven.
They look festive, they taste familiar, and they take no special skill beyond what you already use for regular chocolate chip cookies.
Start with the base dough. Cream 1 cup of butter, softened to room temperature, with 1 cup granulated sugar and 1/2 cup brown sugar in a mixer for 2 to 3 minutes.
The source calls for sweet cream, salted butter, so use that if you have it. You want the mixture smooth and well blended before moving on.
Add 2 large eggs and 2 teaspoons vanilla extract, then keep mixing until everything looks fluffy, about another 3 minutes. Sprinkle in 1 teaspoon baking soda and 1/2 teaspoon salt and mix just until combined.
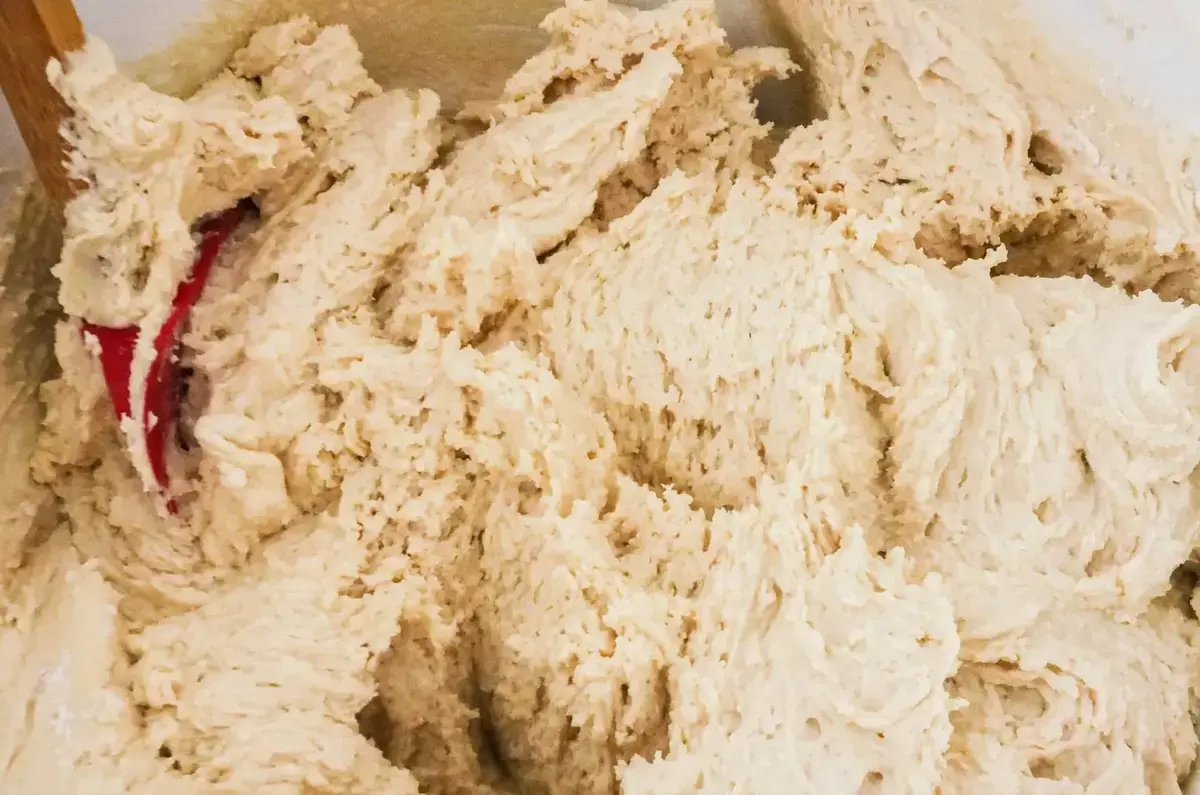
Finally, add 2 3/4 cups all purpose flour and mix only until the flour is fully incorporated into the dough. Stop the mixer as soon as the last streak of flour disappears.

At this point you have a classic chocolate chip cookie dough, and it would bake into fine cookies on its own. The fall magic comes next.
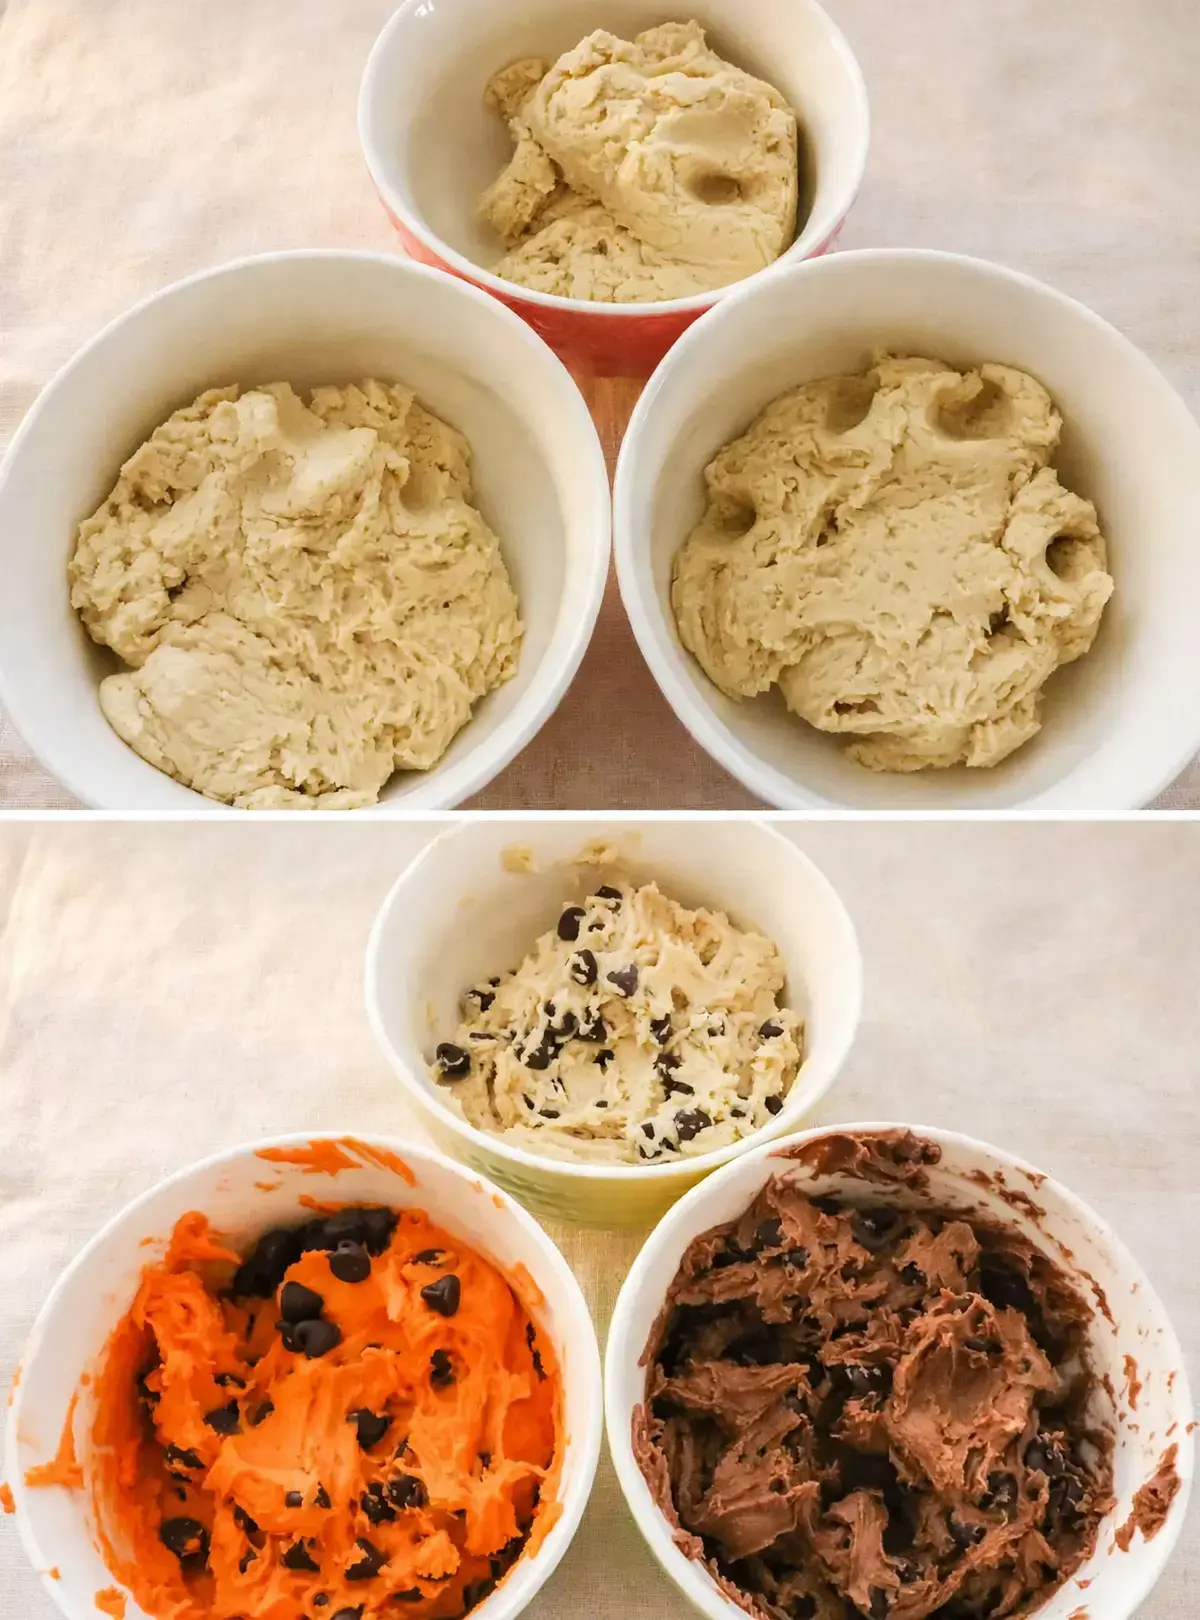
Divide the dough into three equal portions. If you own a food scale, weigh the portions out. If you do not own one, eyeball it.
The source says both approaches work, so use what you have and skip the stress. Keep one portion plain white. Tint the second portion orange and the third portion brown with food coloring.
The original recipe used Wilton Color Right food coloring and shared the exact drop counts, which takes all the guesswork out. For orange, use 5 drops of Orange and 2 drops of Crimson. For brown, use 5 drops of Brown and 1 drop of Red.
Stir each color until it is even and vivid. Then fold 1/3 of the bag of Nestle Toll House chocolate chips into each portion, so the full bag ends up distributed across the orange, brown, and white dough.
Every portion gets its fair share of chips, and that detail is what makes the finished cookies look so festive, with chips peeking out of every color.
It helps to jot down the drop counts before you open the food coloring. Orange is 5 drops of Orange plus 2 drops of Crimson. Brown is 5 drops of Brown plus 1 drop of Red.
Mix each portion until the color looks even all the way through, then fold in the chips. Because the chips go into every portion, each finished cookie shows chocolate against all three background colors, which is what gives the marble its harvest look.
Before you move on, line up what you will need for the marbling step: the three bowls of colored dough, a food scale, and a cookie sheet. Having everything within reach keeps the process moving. If fall baking has you hooked, these Pumpkin Chocolate Chip Cookies are another seasonal favorite worth trying next.
Grab a scoop, mix the colors however you like, and do not stress if no two cookies look the same. That happy variation is the whole charm of the marble.
Jump to:
- How to Make the Cookie Dough
- Baking Instructions
- Ingredients
- Instructions
- FAQs
- How do you marble chocolate chip cookie dough for harvest cookies?
- What food coloring works best for coloring cookie dough orange and brown?
- How long do harvest marble chocolate chip cookies bake?
- Can you freeze harvest marble chocolate chip cookie dough?
- Harvest Marble Chocolate Chip Cookies
- Ingredients
- Instructions
- Last Step:
- Did you make this recipe?
Baking Instructions
This is the step where three bowls of dough become marble cookies. Set the food scale by your bowls and build each cookie from random pieces.
Pinch off a bit of orange, a bit of brown, and a bit of white, drop the pieces onto the scale, and keep adding until the ball weighs 2.0 ounces. Roll the pieces together lightly so the colors stay distinct.
Some cookies will lean orange, some will lean brown, and some will show more white. Every combination is correct, and there is no right or wrong mix. The source is clear on this point: the more random the pieces, the prettier the cookie.
So resist the urge to plan each ball and just grab, weigh, and roll.
An assembly line rhythm works well here. Pinch the pieces, drop them on the scale, roll the ball lightly, press it onto the sheet, and start the next one. If a ball looks heavy on one color, pinch in a contrasting piece and reweigh.
There is no penalty for adjusting, since the only rule is that there are no rules about the color mix.
Slightly press each dough ball down onto the cookie sheet. This is a gentle press, not a flattening, just enough to settle the ball onto the pan.
Slide the sheet into an oven preheated to 375 degrees and bake for 8 to 10 minutes, or until the edges turn golden brown. That golden edge is your doneness cue.
Ovens vary, so keep an eye on the first batch and trust what you see. The marbled pattern sets as the cookies bake, and the chocolate chips peek through the swirls of orange, brown, and white.
| Baking detail | What to do |
|---|---|
| Cookie size | 2.0 ounces of dough per cookie, weighed on a food scale |
| Oven temperature | 375 degrees, preheated |
| Bake time | 8 to 10 minutes |
| Doneness cue | Golden brown around the edges |
| Yield | 18 cookies |
A few numbers worth remembering. This recipe makes 18 cookies. Prep time is 10 minutes, cook time is 12 minutes, and the total time is 22 minutes.
That means you can go from pulling out the mixer to pulling cookies from the oven in well under half an hour, which makes these an easy choice when a bake sale or potluck sneaks up on you.
Ingredients
The ingredient list is short, familiar, and easy to shop for. Every quantity below comes straight from the original recipe, so your dough will behave exactly the way it should.

- 1 cup butter, softened to room temperature (sweet cream, salted)
- 1 cup granulated sugar
- 1/2 cup brown sugar
- 2 large eggs
- 2 teaspoons vanilla extract
- 1 teaspoon baking soda
- 1/2 teaspoon salt
- 2 3/4 cups all purpose flour
- 1 bag Nestle Toll House chocolate chips
One more useful detail: the full bag of chocolate chips gets divided into thirds, with 1/3 folded into each colored portion of dough. Nothing is held back, and no portion goes chipless.

Instructions
Here is the full method in one place, from creaming the butter to pulling golden cookies from the oven. Work through the steps in order and you will land exactly where the recipe intends: 18 marbled cookies with chocolate chips in every bite.
- Cream the butter, brown sugar, and granulated sugar in a mixer.
- Add the eggs and vanilla and mix until fluffy.
- Add the baking soda and salt and mix.
- Add the flour a bit at a time and mix until it is completely incorporated.
- Separate the cookie dough into three equal portions.
- Use food coloring to color one portion orange and one portion brown, leaving the third portion plain.
- Add chocolate chips to each portion.
- Create a 2 ounce cookie dough ball out of orange, brown, and white dough.
- Slightly press the cookie ball down onto the cookie sheet.
- Bake in a 375 degree oven for 8 to 10 minutes or until golden brown around the edges.
These cookies are built for sharing. Pack them up for a fall bake sale, carry a platter to the neighborhood potluck, or keep the batch close for a quiet Sunday afternoon.
On Thanksgiving, they make a cheerful answer for anyone at the table who would rather skip pie, which is exactly the spirit they were created in. And for your next batch, these Browned Butter Chocolate Chip Cookies are another take on the classic worth trying.
However you serve them, let the marbled swirls do the talking. No two cookies will look alike, and that is exactly the point. Happy fall baking.
See the original recipe.
See the additional source.
FAQs
How do you marble chocolate chip cookie dough for harvest cookies?
What food coloring works best for coloring cookie dough orange and brown?
How long do harvest marble chocolate chip cookies bake?
Can you freeze harvest marble chocolate chip cookie dough?

Harvest Marble Chocolate Chip Cookies
How to Make the Cookie Dough Harvest marble chocolate chip cookies are exactly what the name promises: a classic chocolate chip cookie dressed up in fall colors. The concept is simple and a little bit brilliant.
- Total Time: 22 min
- Yield: 18 1x
Ingredients
1 cup Butter, softened to Room Temperature (Sweet Cream, Salted)
1 cup Granulated Sugar
1/2 cup Brown Sugar
2 Eggs, Large
2 teaspoons Vanilla Extract
1 teaspoon Baking Soda
1/2 teaspoon Salt
2 3/4 cups All-Purpose Flour
1 Bag Nestle Toll House Chocolate Chips
Instructions
1-Cream the butter, brown sugar and granulated: Cream the butter, brown sugar and granulated sugar in a mixer.
2-Add the eggs and vanilla and mix: Add the eggs and vanilla and mix until fluffy.
3-Add the Baking Soda and salt and: Add the Baking Soda and salt and mix.
4-Add the flour a bit at a: Add the flour a bit at a time and mix until it is completely incorporated.
5-Separate the cookie dough into three equal: Separate the cookie dough into three equal portions.
6-User food coloring to color one of: User food coloring to color one of the portions orange and one of the portions brown.
7-Add chocolate chips to each portion: Add chocolate chips to each portion.
8-Create a 2 oz: Create a 2 oz. cookie dough ball out of orange, brown and white dough.
9-Slightly press the cookie ball down onto: Slightly press the cookie ball down onto the cookie sheet.
10-Bake in a 375 degree oven for: Bake in a 375 degree oven for 8-10 minutes or until golden brown around the edges.
Last Step:
Please leave a rating and comment letting us know how you liked this recipe! This helps our business to thrive and continue providing free, high-quality recipes for you.- Prep Time: 10 min
- Cook Time: 12 min
- Method: bake