How This Recipe Came to Be
Ok, first of all, this is not your ordinary cereal bar. The idea started when Kerri tasted a brown butter Rice Krispie treat at a dessert bar shop in Utah and immediately noticed the nutty, toasty flavor. That flavor became the spark for something richer.
Her next thought was simple and brilliant. Add dulce de leche. After experimenting, the treats were layered with gooey dulce de leche and built on Carrian’s classic Rice Krispie treat base recipe. Carrian tested and photographed the recipe, and she also made a cinnamon sugar Rice Krispies version that she loved.
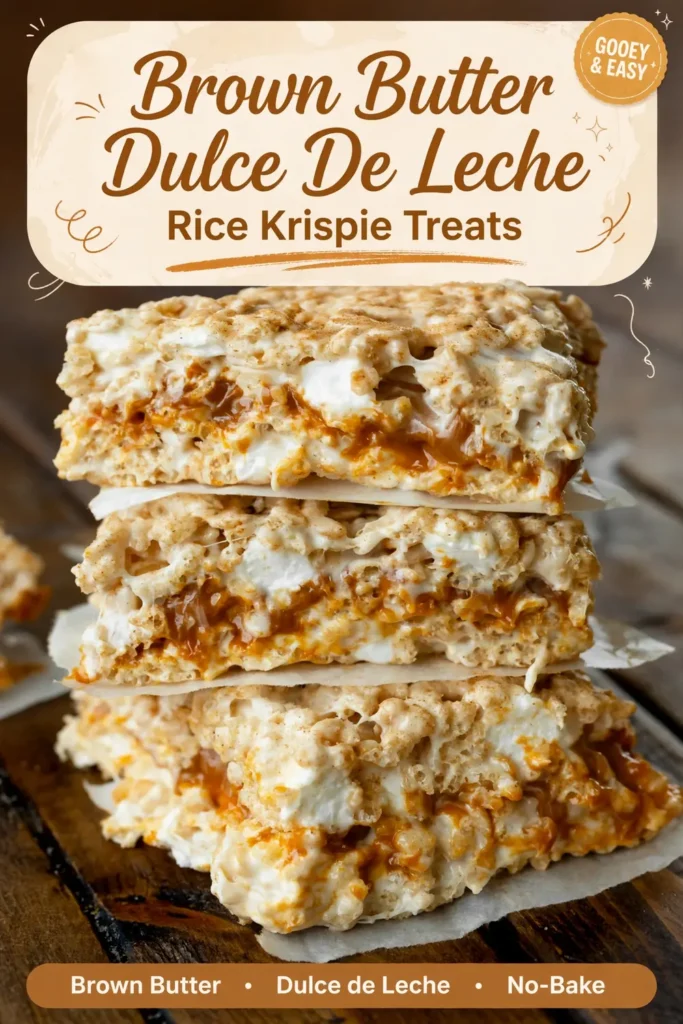
Trust me, the combination works. You get crisp cereal, soft marshmallow, nutty brown butter, and a creamy caramel layer in every bite. These bars have been a hit everywhere they were shared, and someone asks for the recipe every time. This version is adapted from the original brown butter dulce de leche rice krispie treats.

The brown butter is the quiet upgrade that changes everything. It adds depth without making the recipe complicated. The dulce de leche layer keeps the center creamy and adds caramel sweetness that contrasts the crunchy cereal. Together, they turn a familiar treat into something memorable.
You only need six ingredients and about ten minutes of hands on time. The hardest part is waiting for the bars to cool and set. That short wait is worth it because the layers firm up and slice cleanly. These are the kind of bars you bring to a party and watch disappear.
Jump to:
- How This Recipe Came to Be
- Ingredients for Stuffed Rice Krispie Treats
- How to Brown Butter
- Can I Use Regular Butter Instead?
- Why You’ll Love These Homemade Rice Krispie Treats
- Storing Rice Krispie Treats
- FAQs
- How do you brown butter for rice krispie treats?
- How do you layer dulce de leche in rice krispie treats?
- Why are my rice krispie treats hard instead of chewy?
- How long do brown butter rice krispie treats last and how should I store them?
- Brown Butter Dulce de Leche Rice Krispie Treats
- Ingredients
- Instructions
- Last Step:
- Nutrition
- Did you make this recipe?
Ingredients for Stuffed Rice Krispie Treats
You only need six ingredients, and the recipe comes together in about ten minutes. The roles are clear, so nothing feels fussy. Each ingredient has a job, and the balance is what keeps the bars soft, chewy, and full of flavor.
| Ingredient | Amount | Why it matters |
|---|---|---|
| Butter | 5 tablespoons | Browned for rich, nutty depth |
| Vanilla extract | 1/4 teaspoon | Adds warmth and rounds out sweetness |
| Mini marshmallows | 10 cups, divided | Melt quickly and evenly for gooey texture |
| Rice Krispies cereal | 6 cups | Cinnamon sugar flavored, for crunch and structure |
| Sea salt | 1/2 teaspoon, fine grain | Essential contrast to the sweetness |
| Dulce de leche | 1/2 can | Creamy, caramel like middle layer |
- Mini marshmallows matter. They melt faster and more evenly than large marshmallows, which helps the mixture stay smooth.
- Divided means two jobs. Most of the marshmallows melt into the base, and the rest are folded in at the end for chewy pockets.
- Homemade dulce de leche is an option. Use your favorite version, but keep the amount the same so the layer stays balanced.
- Keep the ratio. The butter to marshmallow ratio is what makes the bars soft and chewy, so do not reduce either one.
- Simple pantry style. No special equipment is needed beyond a large pot, a large bowl, and a wooden spoon.
The recipe serves 8, with one bar as the serving size. Prep time is 10 minutes and total time is 10 minutes, plus cooling time for the bars to set. That quick hands on time is exactly why this is such a strong choice for busy days.
How to Brown Butter
Browned butter is simply butter melted and cooked briefly until it develops a nutty flavor. It sounds fancy, but it is easy once you know what to watch for. The key is color, aroma, and timing.
- Cut room temperature butter into similar sized pieces so it melts evenly.
- Use a light colored pan over medium heat so you can see the color change.
- Stir gently as the butter melts to keep it moving.
- Watch for foam and sizzling around the edges.
- Look for brown flecks forming on the bottom of the pan.
- Remove the pan from the heat immediately when the flecks appear.
The butter should smell very fragrant. Browned butter can turn into burned butter quickly, so prompt removal from the heat is essential.
Do not walk away during this step. The change happens fast once the foam appears. If you are unsure, it is better to pull the pan early and check than to leave it on the heat and risk a bitter flavor. Once the butter is browned, move right into the marshmallow step so the flavor stays fresh and nutty.
Can I Use Regular Butter Instead?
Yes. Regular butter works fine if you want to skip the browned flavor. Simply add the marshmallows as soon as the butter melts and continue with the recipe. You will still get soft, chewy bars with a creamy dulce de leche layer.
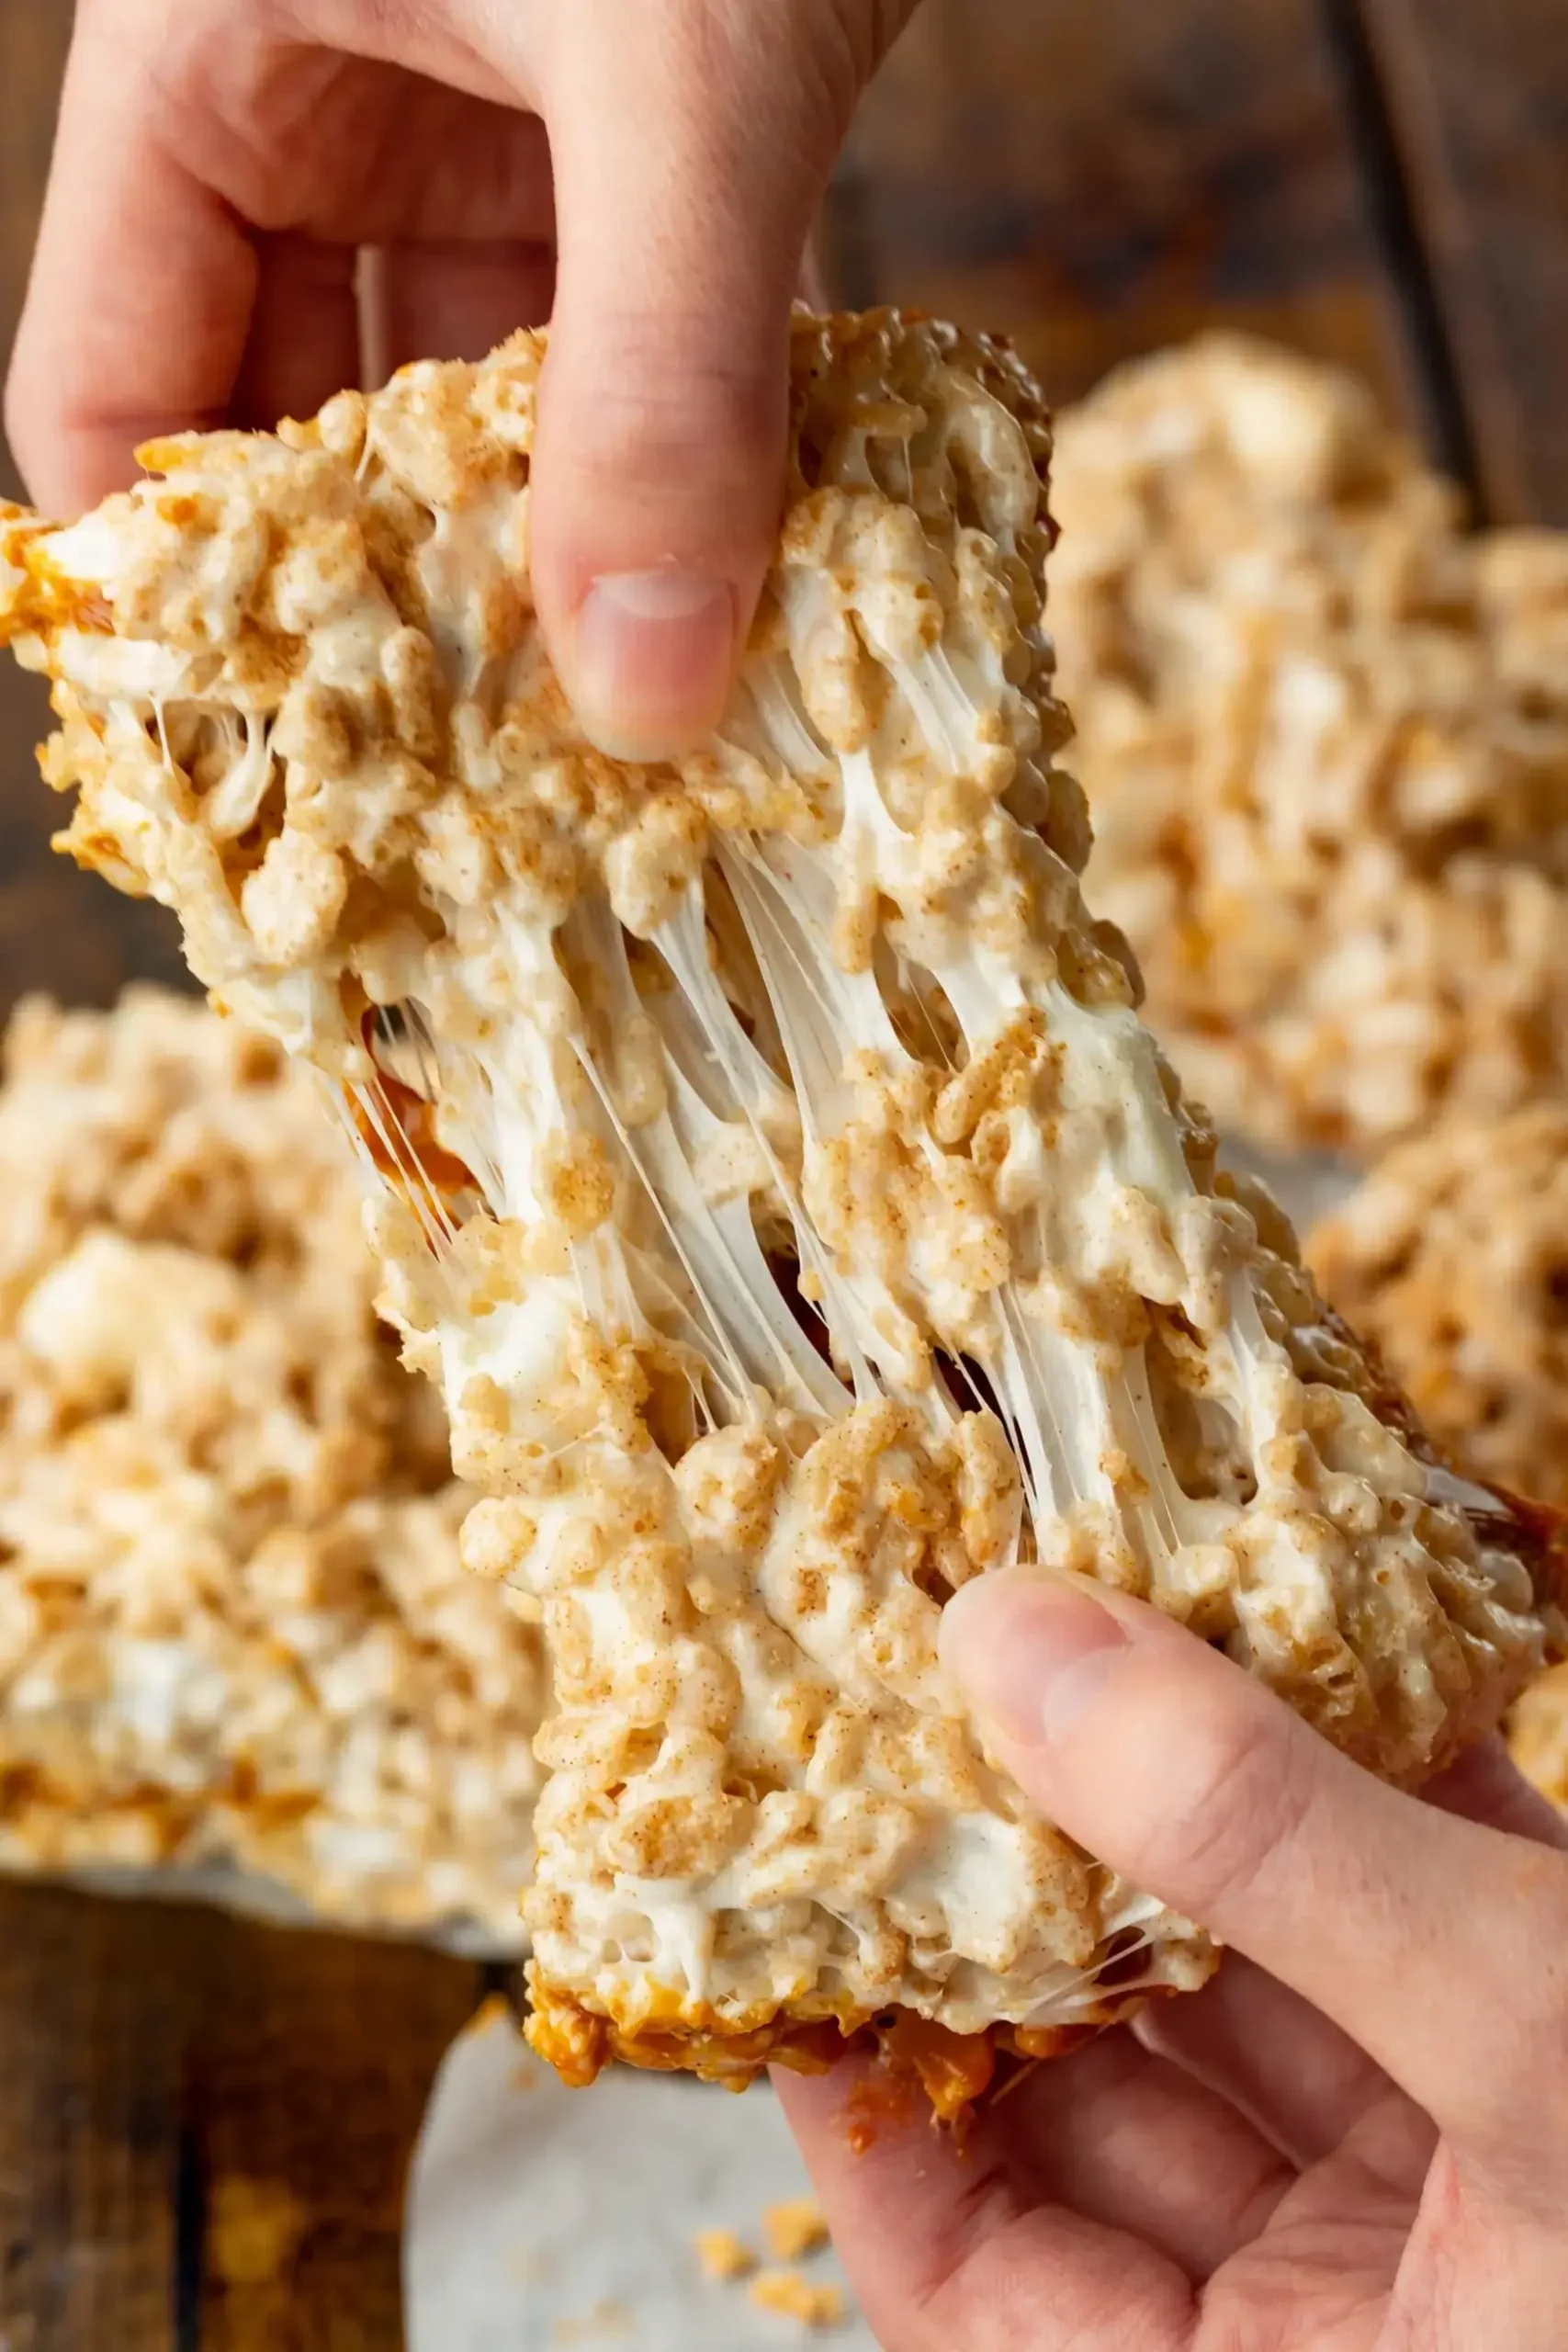
Here is the assembly in order:
- Spray a 9 by 9 inch pan with nonstick spray and line it with a foil or parchment paper sling. Spray again.
- Place a large pot on the stove over medium heat, add the butter, and let it melt and then brown.
- Remove from the heat and add the salt and 8 cups of mini marshmallows. Stir until completely melted and smooth. If needed, return the pot briefly to the heat to finish melting, without letting the browned butter burn.
- Stir in the vanilla once the mixture is smooth.
- Measure the cereal into a large bowl. Pour the melted marshmallow mixture over the cereal and mix well.
- Stir in the remaining marshmallows while the mixture is still warm.
- Lightly press about half of the mixture into the prepared pan and flatten it evenly. Spread the dulce de leche over it in an even layer.
- Top with the rest of the mixture, press lightly and evenly into the pan, and let it set at room temperature until cooled.
These practical tips make the process smoother:

- Line the pan well. A parchment or foil sling lets you lift the cooled bars out cleanly for neat cuts.
- Do not skimp. Keep the stated butter and marshmallow amounts for the softest texture.
- Cook low and slow. Overcooked marshmallows can crystallize and harden as they cool.
- Microwave option. Melt the marshmallows in one minute intervals, stirring between each interval.
- Use a huge bowl. A large mixing bowl and wooden spoon give you room to combine everything without crushing the cereal.
- Do not skip the extra marshmallows. The ones folded in at the end create pockets of chewy goodness.
- Press without sticking. Spray the bottom of a measuring cup or rubber spatula with cooking spray, or use a butter wrapper to press by hand.
- Cut cleanly. A dough scraper makes cutting easy and even.
Need more bars for a crowd. The recipe doubles perfectly into a 9 by 13 pan. Keep the layers even, let the bars cool fully, and cut with the same gentle pressing method.
Why You’ll Love These Homemade Rice Krispie Treats
These bars hit all the right notes. The brown butter brings nutty depth, the marshmallow to butter to cereal ratio keeps every bite soft and chewy, and the dulce de leche layer adds creamy caramel contrast to the crunchy cereal. It is a no bake dessert that feels special without any fuss.
They are ready in about 10 minutes of hands on time, and cooling is the longest wait. That makes them perfect for parties, gifting, or a fast dessert when friends stop by. If you love cereal bars, try these Peanut Butter Rice Krispie Treats next for another easy crowd pleaser.
For reference, one bar has 342 calories, 69g carbohydrates, 3g protein, 8g fat, 5g saturated fat, 0.1g fiber, 38g sugar, 362mg sodium, and 19mg cholesterol. The recipe serves 8 bars, so plan accordingly if you are sharing.
Storing Rice Krispie Treats
Store the treats in an airtight container to keep them fresh and chewy. They keep at room temperature for 4 to 5 days or in the refrigerator for up to one week. Let refrigerated bars sit briefly at room temperature before serving for the best texture.
These are a classic dessert with nutty brown butter, gooey dulce de leche layers, and crispy crunch. They are easy to pack for parties, lunchboxes, or gifts. For another sweet stuffed dessert idea, see Nutella and Dulce de Leche Stuffed Cookies.
Cut only what you need and keep the rest sealed. The layers stay neatest when the bars are fully cooled before slicing and stored in a single layer when possible.
See the additional source.
FAQs
How do you brown butter for rice krispie treats?
How do you layer dulce de leche in rice krispie treats?
Why are my rice krispie treats hard instead of chewy?
How long do brown butter rice krispie treats last and how should I store them?

Brown Butter Dulce de Leche Rice Krispie Treats
How This Recipe Came to Be Ok, first of all, this is not your ordinary cereal bar. The idea started when Kerri tasted a brown butter Rice Krispie treat at a dessert bar shop in Utah and immediately noticed the nutty, toasty flavor.
- Total Time: 10 min
- Yield: 8 1x
Ingredients
Ingredients
5 Tablespoons Butter
¼ teaspoon Vanilla Extract
10 Cups Mini Marshmallows, divided
6 Cups Rice Krispies Cereal, cinnamon sugar flavored, see note
½ teaspoon Sea Salt, fine grain
½ Can Dulce de Leche
Instructions
Instructions
1-Spray a 9×9-inch pan with non-stick spray: Spray a 9×9-inch pan with non-stick spray and line it with a foil or parchment paper sling. Spray again.
2-Place a large pot on the stove: Place a large pot on the stove over medium heat, add your butter and let it melt and then brown. *See notes below for browning butter.
3-Once the butter is browned, remove from: Once the butter is browned, remove from the heat and add the salt and 8 cups of mini marshmallows. Stir until everything is completely melted and smooth. If you need to put it back on the heat to finish melting the marshmallows, that is fine. You just don’t want the browned butter to burn.
4-Once it is smooth, add vanilla and: Once it is smooth, add vanilla and stir again.
5-Measure out the rice krispies cereal in: Measure out the rice krispies cereal in a large bowl. Pour the melted marshmallows over the rice krispies and mix well.
6-Add in the remaining marshmallows while still: Add in the remaining marshmallows while still warm.
7-Lightly press about half of the rice: Lightly press about half of the rice krispies mixture into your prepared pan (see note). Flatten it down so it is even in the pan and then spread the dulce de leche all over the rice krispies in an even layer.
8-Top with the rest of the rice: Top with the rest of the rice krispies mixture and lightly press it around until it is evenly spread into the pan. Let it set at room temperature until cooled.
Last Step:
Please leave a rating and comment letting us know how you liked this recipe! This helps our business to thrive and continue providing free, high-quality recipes for you.- Prep Time: 10 min
- Method: stovetop
Nutrition
- Serving Size: 1 bar
- Calories: 342kcal
- Sugar: 38g
- Sodium: 362mg
- Fat: 8g
- Saturated Fat: 5g
- Carbohydrates: 69g
- Fiber: 0.1g
- Protein: 3g
- Cholesterol: 19mg