
Brooklyn Blackout Cake
Introduction
Brooklyn Blackout Cake is a chocolate dessert with a long history and a flavor that lives up to it. It started in New York City and has become a favorite for chocolate fans well beyond Brooklyn.
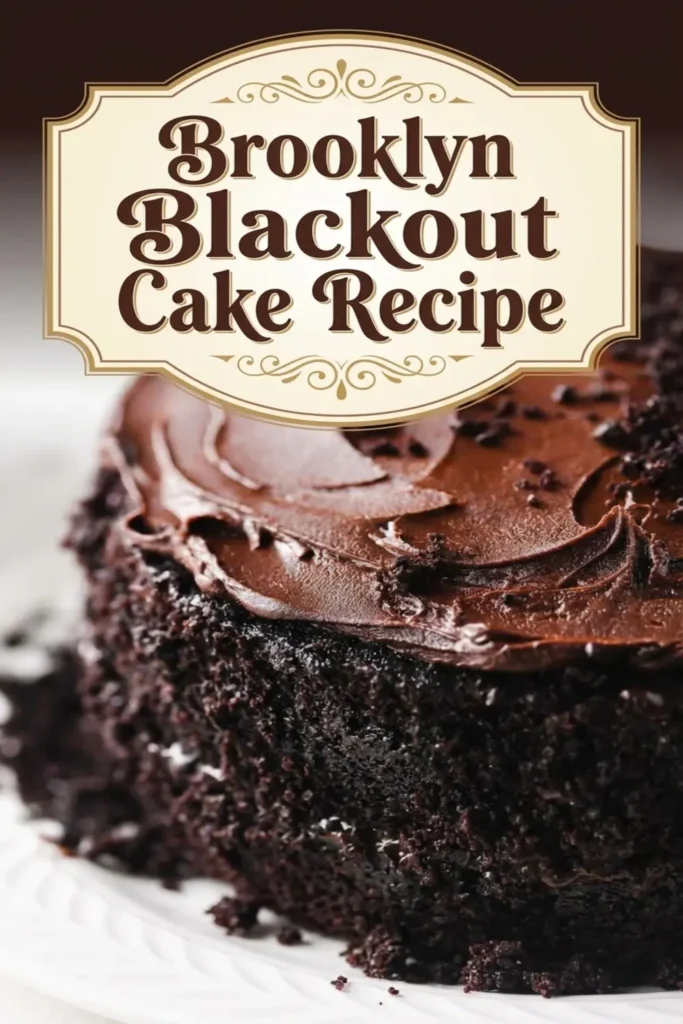
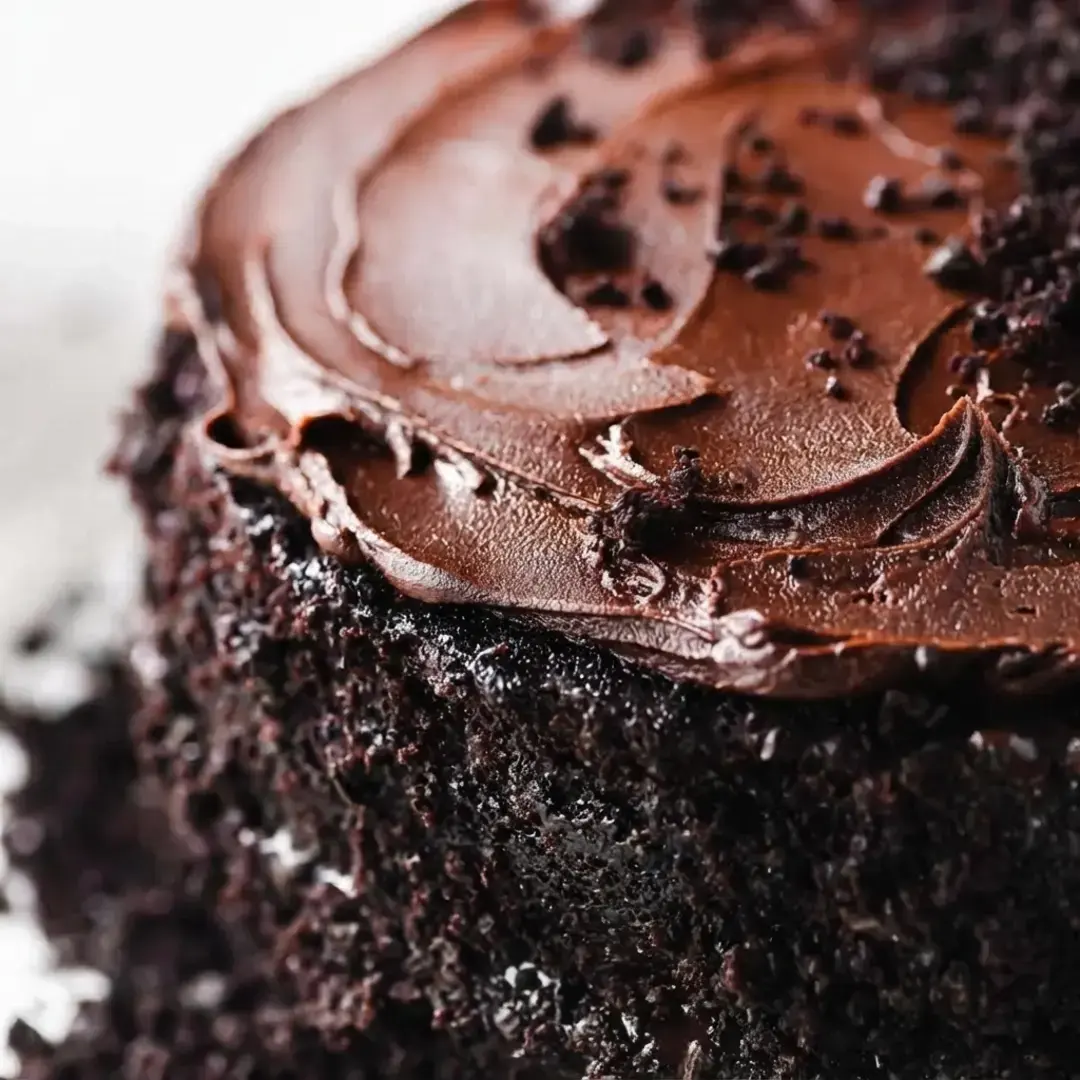
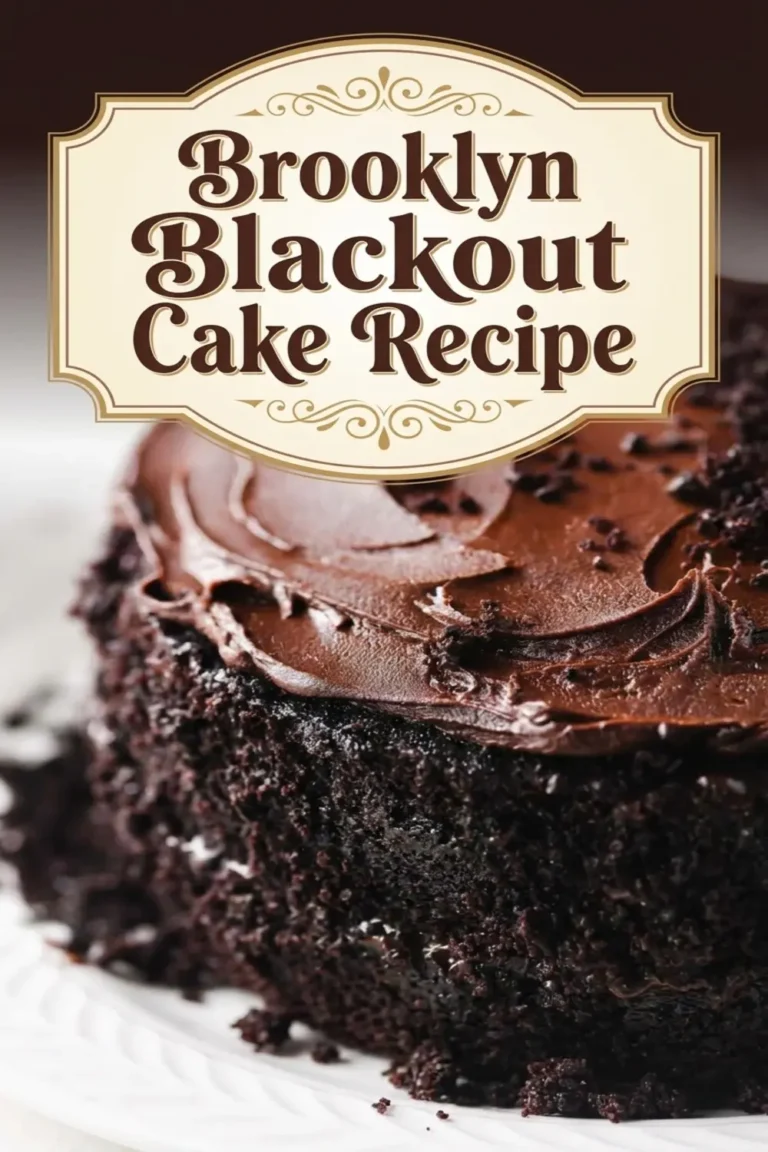
The cake brings together soft chocolate layers, a silky pudding filling, a glossy chocolate frosting, and a coating of fine chocolate crumbs that covers the sides and often the top.

This guide covers where the cake came from, the ingredients for each part, and the steps for mixing, baking, filling, frosting, and chilling it at home.
History of Brooklyn Blackout Cake
The name of this cake is tied to World War II blackout drills, when cities along the East Coast dimmed their lights as a wartime precaution. The cake was created by a Brooklyn bakery, and its name honors those drills and the blackout precautions of the era.
What made it last, though, is the eating. Its moist texture, intense chocolate flavor, and distinctive presentation helped it win a permanent place in American baking. The crumb coating is the signature detail.
Instead of a smooth finish, the cake is covered in chocolate crumbs made from baked cake, which gives every slice a soft interior and a slightly crumbly edge.
Ingredients for Brooklyn Blackout Cake
The recipe is built in four parts, and each part uses its own short list. You will need pantry basics for the layers, a little chocolate and cornstarch for the pudding filling, and butter plus semisweet chocolate for the frosting. Full quantities appear further down.
| Component | Key ingredients |
|---|---|
| Cake layers | All purpose flour, white sugar, unsweetened Dutch process cocoa powder, baking soda, baking powder, salt, buttermilk, vegetable oil, eggs, vanilla extract, hot brewed coffee |
| Pudding filling | Dutch process cocoa powder, boiling water or hot brewed coffee, sugar, bittersweet chocolate, salt, cornstarch, cold water, vanilla, butter |
| Frosting | Unsalted butter, semisweet chocolate, hot water, corn syrup, vanilla |
| Crumbs | Two baked cupcakes made from the same batter |
Two 8 inch round cake pans, parchment paper discs, a whisk, a medium saucepan, and a food processor are the main tools. A food processor makes the crumbs quick, though you can also crumble the cupcakes by hand.
Preparation Steps
Read through the whole method before you start, because the parts overlap in a useful way. The pudding is made while the cake layers bake, and the frosting needs 20 to 30 minutes in the refrigerator to firm up before it can be spread. The cupcakes that become your crumbs bake after the layers come out of the oven.
A simple order of work: preheat the oven and prepare the pans, mix the batter and fill the pans plus two cupcake papers, bake the layers, bake the cupcakes, make the pudding, make the frosting and chill it, then assemble.
Making the Cake Batter
Heat the oven to 350F. Butter two 8 inch round cake pans and line the bottoms with parchment paper discs.
- Whisk all the dry ingredients together well in a large bowl.
- In a separate bowl, whisk together all the wet ingredients except the coffee.
- Slowly add the wet ingredients to the dry ingredients, mixing as you go.
- Once the mixture is incorporated, add the hot coffee and mix until no pockets of dry flour remain. The batter will be thin, and that is expected.
- Fill two cupcake papers with batter and set that pan aside. Those cupcakes will become the crumbs.
Baking the Cake Layers
Divide the remaining batter between the two prepared 8 inch pans. Bake for 35 minutes at 350F, until the layers have risen and a toothpick inserted into the center comes out without wet batter clinging to it.
When the cake layers come out of the oven, slide the cupcakes in and bake them for 15 minutes, or until the tops spring back and a toothpick comes out clean.
Let the cake layers cool partially in the pans, then turn them out onto a cooling rack to cool completely before you fill and frost them. The layers and the cupcakes can be made a day or two ahead and kept in the refrigerator.
Preparing the Filling
Make the pudding while the cake is in the oven. Whisk the boiling water and cocoa powder together in a medium saucepan over medium heat. Stir in the sugar, chocolate, and salt. Mix the cornstarch with enough cold water to make a thin paste, then whisk that into the saucepan.
Bring the mixture to a boil, stirring constantly, and let it boil for one minute. Take the pan off the heat and whisk in the vanilla and the butter. Pour the pudding into a bowl and chill it. It will thicken as it cools.
Assembling the Cake
Start with the frosting, since it needs to firm up. Melt the butter and chocolate in the microwave, beginning with one minute, then stir, then continue in 15 second bursts, stirring in between, until everything is smooth and melted. A saucepan works too.
If you use one, start with the butter and then add the chocolate. Whisk in the hot water all at once, then the corn syrup and vanilla, and stir until smooth.
Chill the bowl for 20 to 30 minutes so the frosting firms to a spreadable consistency.
Now make the crumbs. Pulse the two cupcakes in a food processor until you get fine, even crumbs. Set them aside.
- Peel the parchment paper off the bottoms of the cake layers. Place one layer, flattest side up, on a plate.
- Top it with a layer of pudding. You will not need all of it.
- Place the second layer, flat side up, on top of the pudding.
- Lightly spread more pudding along the sides of the cake, then press crumbs onto the sides with your hands. This part is a little messy, and that is normal.
- Generously frost the top of the cake, then add more crumbs all over the top or just around the edges.
- Chill the cake until you are ready to serve.
Tips for Success
- Use good cocoa powder and good chocolate. With so few flavorings in the recipe, quality shows up in the finished cake.
- Let the layers cool completely before filling. Warm cake crumbles and the pudding slides.
- Chill the assembled cake for at least an hour before slicing. Cold cake cuts into cleaner portions.
- Do not panic about the thin batter. Hot coffee loosens it, and that is what keeps the layers moist.
- Avoid overbaking. Pull the layers when the toothpick comes out without wet batter, then check the cupcakes after 15 minutes.
- Press the crumbs on gently. You want them to stick, not to squash the sides.
Variations of Brooklyn Blackout Cake
The classic filling is chocolate pudding, and that is the version most people expect. If you want to change things up, the filling flavor can be varied.
Raspberry, caramel, or peanut butter are all workable swaps, and they change the character of the cake while the chocolate layers stay the same. Nuts or fresh fruit can also be added for extra texture.
Toasted nuts folded into the filling add crunch, and fresh berries layered thinly with the pudding add a tart edge that balances the sweetness. Keep the crumb coating if you can, since it is the detail that makes this cake recognizable.
Serving and Presentation
Serve individual slices with a dollop of whipped cream or a scoop of vanilla ice cream. Both soften the intense chocolate and add contrast. For a more elegant look, garnish the plate or the top of each slice with fresh berries or a light dusting of cocoa powder.
Let the cake stand at room temperature for a short while before serving so the layers soften slightly, and slice with a thin, sharp knife. If you enjoy deep chocolate baking, there are more Classic Chocolate Cake Recipes to explore, and an Easy Chocolate Mug Cake for the days when you want chocolate in minutes rather than hours.
Storing Brooklyn Blackout Cake
Keep the cake covered in an airtight container in the refrigerator. The recipe notes it will last 3 to 4 days that way. Because the filling and frosting are both soft, a covered cake keeper or a plate wrapped well works better than leaving it out on the counter.
Let slices come to room temperature before serving for the best taste and texture. The original guide also notes that the cake freezes well for up to three months when it is wrapped tightly, which is handy if you bake a large cake for a small household.
Conclusion
Brooklyn Blackout Cake is a timeless dessert with a rich history and an indulgent chocolate flavor that has kept it in circulation for generations. It works as the centerpiece of a celebration and just as well as a quiet weekend bake, served on its own or for a special occasion.
Brooklyn Blackout Cake Recipe
Here is the full recipe at a glance before the detailed lists. You will bake two 8 inch layers at 350F for 35 minutes, bake two cupcakes for 15 minutes to make the crumbs, cook a quick pudding filling on the stove, and chill a melted chocolate frosting for 20 to 30 minutes before spreading it.
The finished cake is stored in the refrigerator and keeps for 3 to 4 days.
This recipe is adapted from the original Brooklyn Blackout cake recipe published by Cheff Recipes. If you want to compare a few takes on the classic, there are also well known versions from other bakers, including a classic Brooklyn Blackout cake from scratch from King Arthur Baking.
DRY INGREDIENTS:
- 1 3/4 cups all purpose flour
- 2 cups white sugar
- 3/4 cup unsweetened Dutch process cocoa powder
- 2 tsp baking soda
- 1 tsp baking powder
- 1 tsp salt
WET INGREDIENTS:
- 1 cup buttermilk, or half and half, or whole milk
- 1/2 cup vegetable oil
- 2 large eggs
- 1 tsp vanilla extract
- 1 cup hot brewed coffee
PUDDING FILLING:
- 2 tablespoons unsweetened Dutch process cocoa powder
- 1 cup boiling water or hot brewed coffee
- 6 tablespoons sugar
- 1 ounce bittersweet chocolate, chopped
- 1/4 tsp salt
- 2 tablespoons cornstarch
- 2 tablespoons cold water
- 1 tsp vanilla
- 1 tablespoon butter
FROSTING:
- 3/4 cup unsalted butter, which is 1 1/2 sticks
- 12 ounces semisweet chocolate, chopped finely
- 1/2 cup hot water
- 1 tablespoon corn syrup
- 1 tablespoon vanilla
FOR THE CAKE
Preheat oven to 350F. Butter two 8 inch round cake pans and line the bottoms with parchment paper discs.
Make the cake layers
- Whisk all the dry ingredients together well in a large bowl.
- In a separate bowl, whisk together all the wet ingredients except the coffee.
- Slowly add the wet ingredients to the dry ingredients, mixing as you go. Once incorporated, add the hot coffee and mix until there are no pockets of dry flour left. The batter will be thin.
- Fill two cupcake papers with batter and set the pan aside. The cupcakes will be used to make the crumbs.
- Divide the remaining batter between the two 8 inch cake pans and bake for 35 minutes, until risen and a toothpick inserted into the center comes out without wet batter clinging to it. When the cake layers come out, slide the cupcakes in and bake for 15 minutes, or until the top springs back and a toothpick comes out clean.
- Allow the cake layers to cool partially in the pans, then turn them out onto a cooling rack to cool completely before filling and frosting. The cakes and cupcakes can be made a day or two ahead and kept in the refrigerator.
Make the pudding filling
- While the cake is in the oven, whisk together the boiling water and cocoa powder in a medium saucepan over medium heat. Stir in the sugar, chocolate, and salt.
- Mix the cornstarch with enough cold water to make a thin paste, then whisk it into the saucepan. Bring the mixture to a boil, stirring constantly, and boil for one minute.
- Remove the pan from the heat and whisk in the vanilla and the butter. Turn the pudding into a bowl and chill.
Make the frosting
- Melt the butter and chocolate in the microwave. Start with one minute, then stir, then continue in 15 second bursts, stirring in between, until everything is smooth and melted. You can also do this in a saucepan, starting with the butter and then adding the chocolate.
- Whisk in the hot water all at once, then the corn syrup and vanilla, and stir until smooth. Put the bowl in the refrigerator to chill for 20 to 30 minutes, until it firms up to a spreadable consistency.
Assemble the cake
- Make crumbs with the two cupcakes. A food processor makes this quick. Pulse until you get fine, even crumbs, then set them aside.
- Peel the parchment paper off the bottoms of the cake layers. Put one layer, flattest side facing up, on a plate.
- Top with a layer of pudding. You will not need all of it. Place the second cake layer, flat side up, on top of the pudding.
- Lightly spread more pudding along the sides of the cake, then press crumbs onto the sides with your hands. This will be a bit messy.
- Generously frost the top of the cake with the frosting. Add more crumbs to the top, either all over or just around the edges.
- Chill the cake until ready to serve. Keep it in the refrigerator, where it will last 3 to 4 days.
Jump to:
- Brooklyn Blackout Cake
- Introduction
- History of Brooklyn Blackout Cake
- Ingredients for Brooklyn Blackout Cake
- Preparation Steps
- Making the Cake Batter
- Baking the Cake Layers
- Preparing the Filling
- Assembling the Cake
- Tips for Success
- Variations of Brooklyn Blackout Cake
- Serving and Presentation
- Storing Brooklyn Blackout Cake
- Conclusion
- Brooklyn Blackout Cake Recipe
- DRY INGREDIENTS:
- WET INGREDIENTS:
- PUDDING FILLING:
- FROSTING:
- FOR THE CAKE
- FAQs
- What makes a Brooklyn Blackout Cake different from other chocolate cakes?
- How do you get the crumb coating on a Brooklyn Blackout Cake?
- What is the filling in a Brooklyn Blackout Cake made of?
- How long does a Brooklyn Blackout Cake last in the fridge?
- Brooklyn Blackout Cake
- Ingredients
- Instructions
- Last Step:
- Did you make this recipe?
FAQs
What makes a Brooklyn Blackout Cake different from other chocolate cakes?
How do you get the crumb coating on a Brooklyn Blackout Cake?
What is the filling in a Brooklyn Blackout Cake made of?
How long does a Brooklyn Blackout Cake last in the fridge?
Brooklyn Blackout Cake
Brooklyn Blackout Cake Introduction Brooklyn Blackout Cake is a chocolate dessert with a long history and a flavor that lives up to it. It started in New York City and has become a favorite for chocolate fans well beyond Brooklyn.
- Total Time: 35 minutes
Ingredients
Dry Ingredients
1 3/4 cup all purpose flour
2 cups white sugar
3/4 cup unsweetened Dutch-process cocoa powder
2 tsp baking soda
1 tsp baking powder
1 tsp salt
Wet Ingredients
1 cup buttermilk, half and half or whole milk
1/2 cup vegetable oil
2 large eggs
1 tsp vanilla extract
1 cup hot brewed coffee
Pudding Filling
2 tablespoons unsweetened Dutch-process cocoa powder
1 cups boiling water or hot brewed coffee
6 Tbsp sugar
1 ounce bittersweet chocolate, chopped
1/4 tsp salt
2 Tbsp cornstarch
2 Tbsp cold water
1 tsp vanilla
1 Tbsp butter
Frosting
3/4 cup unsalted butter, that’s 1 1/2 sticks
12 ounces semisweet chocolate, chopped finely
1/2 cup hot water
1 tablespoon corn syrup
1 tablespoon vanilla
Instructions
For the Cake
1-Preheat oven to 350F: Preheat oven to 350F. Butter two 8-inch round cake pans and line the bottoms with parchment paper discs.
2-Whisk all the dry ingredients together well: Whisk all the dry ingredients together well in a large bowl.
3-In a separate bowl, whisk together all: In a separate bowl, whisk together all the wet ingredients EXCEPT the coffee.
4-Slowly add the wet ingredients to the: Slowly add the wet ingredients to the dry ingredients, mixing as you go. Once incorporated, add the hot coffee, and mix everything until there are no pockets of dry flour left. The batter will be thin.
5-Fill 2 cupcake papers, and set the: Fill 2 cupcake papers, and set the pan aside. This will be used to make the crumbs.
6-Then divide the remaining batter between two: Then divide the remaining batter between two 8 inch cake pans. and bake for 35 minutes until risen and a toothpick inserted into the center of the cake comes out without wet batter clinging to it. When the cake layers come out slide the cupcakes in and bake for 15 minutes, or until the top springs back and a toothpick comes out clean.
7-Allow the cake layers to partially cool: Allow the cake layers to partially cool in the pans, then turn out onto a cooling rack to completely cool before frosting. The cakes (and cupcakes) can be made a day or two ahead and kept in the refrigerator before filling and frosting.
Pudding Filling
8-While the cake is in the oven: While the cake is in the oven make the pudding. Whisk together the boiling water and cocoa powder in a medium saucepan over medium heat. Stir in the sugar, chocolate, and salt. Mix the cornstarch with enough water to make a thin paste and whisk that right into the saucepan. Bring the mixture to a boil, stirring constantly. Boil for one minute.
9-Remove the pan from the heat and: Remove the pan from the heat and then whisk in the vanilla and the butter. Turn the pudding into a bowl and chill.
Frosting
10-Melt the butter and chocolate in the: Melt the butter and chocolate in the microwave, start with one minute, then stir, and add 15 second bursts, stirring in between, until everything is smooth and melted. You can also do this in a saucepan, but I start with the butter and then add the chocolate.
11-Whisk in the hot water all at: Whisk in the hot water all at once, and then the corn syrup and vanilla and stir until it is smooth. Put the bowl in the refrigerator to chill for 20-30 minutes to firm up to a spreadable consistency.
Cake Assembly
12-Make crumbs with the 2 cupcakes: Make crumbs with the 2 cupcakes. i do this in my food processor. Pulse until you get fine even crumbs. Set aside.
13-Make sure you peel off the parchment: Make sure you peel off the parchment paper from the bottoms of your cake layers. Put one layer, flattest side facing up, on a plate.
14-Top with a layer of pudding, you: Top with a layer of pudding, you will not need all of it. Place the second cake layer, flat side up, on top of the pudding.
15-Lightly spread more pudding along the sides: Lightly spread more pudding along the sides of the cake and press crumbs onto the sides with your hands. This will be a bit messy.
16-Generously frost the top of the cake: Generously frost the top of the cake with the frosting. Add more crumbs to the top, either all over, or just around the edges.
17-Chill the cake until ready to serve: Chill the cake until ready to serve. The cake should be kept in the refrigerator and will last 3-4 days.
Last Step:
Please leave a rating and comment letting us know how you liked this recipe! This helps our business to thrive and continue providing free, high-quality recipes for you.- Cook Time: 35 min
- Method: bake