Why You’ll Love This Chocolate Mug Cake
There’s something magical about being able to satisfy a chocolate craving in mere minutes. This chocolate mug cake recipe delivers on all fronts, offering a decadent treat that fits perfectly into your busy lifestyle. Whether you’re a busy parent, a student with limited kitchen access, or simply someone who appreciates a quick dessert, this single-serve chocolate cake will become your go-to solution.
- Ease of preparation: This microwave mug cake comes together in just five minutes with minimal cleanup. Simply combine ingredients in your mug, microwave, and enjoy! No mixing bowls, no oven preheating, and no waiting hours for your dessert to cool. It’s the ultimate convenience when that chocolate craving strikes.
- Health benefits: Unlike store-bought treats loaded with preservatives and unknown ingredients, this homemade chocolate mug cake lets you control what goes into your body. With simple, recognizable ingredients and the option to make substitutions, you can enjoy a healthier version of this classic treat that satisfies without the guilt.
- Versatility: One of the greatest strengths of this mug cake is its adaptability. Whether you need it to be vegan, gluten-free, or lower in calories, this recipe can accommodate various dietary needs without sacrificing taste. It’s the perfect dessert option for households with different dietary requirements.
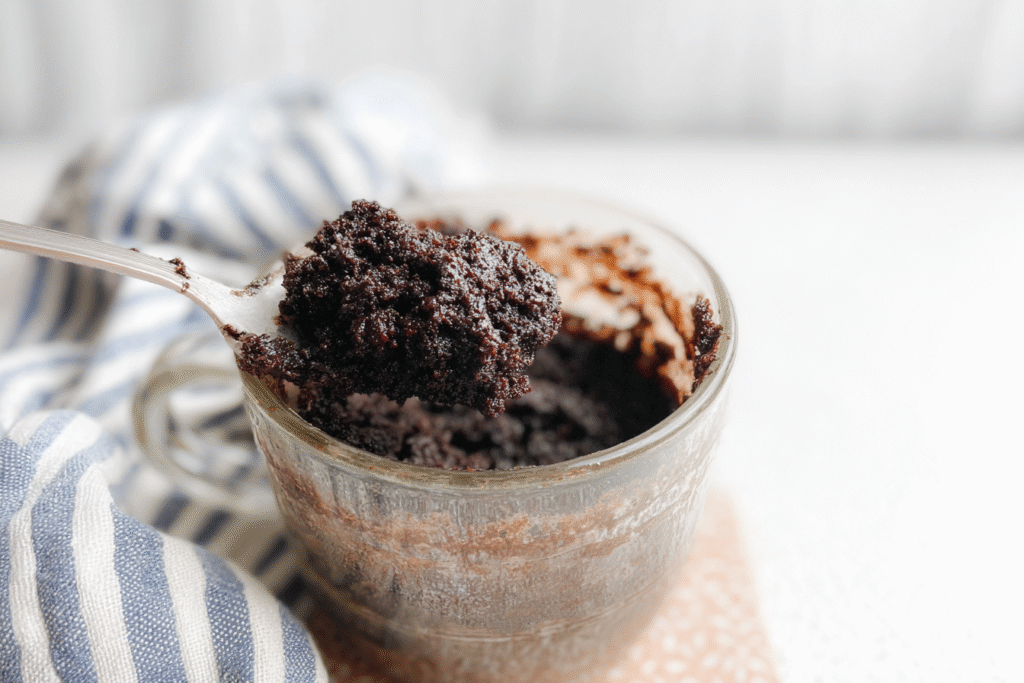
- Distinctive flavor: Despite its simplicity, this chocolate mug cake delivers an impressive depth of flavor. The combination of cocoa powder, vanilla, and optional chocolate chips creates a rich, fudgy texture that rivals traditional cakes. Its moist interior and slightly crisp edges offer a satisfying contrast that will delight your taste buds.
Jump to:
- Why You’ll Love This Chocolate Mug Cake
- Essential Ingredients for Chocolate Mug Cake
- How to Prepare the Perfect Chocolate Mug Cake: Step-by-Step Guide
- Preparation and Ingredients
- First Step: Dry Ingredients Combination
- Second Step: Adding Wet Ingredients
- Third Step: Adding Chocolate Chips
- Fourth Step: Microwave Cooking
- Final Step: Cooling and Serving
- Dietary Substitutions to Customize Your Chocolate Mug Cake
- Protein and Main Component Alternatives
- Vegetable, Sauce, and Seasoning Modifications
- Mastering Chocolate Mug Cake: Advanced Tips and Variations
- Pro cooking techniques
- Flavor variations
- Presentation tips
- Make-ahead options
- How to Store Chocolate Mug Cake: Best Practices
- Refrigeration
- Freezing
- Reheating
- Meal prep considerations
- FAQs: Frequently Asked Questions About Chocolate Mug Cake
- How do you make chocolate mug cake in the microwave?
- What ingredients do I need for chocolate mug cake?
- Can you make chocolate mug cake in the oven?
- Is chocolate mug cake healthy?
- Why does my chocolate mug cake get rubbery?
- Chocolate Mug Cake
- Ingredients
- Instructions
- Last Step:
- Notes
- Nutrition
- Did you make this recipe?
Essential Ingredients for Chocolate Mug Cake
Creating the perfect mug cake requires just a few pantry staples that you likely already have on hand. Here’s what you’ll need:
Main Ingredients:- 4 tablespoons all-purpose flour – The foundation that gives structure to your cake
- 4 tablespoons granulated sugar – Provides sweetness and helps with browning
- 2 tablespoons unsweetened cocoa powder – Delivers that rich chocolate flavor
- 1/4 teaspoon baking powder – Essential for the cake to rise properly
- 1/8 teaspoon salt – Enhances the overall chocolate flavor
- 3 tablespoons milk (dairy or plant-based) – Creates the batter consistency
- 2 tablespoons vegetable oil or melted butter – Adds moisture and richness
- 1/4 teaspoon vanilla extract – Rounds out the chocolate flavor
- 2 tablespoons chocolate chips or chunks – Optional for extra indulgence
- Vegan: Use plant-based milk such as almond, soy, or oat milk. Replace regular chocolate chips with vegan-friendly varieties.
- Gluten-free: Substitute all-purpose flour with a 1:1 gluten-free flour blend that contains xanthan gum for best results.
- Low-calorie: Replace sugar with a natural sweetener like stevia or monk fruit. Use applesauce or Greek yogurt instead of oil for a lighter version.
How to Prepare the Perfect Chocolate Mug Cake: Step-by-Step Guide
Creating a delicious chocolate mug cake is surprisingly simple when you follow these carefully tested steps. This guide will help you achieve the perfect texture and flavor every time, whether you’re a beginner or an experienced baker.
Preparation and Ingredients
Before you begin, gather all your ingredients and a microwave-safe mug. Ideally, choose a mug that holds at least 12-14 ounces to allow room for the cake to rise without overflowing. Having everything measured and ready will make the process smooth and enjoyable. The beauty of this recipe is that you’ll mix everything directly in the mug, minimizing cleanup.
“The secret to a perfect mug cake lies in the measurements and timing. Precise ratios ensure the texture is just right every single time.”
First Step: Dry Ingredients Combination
Start by adding your dry ingredients to the mug. Combine 4 tablespoons of all-purpose flour, 4 tablespoons of granulated sugar, 2 tablespoons of unsweetened cocoa powder, 1/4 teaspoon of baking powder, and a pinch of salt (about 1/8 teaspoon). Using a small fork or whisk, mix these ingredients thoroughly until well combined. This step ensures that the leavening agent is evenly distributed throughout the flour, which helps the cake rise uniformly.
For those with dietary restrictions, this is the time to make your substitutions. If you’re using gluten-free flour, ensure it’s a blend designed for baking that includes xanthan gum. For a lower sugar version, substitute the granulated sugar with your preferred sweetener, keeping in mind that some alternatives may affect the final texture slightly.
Second Step: Adding Wet Ingredients
Once your dry ingredients are well mixed, it’s time to add the wet components. Pour in 3 tablespoons of milk (dairy or plant-based), 2 tablespoons of vegetable oil or melted butter, and 1/4 teaspoon of vanilla extract. If you’re making a vegan version, ensure your milk choice is plant-based and your chocolate chips are dairy-free.
Using your fork or whisk, stir the mixture until just combined. Be careful not to overmix, as this can develop gluten in the flour and result in a tougher texture. The batter should be smooth but still slightly thick. If it seems too dry, add another tablespoon of milk. If it’s too runny, add a small sprinkle of flour. The perfect consistency should slowly fall off your fork.
Third Step: Adding Chocolate Chips
For extra indulgence, fold in 2 tablespoons of chocolate chips or chunks into the batter. This step is optional but highly recommended for that melty, gooey chocolate center that makes mug cakes so special. You can use semi-sweet, milk, or dark chocolate chips depending on your preference. For a healthier twist, try cacao nibs or sugar-free chocolate chips.
If you’re feeling adventurous, this is also the time to add any additional mix-ins. A tablespoon of peanut butter, a sprinkle of sea salt, or even a dash of cinnamon can take your mug cake to the next level. However, be mindful not to add too many extras, as this can affect the cooking time and final texture.
Fourth Step: Microwave Cooking
Place your mug in the microwave and cook on high power for 70-90 seconds. Microwave ovens vary significantly in power, so start checking at the 70-second mark to prevent overcooking. The cake is done when it has risen and the edges look set but the center still appears slightly moist or jiggles slightly when you gently tap the mug.
For a more evenly cooked cake, try using 80% power for a longer time rather than full power. This can help prevent the outer edges from becoming tough while the center remains undercooked. If you’re unsure about your microwave’s power, it’s better to undercook slightly and add 10-second increments as needed.
Final Step: Cooling and Serving
Allow the cake to cool in the mug for about 1 minute. This resting period is crucial as it allows the cake to finish cooking with residual heat and the texture to set properly. During this time, the cake will deflate slightly, which is normal.
Serve your chocolate mug cake directly from the mug, or if you prefer a more elegant presentation, carefully invert it onto a small plate. Top with a scoop of vanilla ice cream, a dollop of whipped cream, or fresh berries for a complete dessert experience. For a decadent finish, drizzle with chocolate sauce or sprinkle with powdered sugar.
Remember, this single-serve chocolate cake is best enjoyed fresh from the microwave when it’s at its fudgiest and most delicious. The contrast between the warm cake and cold ice cream creates a restaurant-worthy dessert in minutes!

Dietary Substitutions to Customize Your Chocolate Mug Cake
Protein and Main Component Alternatives
Transforming this chocolate mug cake into a protein-packed treat is simpler than you might think. Replace 1-2 tablespoons of flour with your favorite protein powder, ensuring it’s a flavor that complements chocolate, such as vanilla or chocolate. Another excellent option is to use Greek yogurt in place of some or all of the oil for added protein and a moist texture. For those following a keto diet, almond flour can replace regular flour and erythritol can substitute for sugar, creating a low-carb version that still satisfies your chocolate cravings.
For additional nutrition, consider adding a tablespoon of ground flaxseed or chia seeds to the dry ingredients. These not only boost the omega-3 content but also add a subtle nutty flavor that pairs beautifully with chocolate. If you’re looking to increase fiber content, whole wheat flour can replace up to half of the all-purpose flour without significantly altering the taste or texture.
Vegetable, Sauce, and Seasoning Modifications
Believe it or not, adding vegetables to your mug cake can enhance both nutrition and moisture. Try incorporating 2 tablespoons of grated zucchini or carrot into the batter for additional vitamins and natural sweetness. These additions are virtually undetectable in the final product but contribute to a more nutritious treat.
For those who enjoy complementary flavors, a teaspoon of instant espresso powder can intensify the chocolate flavor without adding coffee taste. Alternatively, a dash of cinnamon or a sprinkle of cayenne pepper can create a Mexican-inspired twist. If you prefer fruit additions, mashed banana or pureed pumpkin can replace some of the oil while adding natural sweetness and nutritional benefits.
Sauce-wise, consider adding a dollop of peanut butter or almond butter to the center of the batter before microwaving. This creates a delicious molten center that oozes out when you cut into the cake. For a fruitier variation, raspberry or strawberry jam swirled into the batter offers a delightful contrast to the rich chocolate.
Mastering Chocolate Mug Cake: Advanced Tips and Variations
Once you’ve mastered the basic chocolate mug cake recipe, there are numerous ways to take your creation to the next level. These advanced techniques and creative variations will help you develop your own signature mug cake that impresses friends and family.
Pro cooking techniques
For an incredibly moist cake with a molten center, try the “undercook method.” Microwave your mug cake for 10-15 seconds less than the recommended time. The center will remain slightly gooey while the edges are fully cooked, creating that coveted lava cake effect. Another professional technique is to butter your mug generously and dust it with cocoa powder before adding the batter. This not only prevents sticking but also creates a slightly crisp, flavorful crust on the outside of the cake.
Temperature control is key to mug cake perfection. If you find that your microwave cooks unevenly, try using the defrost setting for a longer period rather than full power. This gentler heating method results in a more evenly cooked cake with a better texture. For those who prefer an oven-baked version, preheat to 350°F (175°C) and bake for 12-15 minutes until a toothpick comes out clean.
Flavor variations
The basic chocolate mug cake is incredibly versatile and can be customized in countless ways. For a mocha variation, replace 1 tablespoon of milk with strong brewed coffee. The coffee enhances the chocolate flavor without overpowering it. A peanut butter lover’s version can be achieved by adding 1 tablespoon of peanut butter to the batter and using peanut butter chips instead of chocolate chips.
For a mint chocolate experience, add 1/4 teaspoon of peppermint extract to the batter and top with crushed candy canes when serving. Coconut enthusiasts can add 1 tablespoon of shredded coconut to the dry ingredients and use coconut milk instead of regular milk. A funfetti variation is perfect for celebrations simply add 1 tablespoon of rainbow sprinkles to the batter for a colorful and festive treat.
Presentation tips
Transform your simple mug cake into an elegant dessert with thoughtful presentation. Invert the cake onto a small plate for a more sophisticated look, then dust with powdered sugar or cocoa powder using a fine sieve. A dollop of homemade whipped cream flavored with a hint of vanilla or almond extract adds both visual appeal and complementary flavor.
For restaurant-worthy plating, arrange fresh berries around the base of the cake and drizzle with chocolate sauce or caramel. A single mint leaf or a piece of chocolate on top provides the finishing touch. If serving to guests, consider using clear glass mugs so they can see the layers of chocolate goodness before diving in.
Make-ahead options
While mug cakes are best when made fresh, you can prepare dry ingredient mixes in advance for convenience. Combine the flour, sugar, cocoa powder, baking powder, and salt in small jars or bags. When you’re ready to enjoy a treat, simply add the wet ingredients and microwave. These pre-made mixes also make thoughtful gifts for chocolate lovers.
For those who meal prep, you can freeze fully cooked mug cakes for up to three months. Allow them to cool completely, wrap tightly in plastic wrap and aluminum foil, then freeze. To enjoy, thaw in the refrigerator overnight and reheat in the microwave for 30-45 seconds until warmed through. This method doesn’t yield exactly the same texture as fresh, but it’s still a satisfying treat when you need a quick chocolate fix.
How to Store Chocolate Mug Cake: Best Practices
While chocolate mug cake is best enjoyed fresh from the microwave, sometimes you might find yourself with leftovers or want to prepare treats in advance. Proper storage ensures that your cake maintains its delicious taste and texture for as long as possible.
Refrigeration
If you plan to eat your leftover mug cake within 1-2 days, refrigeration is your best option. Allow the cake to cool completely before covering the mug with plastic wrap or transferring the cake to an airtight container. When stored properly in the refrigerator, the cake will remain moist and flavorful. To refresh refrigerated leftovers, microwave for 20-30 seconds until warmed through. This brief reheating helps restore some of the freshly cooked texture.
Freezing
For longer storage, freezing is an excellent option. Wrap the cooled mug cake completely in plastic wrap, then place it in a freezer-safe bag or container. Label with the date and contents, as frozen mug cake is best consumed within 3 months. When you’re ready to enjoy your frozen treat, thaw it in the refrigerator overnight. For a quick option, you can also reheat from frozen, but increase the microwave time to 1-2 minutes and check frequently to prevent overheating.
Reheating
The key to successfully reheating mug cake is to restore warmth without drying it out. For refrigerated leftovers, microwave in 15-second intervals until warmed through, checking after each interval. If the cake seems dry, try placing a small ice cube on top before microwaving. As the ice melts, it adds moisture back into the cake. For oven reheating, place the cake on a baking sheet and warm in a 300°F (150°C) oven for 5-7 minutes.
Meal prep considerations
Mug cakes are ideal for individual portion control, making them perfect for meal prep. Consider preparing several mugs at once, but only cook them when ready to eat to maintain freshness. Alternatively, prepare the dry ingredients in advance in multiple mugs or containers, then simply add wet ingredients and microwave when desired. This approach gives you the convenience of quick preparation while ensuring each cake tastes freshly made.
FAQs: Frequently Asked Questions About Chocolate Mug Cake
How do you make chocolate mug cake in the microwave?
What ingredients do I need for chocolate mug cake?
Can you make chocolate mug cake in the oven?
Is chocolate mug cake healthy?
Why does my chocolate mug cake get rubbery?

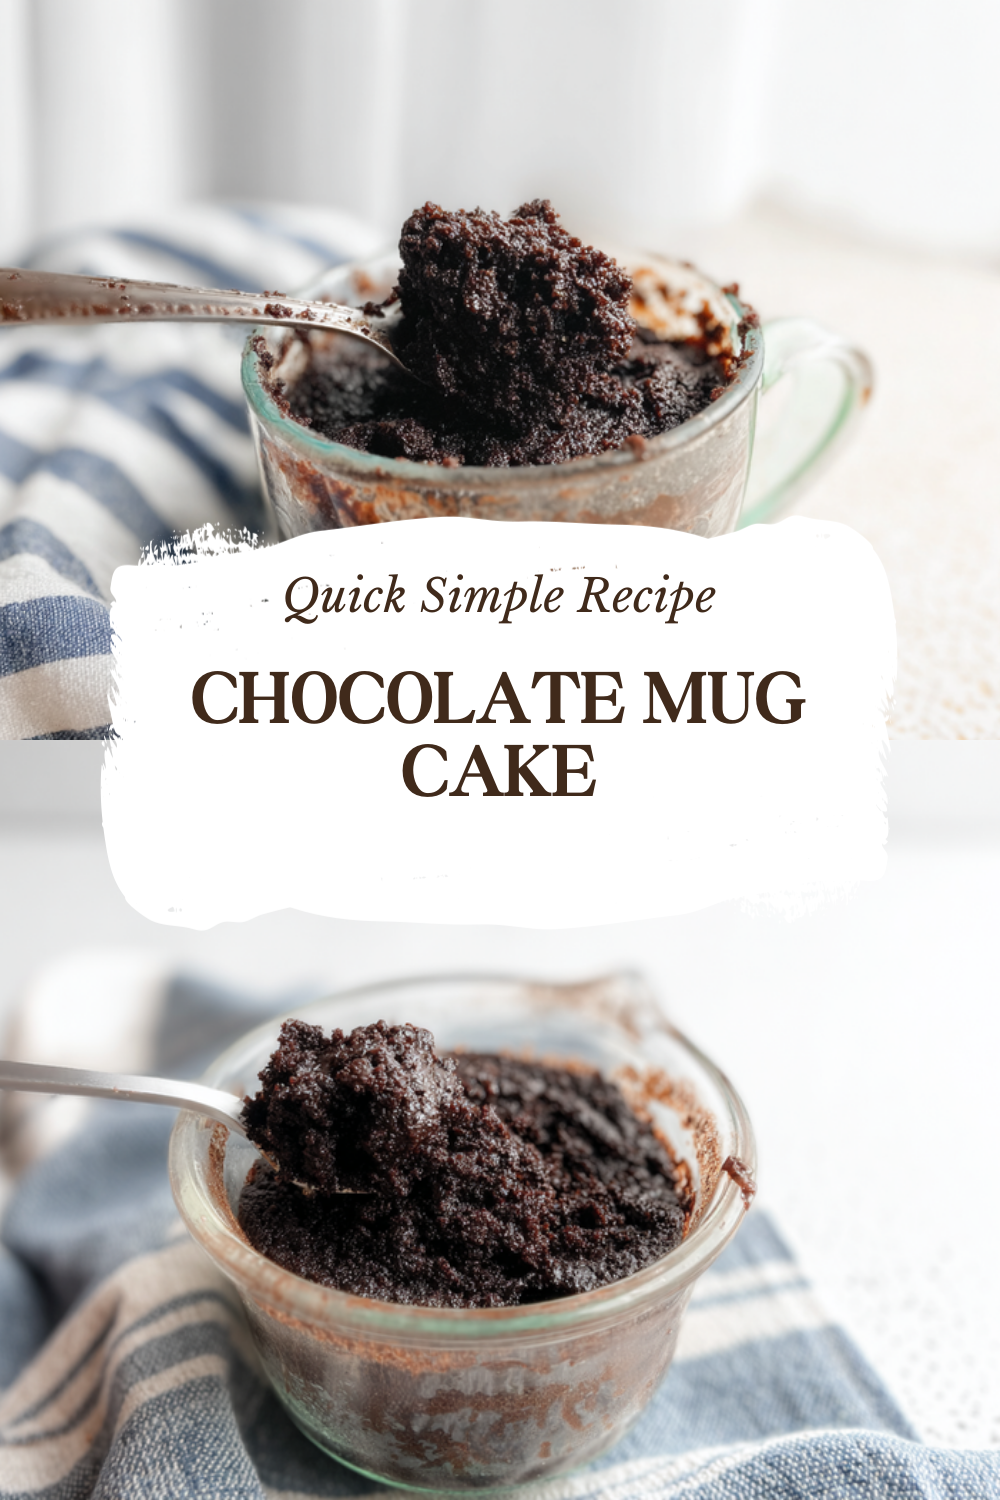
Chocolate Mug Cake
🍫 Decadent single-serve chocolate mug cake with fudgy center and fluffy top – instant chocolate fix!
⚡ Ready in under 2 minutes in microwave; perfect for solo treats or midnight cravings.
- Total Time: 5.5 minutes
- Yield: 1 mug cake
Ingredients
– 4 tablespoons all-purpose flour for structure
– 4 tablespoons granulated sugar for sweetness and browning
– 2 tablespoons unsweetened cocoa powder for rich chocolate flavor
– 1/4 teaspoon baking powder for rising
– 1/8 teaspoon salt to enhance chocolate flavor
– 3 tablespoons milk (dairy or plant-based) for batter consistency
– 2 tablespoons vegetable oil or melted butter for moisture and richness
– 1/4 teaspoon vanilla extract to round out chocolate flavor
– 2 tablespoons chocolate chips or chunks for extra indulgence (optional)
Instructions
1-First Step: Dry Ingredients Combination Start by adding your dry ingredients to the mug. Combine 4 tablespoons of all-purpose flour, 4 tablespoons of granulated sugar, 2 tablespoons of unsweetened cocoa powder, 1/4 teaspoon of baking powder, and a pinch of salt (about 1/8 teaspoon). Using a small fork or whisk, mix these ingredients thoroughly until well combined. This step ensures that the leavening agent is evenly distributed throughout the flour, which helps the cake rise uniformly. For those with dietary restrictions, this is the time to make your substitutions. If you’re using gluten-free flour, ensure it’s a blend designed for baking that includes xanthan gum. For a lower sugar version, substitute the granulated sugar with your preferred sweetener, keeping in mind that some alternatives may affect the final texture slightly.
2-Second Step: Adding Wet Ingredients Once your dry ingredients are well mixed, it’s time to add the wet components. Pour in 3 tablespoons of milk (dairy or plant-based), 2 tablespoons of vegetable oil or melted butter, and 1/4 teaspoon of vanilla extract. If you’re making a vegan version, ensure your milk choice is plant-based and your chocolate chips are dairy-free. Using your fork or whisk, stir the mixture until just combined. Be careful not to overmix, as this can develop gluten in the flour and result in a tougher texture. The batter should be smooth but still slightly thick. If it seems too dry, add another tablespoon of milk. If it’s too runny, add a small sprinkle of flour. The perfect consistency should slowly fall off your fork.
3-Third Step: Adding Chocolate Chips For extra indulgence, fold in 2 tablespoons of chocolate chips or chunks into the batter. This step is optional but highly recommended for that melty, gooey chocolate center that makes mug cakes so special. You can use semi-sweet, milk, or dark chocolate chips depending on your preference. For a healthier twist, try cacao nibs or sugar-free chocolate chips. If you’re feeling adventurous, this is also the time to add any additional mix-ins. A tablespoon of peanut butter, a sprinkle of sea salt, or even a dash of cinnamon can take your mug cake to the next level. However, be mindful not to add too many extras, as this can affect the cooking time and final texture.
4-Fourth Step: Microwave Cooking Place your mug in the microwave and cook on high power for 70-90 seconds. Microwave ovens vary significantly in power, so start checking at the 70-second mark to prevent overcooking. The cake is done when it has risen and the edges look set but the center still appears slightly moist or jiggles slightly when you gently tap the mug. For a more evenly cooked cake, try using 80% power for a longer time rather than full power. This can help prevent the outer edges from becoming tough while the center remains undercooked. If you’re unsure about your microwave’s power, it’s better to undercook slightly and add 10-second increments as needed.
5-Final Step: Cooling and Serving Allow the cake to cool in the mug for about 1 minute. This resting period is crucial as it allows the cake to finish cooking with residual heat and the texture to set properly. During this time, the cake will deflate slightly, which is normal. Serve your chocolate mug cake directly from the mug, or if you prefer a more elegant presentation, carefully invert it onto a small plate. Top with a scoop of vanilla ice cream, a dollop of whipped cream, or fresh berries for a complete dessert experience. For a decadent finish, drizzle with chocolate sauce or sprinkle with powdered sugar. Remember, this single-serve chocolate cake is best enjoyed fresh from the microwave when it’s at its fudgiest and most delicious. The contrast between the warm cake and cold ice cream creates a restaurant-worthy dessert in minutes!
Last Step:
Please leave a rating and comment letting us know how you liked this recipe! This helps our business to thrive and continue providing free, high-quality recipes for you.Notes
⏱️ Microwave times vary by wattage – check at 70 seconds to avoid overcooking.
🥛 Room temp milk and oil mix smoother; batter should be thick like brownie batter.
🍦 Let rest 2 minutes for perfect texture; serve warm for gooey bliss.
- Prep Time: 2 minutes
- Cool: 2 minutes
- Cook Time: 1.5 minutes
- Category: Dessert
- Method: Microwave
- Cuisine: American
- Diet: Vegetarian
Nutrition
- Serving Size: 1 cake
- Calories: 450 calories
- Sugar: 28g
- Sodium: 150mg
- Fat: 24g
- Saturated Fat: 6g
- Unsaturated Fat: 17g
- Trans Fat: 0g
- Carbohydrates: 54g
- Fiber: 3g
- Protein: 6g
- Cholesterol: 5mg


