
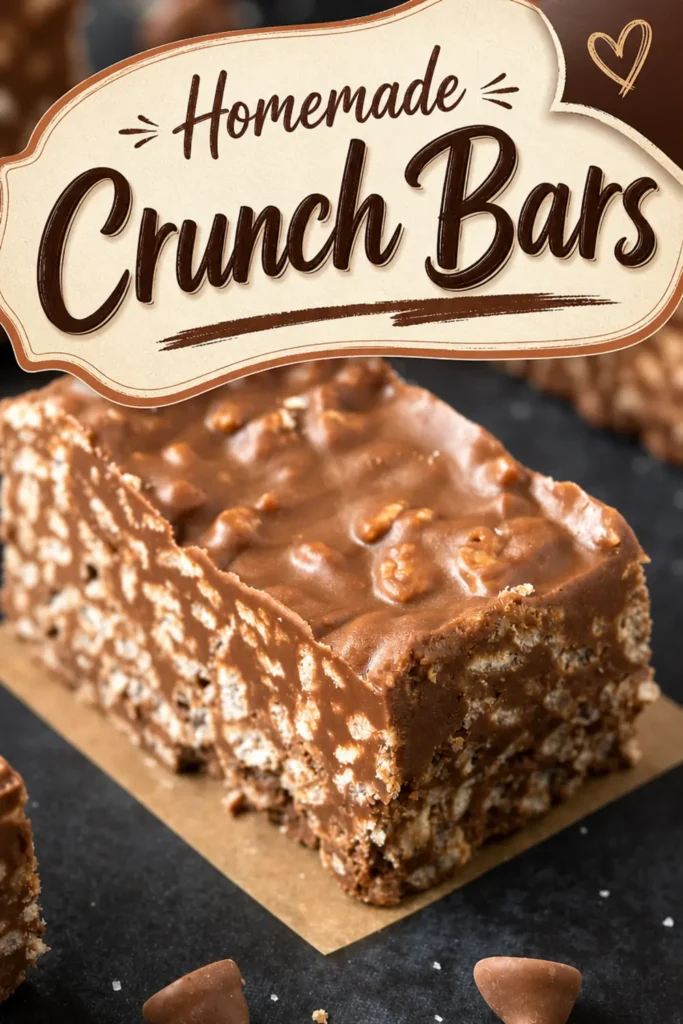
Homemade Crunch Bars (Award Winning Recipe!)
If you grew up cracking open a Crunch bar after school, this recipe is for you. When Nestle announced in 2018 that Crunch bars were being discontinued, I did what any stubborn home cook does.
I headed into the kitchen and figured out how to make them myself. What came out of that afternoon was better than anything I could have bought, and it is now the treat my family asks for again and again.
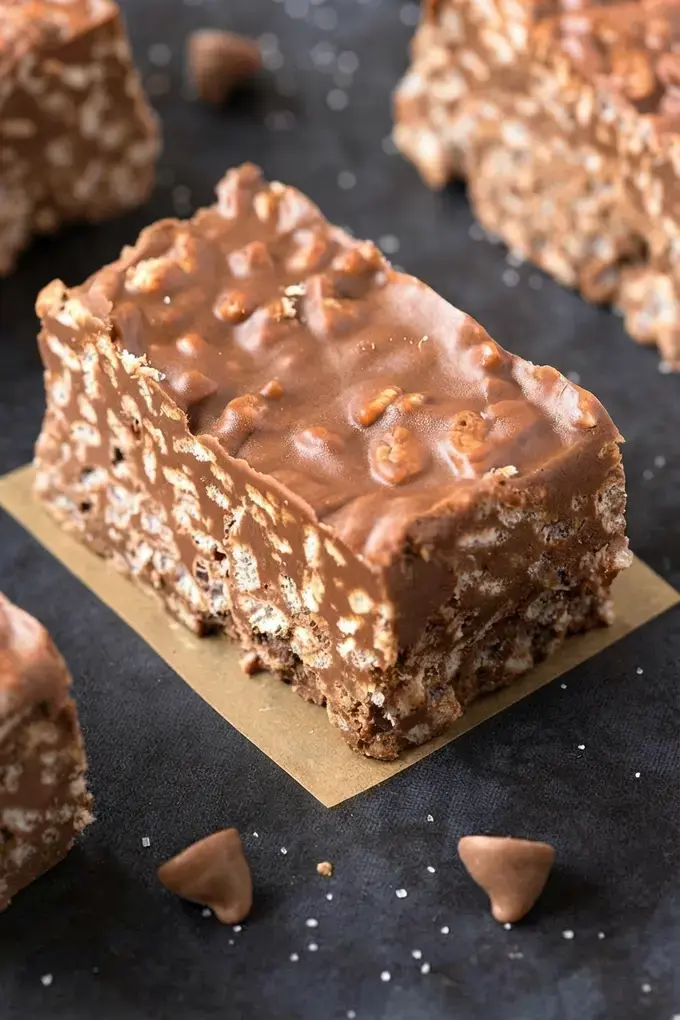
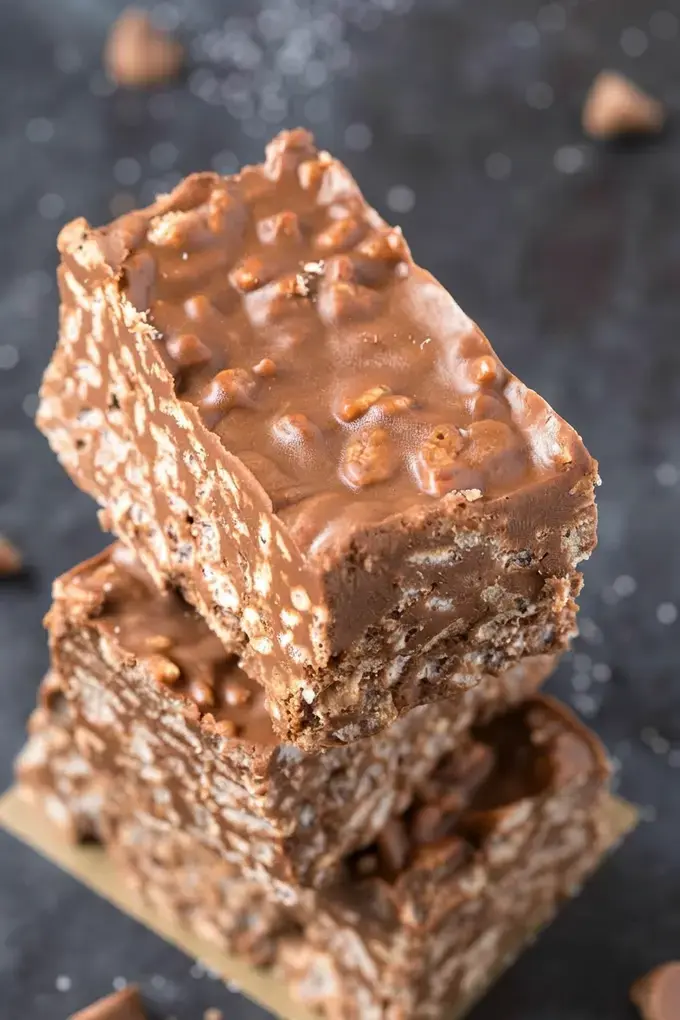
These homemade crunch bars use five ingredients and come together in about five minutes. They are vegan, gluten free, and dairy free, and you can make them completely sugar free if you like. The texture is what wins people over. Every bite is crispy and crunchy from the cereal, then smooth and creamy from the chocolate peanut butter coating.
I want to be honest about the other homemade crunch bar recipes out there. Most of them use two or three ingredients, usually melted chocolate poured over crispy rice cereal. Technically, that is a crunch bar.

In practice, it tastes pretty average, and the chocolate sets up hard and dull. This version is different. The peanut butter, maple syrup, and coconut oil turn the chocolate into something silky that clings to every piece of cereal without turning waxy in the fridge.
Thousands of readers have made this recipe since I first shared it, and it has picked up an award along the way, which still makes me smile. It is the kind of treat you bring to a potluck and watch disappear before the main dish even reaches the table.
Serve them chilled or at room temperature, stacked on a plate next to coffee, or tucked into a lunch bag for later. Either way, you are welcome to double the batch. I almost always do.
Jump to:
- Homemade Crunch Bars (Award Winning Recipe!)
- WHY THESE ARE THE BEST HOMEMADE CRUNCH BARS
- HOW TO MAKE HOMEMADE CRUNCH BARS
- THE INGREDIENTS (and substitution tips!)
- STORING CRUNCH BARS
- CAN I MAKE CRUNCH BARS KETO AND PALEO?
- FAQs
- How do you make homemade crunch bars?
- What are the ingredients in homemade crunch bars?
- How long do homemade crunch bars last?
- Can I make homemade crunch bars gluten free?
- Homemade Crunch Bars
- Ingredients
- Instructions
- Last Step:
- Nutrition
- Did you make this recipe?
WHY THESE ARE THE BEST HOMEMADE CRUNCH BARS
Let me tell you what makes this recipe stand apart from the crowd.
The texture does most of the work. These bars are crunchy, crispy, smooth, and creamy all at once, which sounds like a contradiction until you take a bite. The cereal keeps its snap, and the chocolate mixture stays soft enough to melt on your tongue instead of shattering.
Then there is the ingredient list. Traditional crunch bars rely on butter, sugar, margarine, and several kinds of oil to get that familiar snap. This version skips all of that and leans on five pantry staples instead.
It takes less than two minutes to whip the filling together, which means you can start this recipe on a whim at 9 p.m. and still have dessert before bed.

The bars are naturally vegan, gluten free, and dairy free, so they work for a crowd with mixed dietary needs. I have brought them to birthday parties, school bake sales, and holiday trays, and nobody has ever guessed they were made without butter or refined sugar.
There is also a completely sugar free option, which I will walk you through in the ingredients section. That flexibility is exactly why I keep coming back to this recipe instead of hunting down a store bought box.
One more thing, and it matters. You do not need any special equipment. No mixer, no double boiler, no candy thermometer. A bowl, a spoon, a baking dish, and a few minutes of your time are the whole list.
HOW TO MAKE HOMEMADE CRUNCH BARS
This is a no bake recipe, and it comes together faster than you would expect. The recipe card lists a prep time of 2 minutes and a cook time of 1 minute, though the real waiting happens in the refrigerator rather than at the stove.
- Line your dish. Line an 8 x 8 inch baking dish, or a deep baking tray of your choice, with parchment paper and set it aside. The parchment makes it easy to lift the whole block out later.
- Get the cereal ready. Add the crispy rice cereal to a large mixing bowl and set it aside.
- Melt everything else. In a microwave safe bowl or on the stovetop, combine all of the other ingredients and heat until melted. Remove from the microwave or take the pan off the heat, then whisk until the mixture is completely incorporated, silky, thick, and smooth.
- Combine. Pour the chocolate and peanut butter mixture over the crispy rice cereal and mix until every piece is coated.
- Chill. Pour the mixture into the lined baking dish and refrigerate until firm, at least one hour.
- Slice. Remove the block from the dish and cut it into bars. One batch gives you 20 bars.
A quick tip from my own kitchen: if your kitchen runs warm, slide the dish into the freezer for 20 minutes first, then move it to the fridge. This does not change the recipe, it just makes slicing cleaner.
When you are ready to cut, lift the whole block out by the parchment paper and set it on a cutting board. A long, sharp knife gives you clean edges, and wiping the blade between cuts keeps the lines neat.
Once the bars are cut, they hold their shape beautifully at room temperature, which makes them easy to pack in a lunch bag or stack on a dessert platter for guests.
THE INGREDIENTS (and substitution tips!)
Five ingredients, one bowl, and a whole lot of flavor. Here is exactly what goes into these crunch bars.
| Ingredient | Amount |
|---|---|
| Crispy rice cereal | 3 cups |
| Chocolate chips | 1 1/2 cups |
| Peanut butter | 1 cup |
| Maple syrup | 1/2 cup |
| Coconut oil | 1/4 cup |
Now let me walk through each one, because the small choices really do matter here.
Crispy rice cereal. This is where the crunch comes from, so use a cereal you genuinely enjoy. The original cookbook version of this recipe used cornflakes. I prefer gluten free crispy rice cereal, and any crispy rice cereal works perfectly if you do not have a gluten intolerance.
Peanut butter. Crunchy peanut butter is my pick because those little pieces of peanut add another layer of texture. Smooth peanut butter works just as well if that is what you have in the pantry.
If you are dealing with a peanut allergy, crunchy sunflower seed butter or soynut butter are both lovely swaps. Almond butter and cashew butter also work, and they change the flavor in a really pleasant way.
Chocolate chips. Go with a high quality chocolate bar, either baking style or standard, or a good bag of chocolate chips. I usually reach for dairy free chocolate chunks, and the bars still set up firm and glossy. Better chocolate means a better bar, so this is the one place I do not cut corners.
Maple syrup. Real maple syrup brings a soft, warm sweetness that plain sugar cannot match. It also keeps the chocolate mixture pourable, which is how you get an even coat on every single piece of cereal.
Coconut oil. Coconut oil is my preference because it helps the chocolate set firm at room temperature without any waxiness. Butter or vegan butter also works if that is what you keep on hand.
Here is a quick reference for the swaps, so you can shop your own kitchen first.
- Cereal: gluten free crispy rice cereal, cornflakes, or any crispy rice cereal if gluten is not a concern.
- Nut butter: crunchy peanut butter, smooth peanut butter, almond butter, cashew butter, crunchy sunflower seed butter, or soynut butter.
- Chocolate: chocolate chips, chocolate chunks, or a chopped high quality chocolate bar.
- Sweetener: maple syrup or a sugar free syrup alternative.
- Fat: coconut oil, butter, or vegan butter.
How to make these crunch bars sugar free. Yes, you can make the entire batch sugar free, and it works surprisingly well. Use a sugar free baking bar or sugar free chocolate chips rather than a generic sugar free candy bar.
Melting a regular candy bar will not give you the smooth, pourable consistency this recipe needs. For the sweetener, swap the maple syrup for a sugar free syrup alternative.
I have tested this version several times and the bars still set up firm, though the flavor is a little less rounded than the original.
A note on nutrition: the source recipe card lists each bar at 142 calories, 16 grams of carbohydrates, 4 grams of protein, 10 grams of fat, 1 gram of fiber, and 69 milligrams of sodium, based on one bar per serving.
STORING CRUNCH BARS
These bars store beautifully, which is one more reason to make a double batch. Keep them at room temperature in a sealable container, and they stay fresh for up to two weeks. I keep mine on the counter in a glass container with a tight lid, and they never last that long anyway.
They are also freezer friendly. Wrap individual bars in parchment paper, tuck them into ziplock bags, and freeze for up to six months. When a craving hits, take one out and let it sit on the counter for a few minutes. It softens just enough to taste like it was made that morning.
If you live somewhere humid, a layer of parchment between stacked bars keeps them from sticking together. That small step makes a big difference when you are pulling them out for a party tray.
One last note on the cut. Smaller squares work well on a cookie platter, while longer bars feel more like the candy bar you remember. Either shape stores exactly the same way, so choose whatever looks best on your table.
CAN I MAKE CRUNCH BARS KETO AND PALEO?
Absolutely. There is a keto and paleo version of this recipe, and it uses nuts and seeds in place of the cereal. You will also want keto approved chocolate and syrup to keep the carb count low.
The method stays exactly the same: melt, mix, press into the dish, and chill until firm. I have made this variation for friends who follow a low carb way of eating, and they always ask for the recipe before they head home.
FAQs
How do you make homemade crunch bars?
What are the ingredients in homemade crunch bars?
How long do homemade crunch bars last?
Can I make homemade crunch bars gluten free?

Homemade Crunch Bars
Homemade Crunch Bars (Award Winning Recipe! ) If you grew up cracking open a Crunch bar after school, this recipe is for you.
- Total Time: 1 hour 3 minutes
- Yield: 20 bars 1x
Ingredients
3 cups crispy rice cereal
1 1/2 cups chocolate chips
1 cup peanut butter
1/2 cup maple syrup
1/4 cup coconut oil
Instructions
1-Line an 8 x 8-inch baking dish: Line an 8 x 8-inch baking dish or deep baking tray of choice with parchment paper and set aside.
2-Add crispy rice cereal into a large: Add crispy rice cereal into a large mixing bowl and set aside. In a microwave safe bowl or stovetop, combine all your other ingredients and heat until melted. Remove from microwave/off stove and whisk until completely incorporated.
3-Pour the chocolate/peanut butter mixture over the: Pour the chocolate/peanut butter mixture over the crispy rice cereal and mix until combined. Pour into the lined baking dish and refrigerate until firm (at least an hour).
4-Remove and cut into bars: Remove and cut into bars.
Last Step:
Please leave a rating and comment letting us know how you liked this recipe! This helps our business to thrive and continue providing free, high-quality recipes for you.- Prep Time: 2 min
- Cook Time: 1 min
- Method: no_cook
Nutrition
- Serving Size: 1 bar
- Calories: 142
- Sodium: 69
- Fat: 10
- Carbohydrates: 16
- Fiber: 1
- Protein: 4