

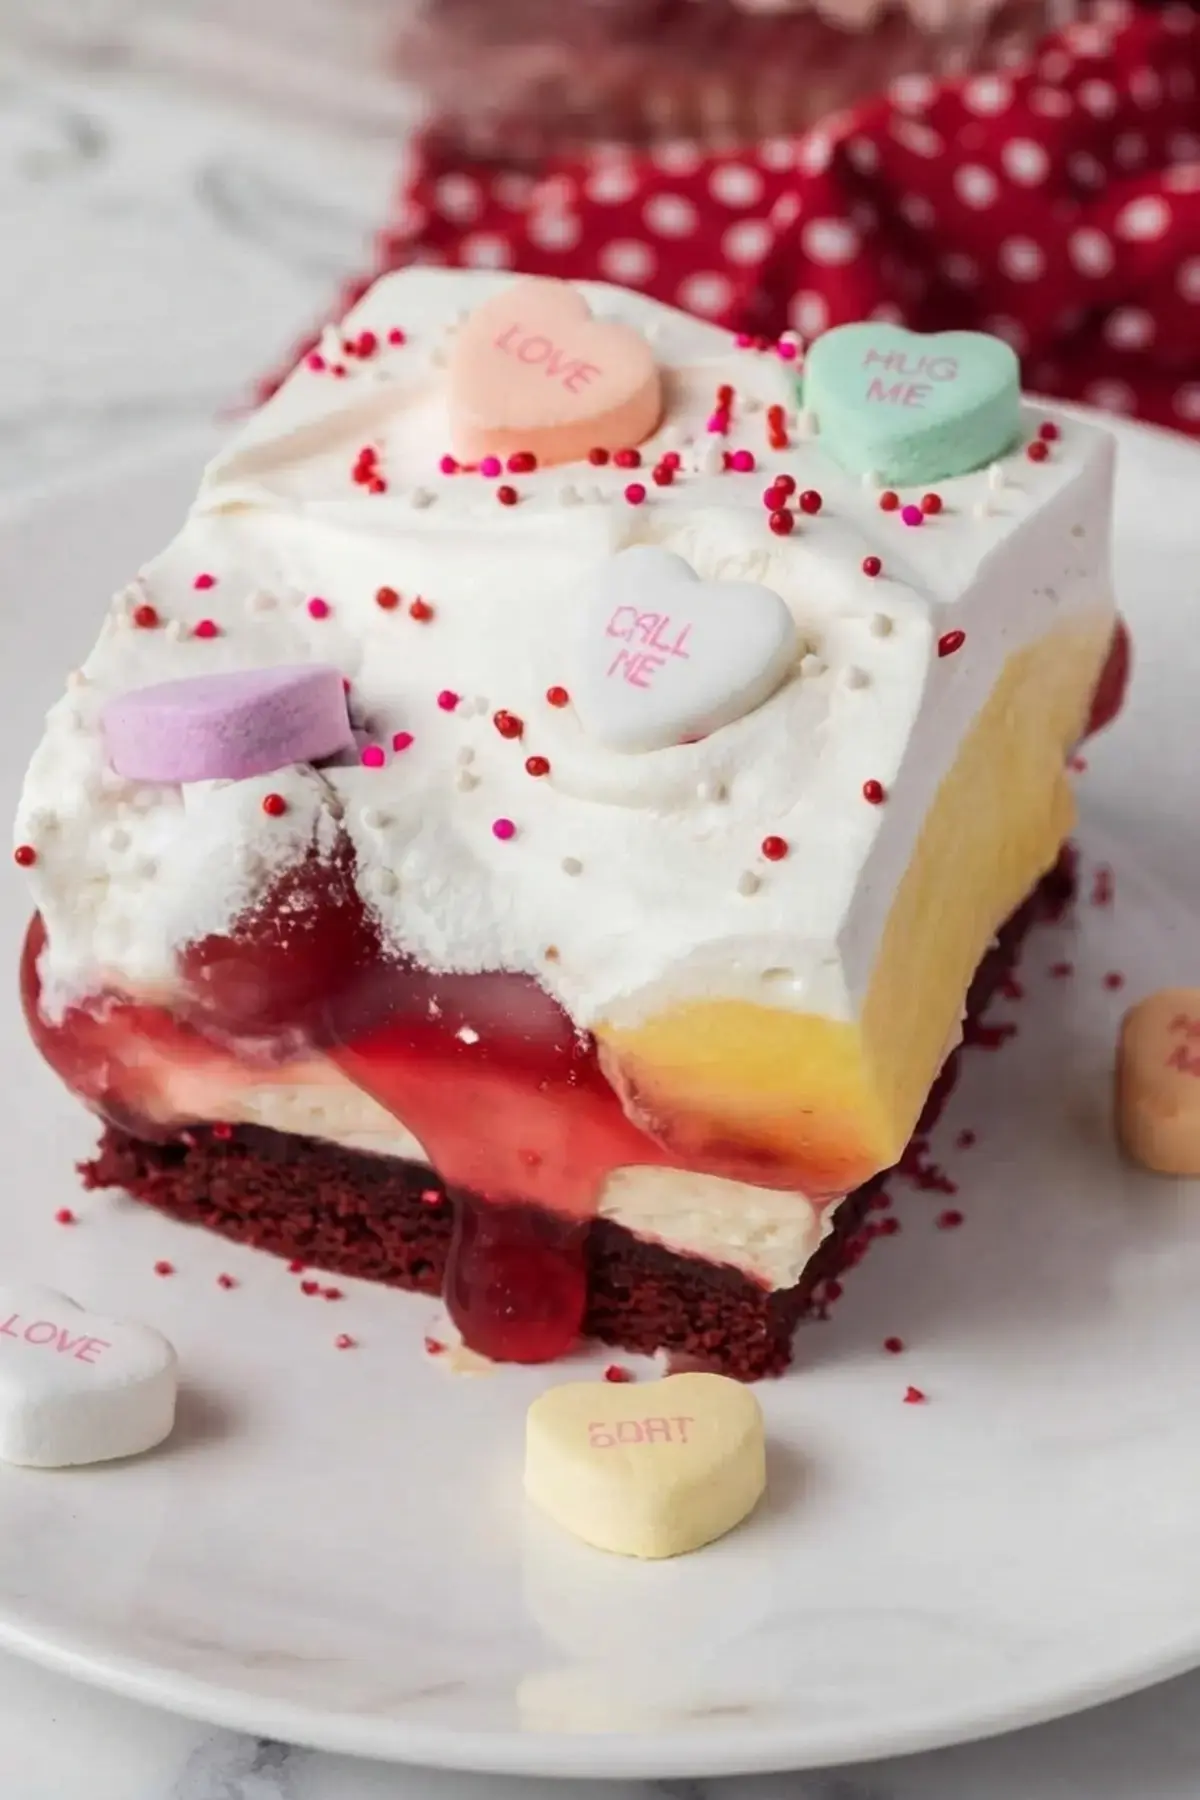
Red Velvet Cherry Dream Bars
If you want a dessert that looks fancy but comes together without much fuss, these Red Velvet Cherry Dream Bars are a total winner. Picture a chewy red velvet cookie crust, a sweet cheesecake layer, glossy cherry pie filling, creamy vanilla pudding, and a soft cloud of whipped topping. Each bite gives you a little of every single layer.
I make these for the holidays, and they always vanish first from the dessert table. Even so, the red velvet fans in my house ask for them all year long, so I stopped waiting for a special occasion. They are also a lovely Valentine’s Day treat, because that deep red color does most of the decorating for you.

Here is the part I love most. Even with five layers stacked together, these bars stay light enough that nobody pushes their plate away feeling overly full. They are rich, but in a soft and creamy way that keeps you coming back for one more small square.
Jump to:
- Red Velvet Cherry Dream Bars
- SAVE THIS RED VELVET CHERRY DREAM BAR RECIPE TO YOUR FAVORITE PINTEREST BOARD!
- Ingredients for Red Velvet Lasagna
- How to Make Red Velvet Cherry Dream Bars
- Bake the Dream Bar Crust
- Make the Pudding
- Sweet Cheese Layer
- Assemble the Red Velvet Dream Bars
- Tips for Cutting Red Velvet Cherry Dream Bars
- How do I store leftover Dream Bars?
- Can I make Red Velvet Cherry Dream Bars ahead of time?
- Do you love Red Velvet recipes?
- Make More Dream Bars!
- FOLLOW ME
- FAQs
- How should I store leftover Red Velvet Cherry Dream Bars?
- Can I make Red Velvet Cherry Dream Bars ahead of time?
- Can I use Red Velvet Oreos instead of cake mix for the crust?
- How do I cut Red Velvet Cherry Dream Bars cleanly?
- Red Velvet Cherry Dream Bars
- Ingredients
- Instructions
- Last Step:
- Nutrition
- Did you make this recipe?
SAVE THIS RED VELVET CHERRY DREAM BAR RECIPE TO YOUR FAVORITE PINTEREST BOARD!
Dream bars are also called dessert lasagna or lush, and they are some of the most popular recipes on the site. There is a version for almost every craving, from banana pudding to chocolate peanut butter.
For this one, I wanted a red velvet crust that actually tastes like red velvet instead of just looking red. So I reached for a boxed red velvet cake mix and used it without the water the package calls for.
Skipping that liquid gives you a thick, dense cookie base rather than a light and airy cake. I considered using Red Velvet Oreos for the crust, but I set that idea aside because they would not give me the crust color I was after.
One important heads up before you start. That cake mix expands quite a bit in the oven, so this recipe needs a 9 x 13 inch baking dish instead of the 8 x 8 inch pan I usually grab for dream bars. The smaller pan simply will not hold it.
If you want to cut the recipe in half, use one package of Red Velvet Oreos and follow the crust directions in the linked dream bar recipe on the site.
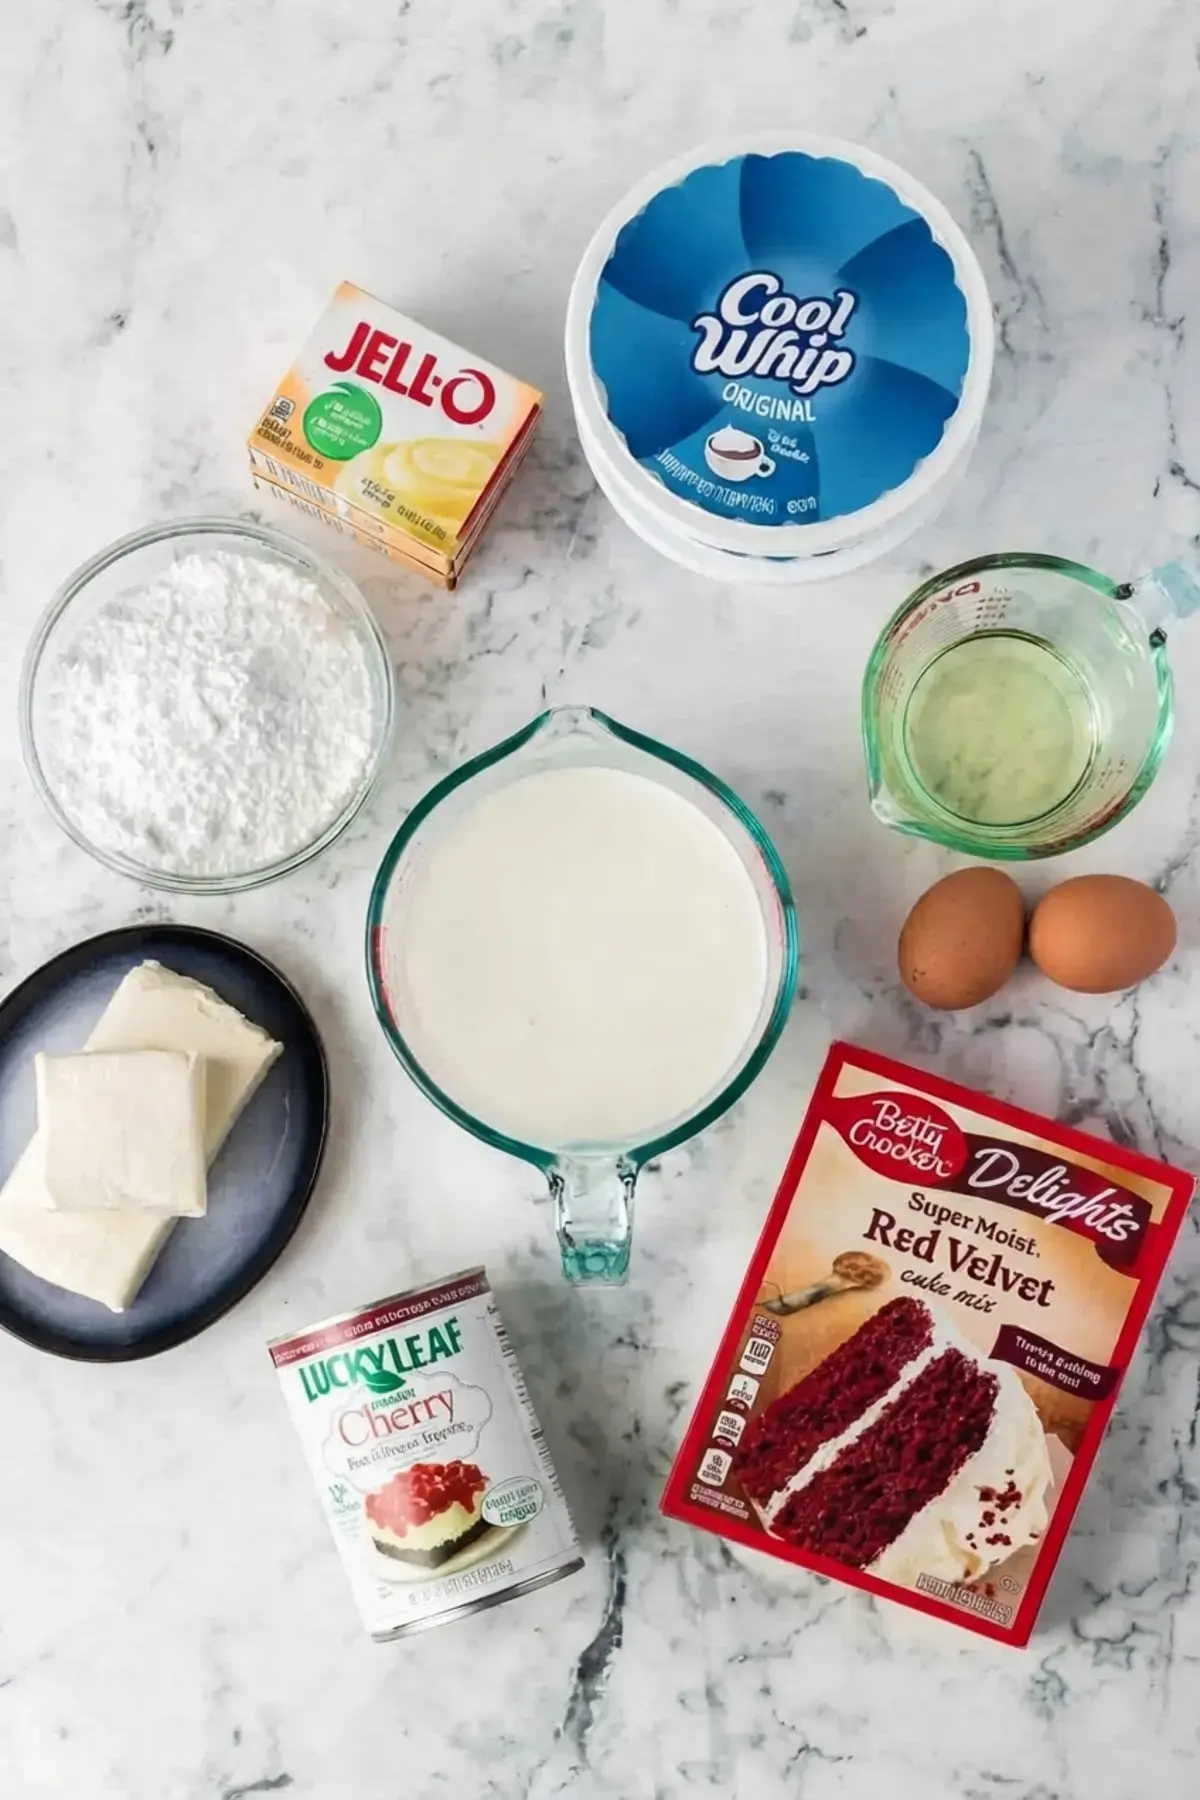
Ingredients for Red Velvet Lasagna
Here is everything you need to build these bars. I like to line up the bowls in the order I will use them, which keeps the whole process calm and organized.
For the red velvet cookie crust
- 1 package (16.5 ounces) red velvet cake mix, used as is and not mixed according to the package directions
- 2 large eggs
- 1/3 cup canola oil
For the vanilla pudding layer
- 2 packages (3.4 ounces each) instant vanilla pudding
- 3 cups milk, whole or lower fat
For the sweet cheese layer
- 10 ounces cream cheese, softened to room temperature
- 1 cup confectioners’ sugar
- 1 teaspoon pure vanilla extract
For assembly
- 1 can (21 ounces) cherry pie filling
- 2 containers (8 ounces each) Cool Whip, with Dairy Whip as an easy substitute
One quick note about that cake mix. Buy the standard box and ignore the egg, oil, and water amounts printed on the side. You are using the dry mix as the base of a cookie crust, not baking a cake.
If you would rather skip Cool Whip, the site’s Stabilized Whipped Cream works beautifully in all of the dream bar recipes. For these bars, double that whipped cream recipe so you have enough for both the cheese layer and the top.
For reference, the source nutrition lists about 425 calories, 61 grams of carbohydrates, 6 grams of protein, and 19 grams of fat per serving.
How to Make Red Velvet Cherry Dream Bars
Make the individual layers first, then assemble the dessert lasagna once everything is ready. I usually start with the crust because it needs time to cool, then work on the pudding and the cheese layer while the crust bakes and cools.
| Layer | What goes into it |
|---|---|
| Red velvet cookie crust | Cake mix, eggs, canola oil |
| Sweet cheese layer | Cream cheese, confectioners’ sugar, vanilla, Cool Whip |
| Cherry layer | Cherry pie filling |
| Pudding layer | Instant vanilla pudding, milk |
| Topping | Remaining Cool Whip, optional sprinkles and red sugar |
Bake the Dream Bar Crust
Preheat the oven to 350 degrees F. Prepare a 9 x 13 inch baking dish by spraying it lightly with cooking spray. If you want the easiest possible removal later, line the dish with parchment paper as well.
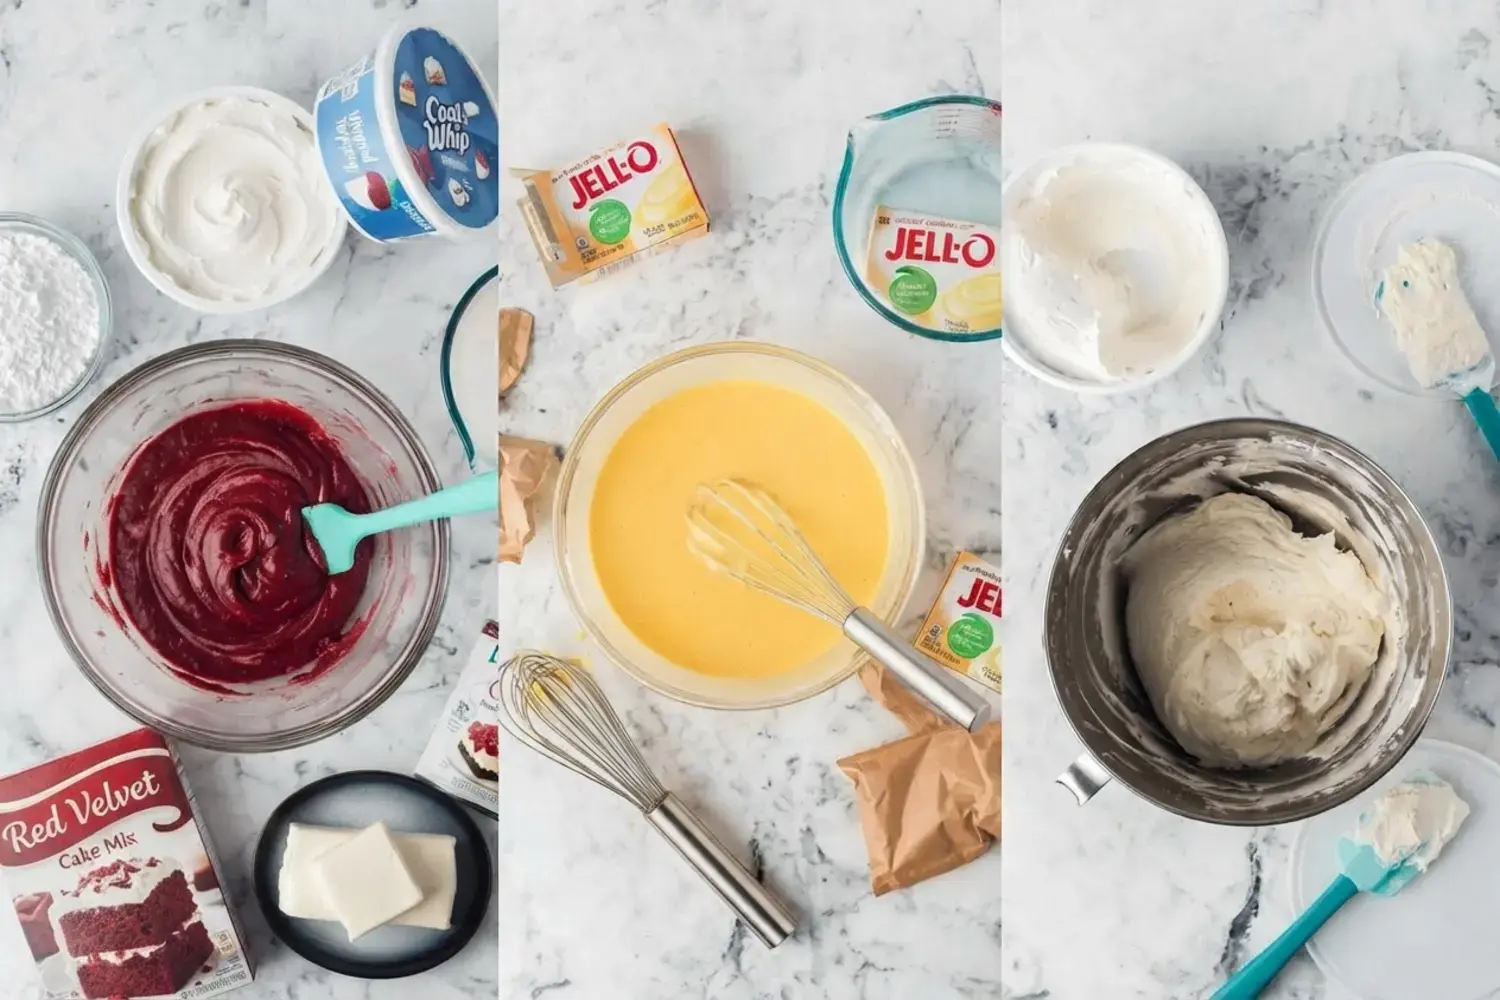
In a medium mixing bowl, lightly beat the eggs. Add the canola oil and the cake mix, then mix everything together until it is thoroughly combined with no lumps. Do not follow the package directions on the cake mix box.
The batter will be very thick rather than light and airy, and that texture is exactly what gives you a chewy cookie crust.
Press the batter evenly into the bottom of the prepared dish. A silicone spatula works well here because the batter is stiff and a little sticky.
Bake for 12 to 15 minutes, until the middle is set. Then transfer the baking dish to a wire rack and let the crust cool completely before you add any layers on top.
The cake mix is the quiet secret here. Use it dry, without the water, and you get a thick cookie base instead of a sponge.
Make the Pudding
In a medium bowl, mix together the pudding mix and the milk. Place it in the refrigerator to set while you finish the rest of the layers. It should be thick and creamy by the time you assemble everything.
Sweet Cheese Layer
In a mixing bowl, beat the cream cheese with an electric mixer on medium speed until it is light and fluffy. Add the confectioners’ sugar and the vanilla, and combine well.
Then fold in two cups of the Cool Whip using a silicone spatula, working gently so you keep that airy texture. Set the mixture aside until you are ready to assemble.
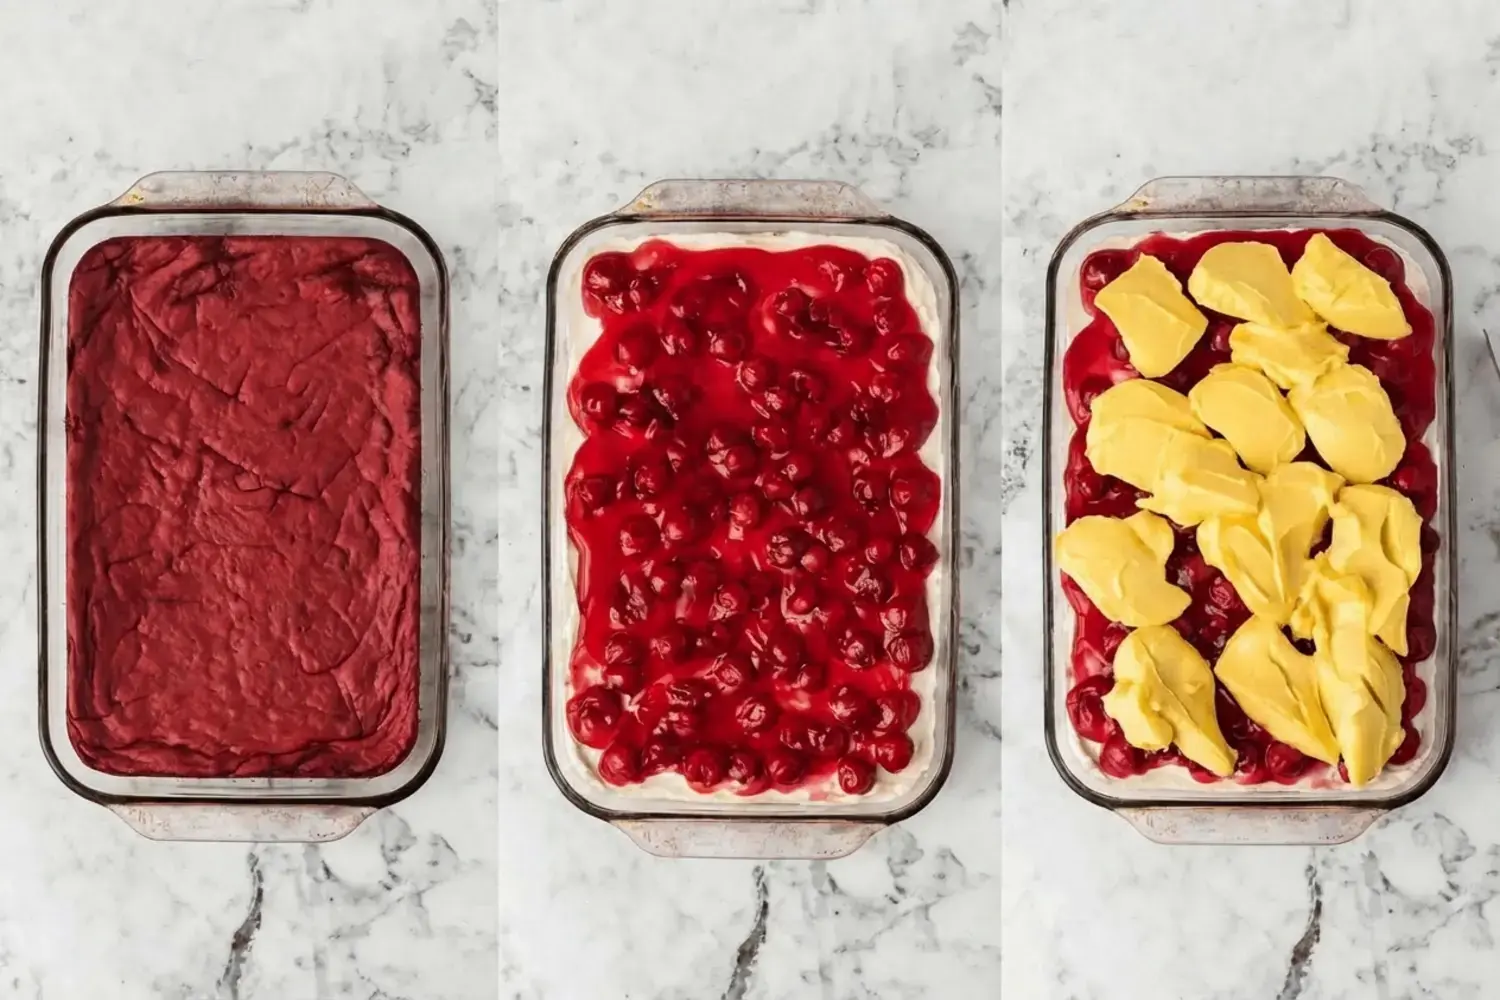
Softened cream cheese really matters here. If it is still cold from the fridge, the mixture will look lumpy no matter how long you beat it.
Assemble the Red Velvet Dream Bars
Place dollops of the cream cheese mixture on top of the cooled cookie crust and spread them evenly with an offset spatula. Placing dollops first, rather than one big blob, keeps you from dragging the crust around the pan.
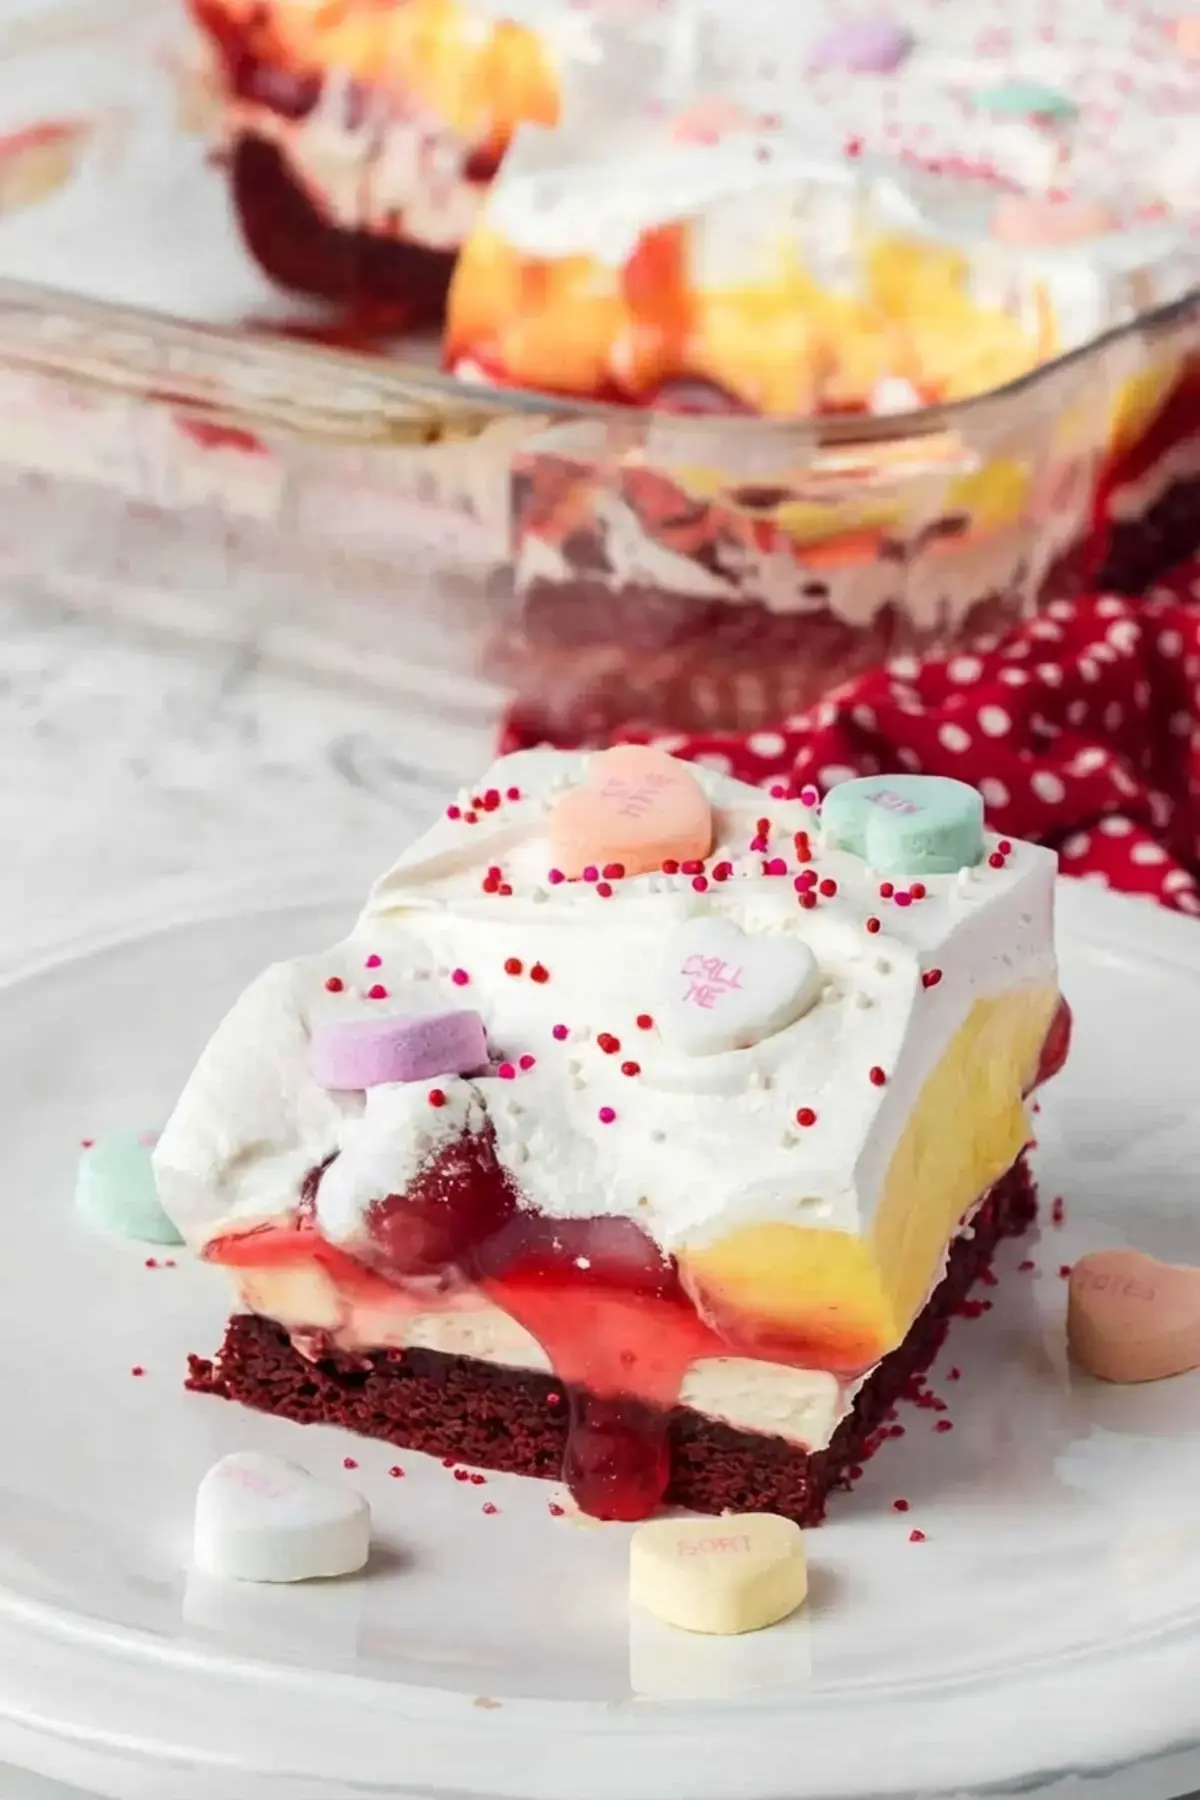
Place the cherry pie filling over the cream cheese and spread it into an even layer. Add the vanilla pudding and spread it evenly across the top. Cover with the remaining Cool Whip.
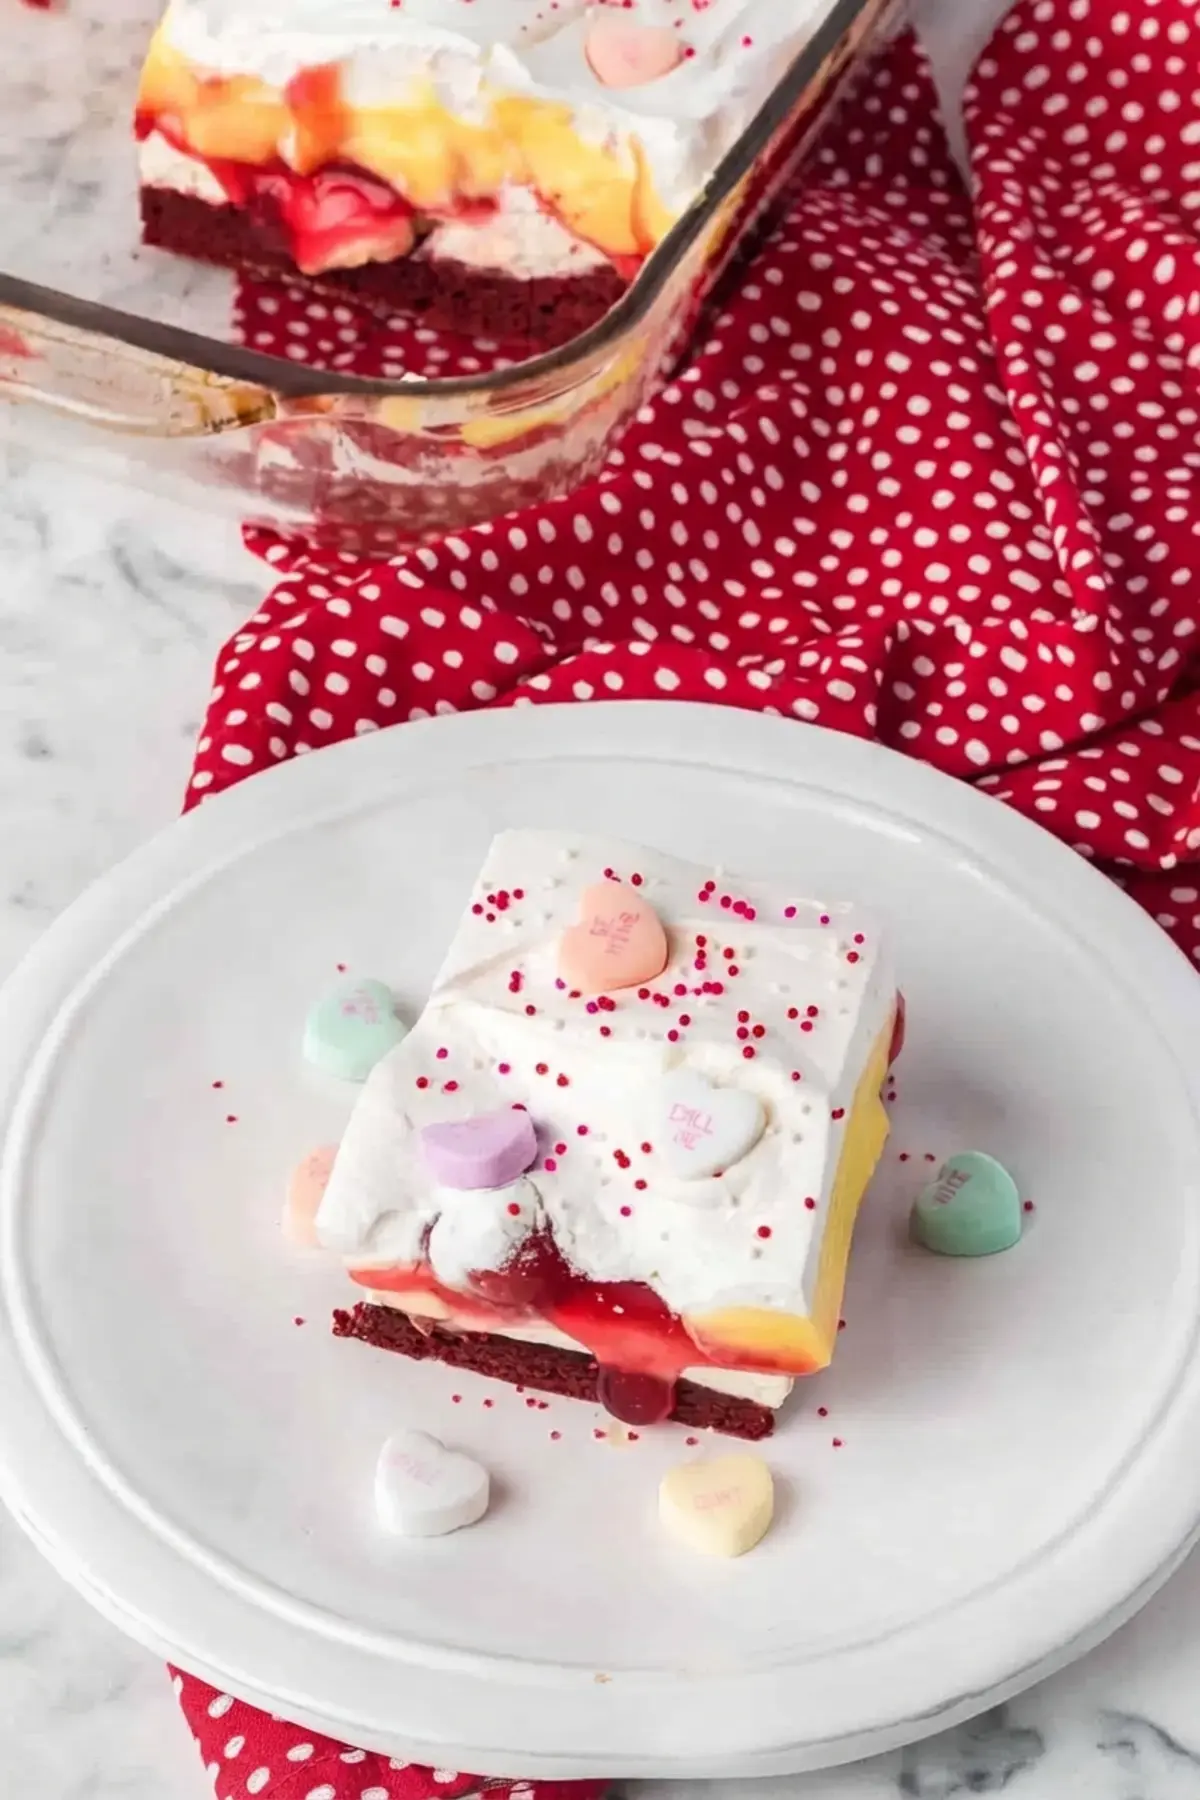
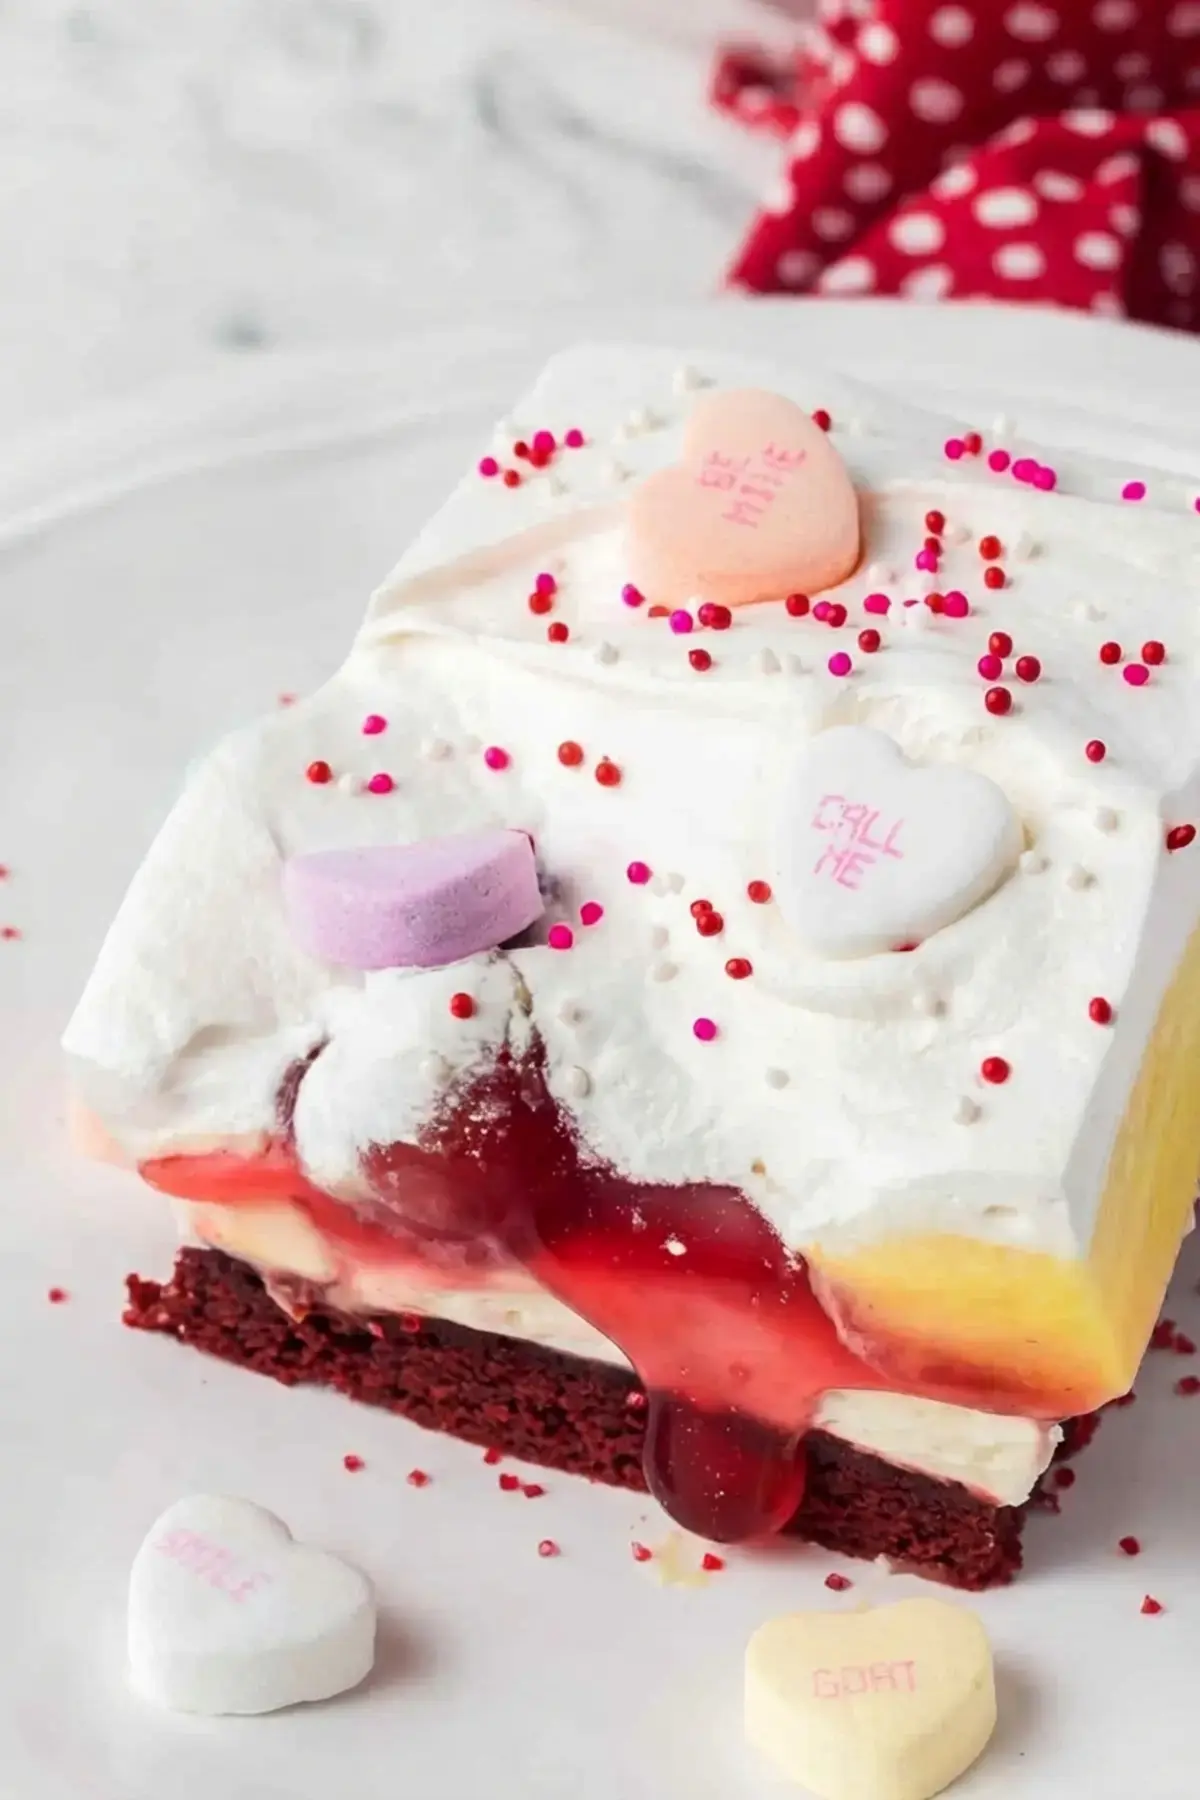
Place the dessert in the refrigerator to set for at least two hours. Before serving, decorate with red colored sugar and holiday sprinkles if you like. Those little touches make it look like you spent far more time on it than you actually did.
If your kitchen runs warm, pop the dish back in the fridge for a few minutes between layers. It helps everything stay put while you work.
Tips for Cutting Red Velvet Cherry Dream Bars
Chill the bars thoroughly before you cut and serve them. Use a warm, sharp knife and wipe it clean between cuts. Lift out each bar with a small dessert spatula. Those three small habits are the difference between neat squares and a smeared mess on the plate.
How do I store leftover Dream Bars?
Because this dessert contains perishable ingredients such as cream cheese and milk, it needs to stay cold. Cover it with plastic wrap or aluminum foil, or place it in an airtight container with a tight fitting lid.
Store the covered dessert in the refrigerator, and press the wrap gently against the top if you want to keep the whipped topping from drying out.
Can I make Red Velvet Cherry Dream Bars ahead of time?
Yes, you can make these bars ahead of time. Keep them covered and chilled, and they stay good for up to a week. I often build them the night before a party, and honestly they are even better the next day once all the layers settle together.
Do you love Red Velvet recipes?
If red velvet is your thing, there is more where this came from. Two of my other favorites are Red Velvet Chocolate Chip Cookies and Red Velvet Blossom Cookies.
The blossom cookies are a red velvet chocolate cookie rolled in colorful sprinkles or red sanding sugar, with a chocolate heart pressed into the center. They look like a little gift sitting on a plate.
Make More Dream Bars!
All of my dream bar recipes live in one place, and they are some of the most popular ones on the site. Along with these red velvet bars, you can try Orange Creamsicle, Banana Pudding, Chocolate Peanut Butter, Strawberry Cheesecake, Chocolate Mint, and Peanut Butter Cookie Dough.
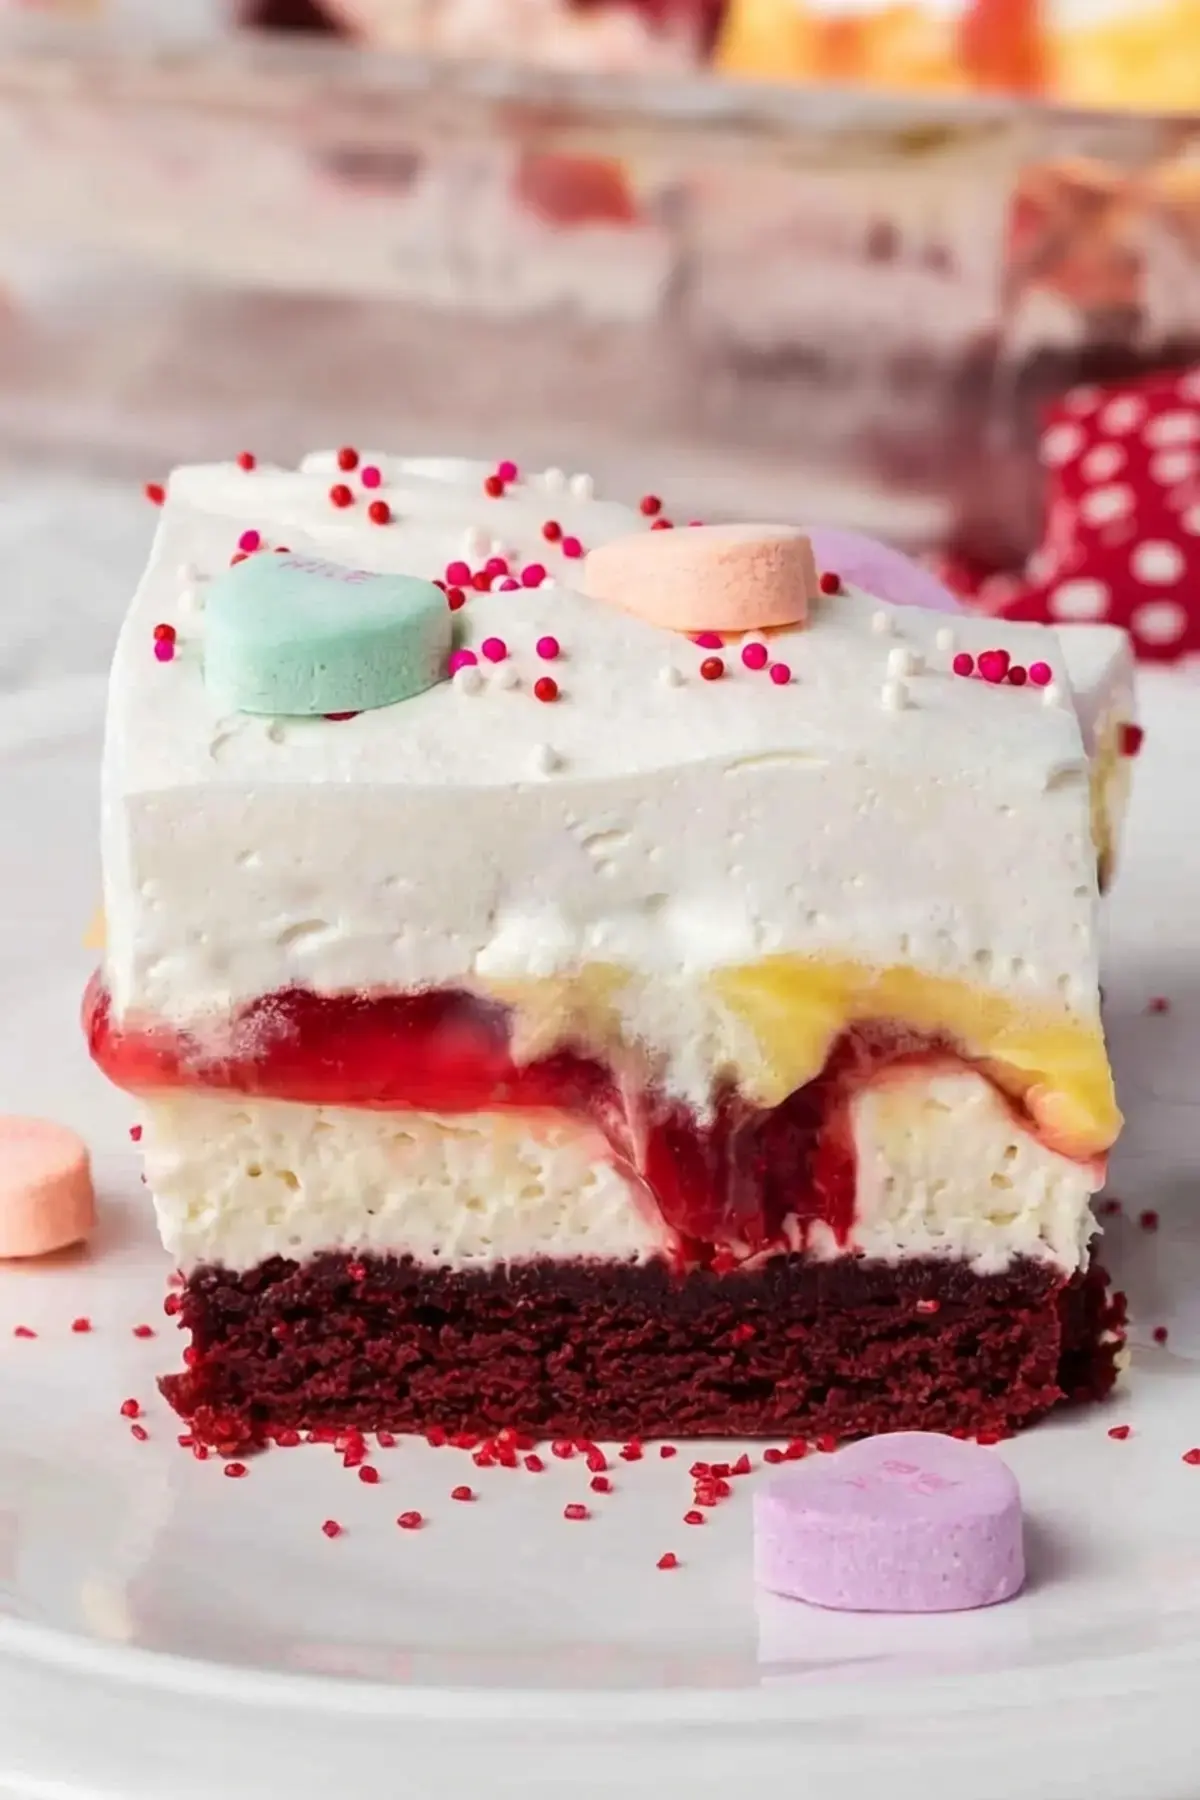
Every one of them follows the same friendly rhythm. A simple crust, a creamy layer, a fun filling, and a whipped topping. Once you have made one, the rest feel easy, and you start inventing your own combinations.
FOLLOW ME
Follow along for more easy layered desserts, simple weeknight dinners, and everyday recipes worth sharing with the people you love.
FAQs
How should I store leftover Red Velvet Cherry Dream Bars?
Can I make Red Velvet Cherry Dream Bars ahead of time?
Can I use Red Velvet Oreos instead of cake mix for the crust?
How do I cut Red Velvet Cherry Dream Bars cleanly?
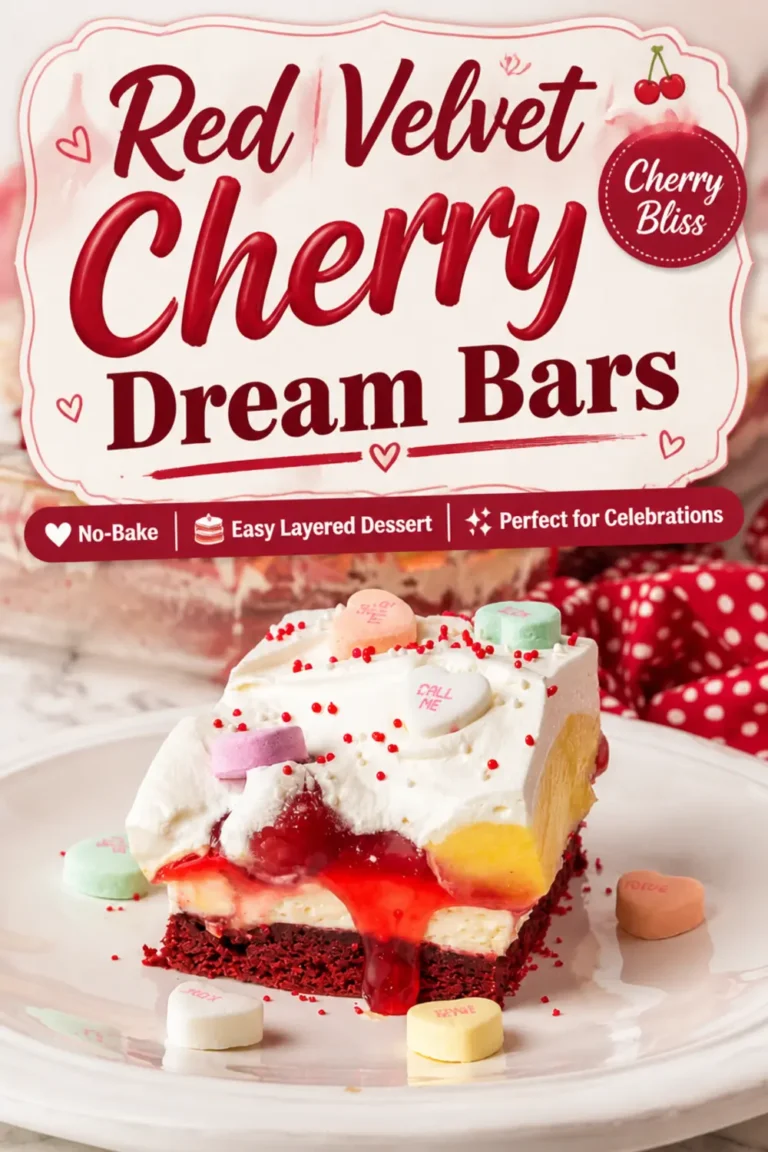
Red Velvet Cherry Dream Bars
Red Velvet Cherry Dream Bars If you want a dessert that looks fancy but comes together without much fuss, these Red Velvet Cherry Dream Bars are a total winner. Picture a chewy red velvet cookie crust, a sweet cheesecake layer, glossy cherry pie filling, creamy vanilla pudding, and a soft cloud of whipped topping.
- Total Time: 0 min
Ingredients
16.5 ounces Red Velvet cake mix, DO NOT follow ingredient directions on package
2 large eggs
⅓ cup canola oil
6.8 ounces instant vanilla pudding, (2) 3.4 packages
3 cups milk
10 ounces cream cheese, softened to room temperature
1 cup confectioners’ sugar
1 teaspoon pure vanilla extract
21 ounces cherry pie filling
16 ounces Cool Whip, (2) 8 ounce containers OR 2 recipes of my Stabilized Whipped Cream
Instructions
Bake the Dream Bar Crust
1-Preheat oven to 350 degrees F and: Preheat oven to 350 degrees F and prepare a 9 X 13-inch baking dish by spraying it lightly with cooking spray.
2-In a medium mixing bowl, lightly beat: In a medium mixing bowl, lightly beat the eggs. Add the canola oil and cake mix and mix together until thoroughly combined with no lumps.
3-Press batter evenly into the bottom of: Press batter evenly into the bottom of the prepared baking dish.
4-Bake for 12 – 15 minutes until: Bake for 12 – 15 minutes until set in the middle.
5-Transfer baking dish to a wire rack: Transfer baking dish to a wire rack to cool completely.
Make the Pudding
6-In a medium bowl, mix together the: In a medium bowl, mix together the pudding mix and milk. Place into refrigerator to set.
Sweet Cheese Layer
7-In a mixing bowl, beat the cream: In a mixing bowl, beat the cream cheese. Add the confectioners’ sugar, and vanilla, and combine.
8-Fold in two cups of the Cool: Fold in two cups of the Cool Whip.
Assemble the Red Velvet Dream Bars
9-Place dollops of the cream cheese mixture: Place dollops of the cream cheese mixture on top of the cooled cookie crust and spread evenly.
10-Place the cherry pie filling over the: Place the cherry pie filling over the cream cheese and spread.
11-Add the vanilla pudding: Add the vanilla pudding.
12-Cover with remaining Cool Whip: Cover with remaining Cool Whip.
13-Place into refrigerator to set for at: Place into refrigerator to set for at least two hours.
14-Before serving, decorate with red colored sugar: Before serving, decorate with red colored sugar and holiday sprinkles.
Last Step:
Please leave a rating and comment letting us know how you liked this recipe! This helps our business to thrive and continue providing free, high-quality recipes for you.- Prep Time: 0 min
- Cook Time: 0 min
- Method: mixed
Nutrition
- Calories: 425
- Sugar: 36g
- Sodium: 427mg
- Fat: 19g
- Saturated Fat: 7g
- Carbohydrates: 61g
- Fiber: 1g
- Protein: 6g
- Cholesterol: 51mg