Ingredients
– 1 strawberry cake mix for a sweet pink base and quick prep
– 1 1/3 cups guava nectar or guava juice for tropical flavor and moisture
– 3 eggs at room temperature to help the cake rise and bake evenly
– 1/3 cup coconut oil at room temperature for richness and a light coconut note
– 2 cups guava nectar or guava juice for the glossy fruit layer
– 1/2 cup sugar to balance the tartness of the guava
– 1/4 cup cornstarch to thicken the topping into a smooth gel
– 3 tablespoons water to help dissolve the cornstarch before cooking
– 6 ounces cream cheese, softened for a tangy and creamy filling
– 1/4 cup sugar to lightly sweeten the cream cheese layer
– 1 teaspoon vanilla for warm flavor and balance
– 6 ounces thawed whipped topping for a fluffy, airy texture
Instructions
1-First Step: Prep your pans and oven Start by preheating your oven to 350°F. Lightly grease and line your mini cake pans, muffin tins, or a shallow sheet pan if you plan to cut the cake into small squares later. Taking a few minutes to prep now makes the cakes easier to remove after baking. It also helps the batter bake evenly and reduces sticking. Set out the eggs, cream cheese, and coconut oil so they can come closer to room temperature. This is important because room-temperature ingredients blend better and create a smoother cake. If you want an easy dessert plan for another busy day, these prep habits are just as helpful as they are for simple make-ahead brunch recipes.
2-Second Step: Mix the cake batter In a large bowl, combine the strawberry cake mix, guava nectar or guava juice, eggs, and coconut oil. Mix on low speed first, then increase slightly until the batter looks smooth and well blended. Do not overmix, because that can make the cake dense instead of soft. You want the batter to look thick but pourable. The guava nectar gives the cake its tropical flavor, and the strawberry mix adds a pretty pink color that feels festive right away. If the coconut oil has started to firm up, warm it just enough so it is soft, not hot. That helps it blend evenly into the batter.
3-Third Step: Bake the cakes Pour the batter into your prepared mini pans or muffin cups, filling each one about two-thirds full. If you are using a sheet pan, spread the batter evenly so the layer bakes at the same thickness. Bake at 350°F until the cakes are set in the center and a toothpick comes out mostly clean, usually 18 to 25 minutes for mini portions or a little longer for a larger pan. Watch the color closely near the end of baking. Strawberry cake mix can brown quickly, and you want a soft, tender crumb. Once done, let the cakes cool in the pan for about 10 minutes before moving them to a wire rack. Cooling fully is important so the topping does not melt later.
4-Fourth Step: Make the guava gel topping While the cakes cool, prepare the guava gel. In a saucepan, whisk together 2 cups guava nectar or guava juice, sugar, cornstarch, and water until the cornstarch dissolves. Turn the heat to medium and stir constantly until the mixture thickens and turns glossy. This usually takes only a few minutes, but keep stirring so it stays smooth. Once thickened, remove it from the heat and let it cool. The topping should be thick enough to spoon over the cakes without running off too quickly. If it gets too firm as it cools, give it a gentle stir before assembling.
5-Fifth Step: Whip together the cream cheese layer In a separate bowl, beat the softened cream cheese with sugar and vanilla until smooth. Fold in the thawed whipped topping gently so the mixture stays light and fluffy. This layer should taste creamy and slightly tangy, which balances the sweet guava topping beautifully. If the cream cheese is too cold, small lumps may show up in the mixture. For the smoothest texture, let it sit out for a bit before mixing. This is the same kind of simple kitchen habit that helps with many baked treats, from cakes to quick breakfast bakes.
6-Sixth Step: Assemble the mini cakes Once the cake pieces are completely cool, spread or pipe a layer of cream cheese filling over each one. Add a spoonful of cooled guava gel on top. Try not to overload the cakes, since a little of the shiny topping goes a long way. If you are serving these at a party, a piping bag can make the tops look neat and polished. At this stage, the cakes already look beautiful. The pink cake, white cream layer, and bright guava topping create a cheerful color combination that makes the dessert feel special without extra work.
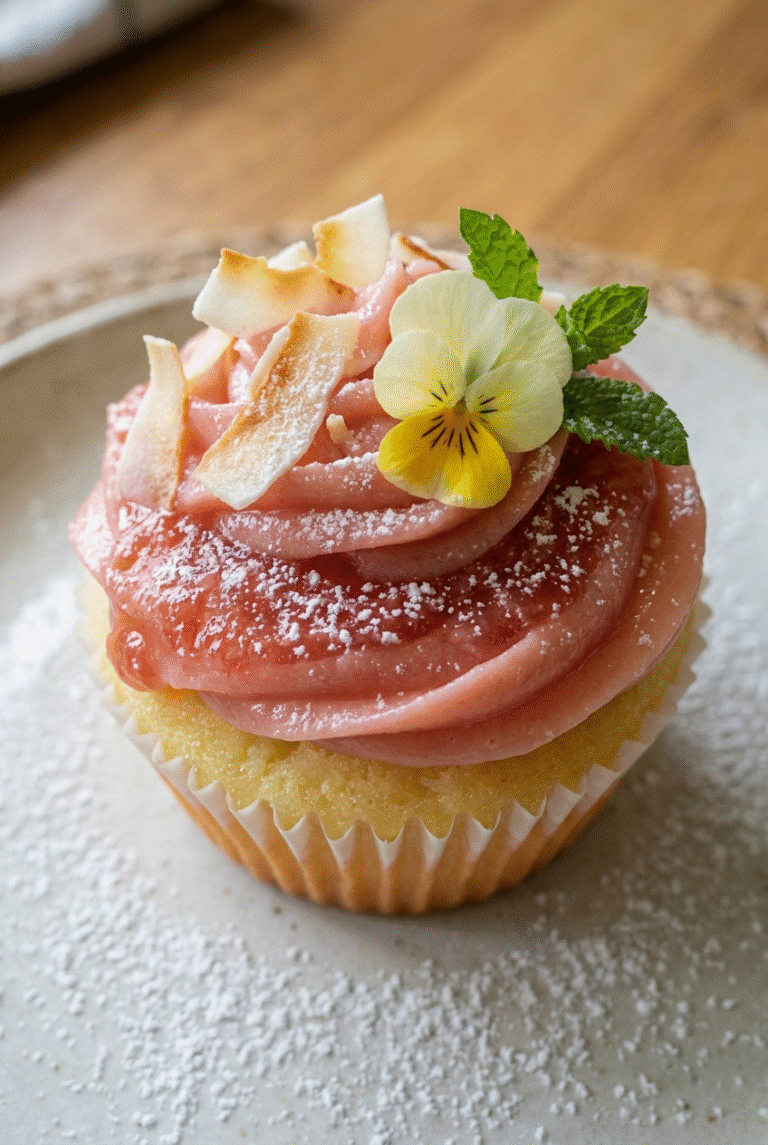
7-Final Step: Chill and serve Place the assembled Mini Hawaiian Guava Cake pieces in the refrigerator for at least 30 minutes before serving. Chilling helps the topping firm up and gives the layers time to settle together. Serve them cold or slightly cool for the best texture. For a pretty finish, add a small slice of fresh strawberry, a tiny mint leaf, or even a light sprinkle of toasted coconut. If you enjoy classic island desserts, you may also like reading more about the tradition behind Hawaiian guava cake inspiration and variations.
Last Step:
Please leave a rating and comment letting us know how you liked this recipe! This helps our business to thrive and continue providing free, high-quality recipes for you.Notes
💡 Use room temperature ingredients for smoother batter and cream cheese mixture.
🧁 For perfect minis, fill tins no more than 2/3 full to avoid overflow.
❄️ Refrigerate assembled cakes for up to 3 days; the flavors meld beautifully.
- Prep Time: 20 minutes
- Chill: 1 hour
- Cook Time: 15 minutes
- Category: Dessert
- Method: Baking
- Cuisine: Hawaiian
- Diet: Vegetarian
Nutrition
- Serving Size: 1 mini cake
- Calories: 180 kcal
- Sugar: 15g
- Sodium: 120mg
- Fat: 8g
- Saturated Fat: 5g
- Unsaturated Fat: 2g
- Trans Fat: 0g
- Carbohydrates: 25g
- Fiber: 0g
- Protein: 2g
- Cholesterol: 30mg