Ingredients
– 2 cups Speculoos or Biscoff cookies for distinctive caramelized flavor base
– 1/2 cup sweetened condensed milk for rich creamy consistency and sweetness
– 2 tablespoons unsalted butter, melted for richness and smooth texture
– 1 teaspoon pure vanilla extract for enhancing flavor profile
– 1/2 teaspoon ground cinnamon for classic spice elements
– 1/4 teaspoon sea salt for balancing sweetness
– 1-2 tablespoons neutral oil (coconut or canola) for desired consistency
Instructions
1-First Step: Preparation and Mise en Place Begin by gathering all your ingredients and equipment. You will need a food processor or high-powered blender to create the smooth texture that defines excellent cookie butter. Measure out all ingredients before starting to streamline the process. If your cookies are particularly large, break them into smaller pieces to help your processor work more efficiently. This preparation step ensures a smooth cooking experience without interruptions.
2-Second Step: Crushing the Cookies Place your speculoos or Biscoff cookies into the food processor. Pulse the machine several times to begin breaking down the cookies. Continue processing until you have fine, uniform crumbs. This usually takes about 1-2 minutes of processing time. The texture should resemble fine sand or breadcrumbs without large chunks remaining. These fine crumbs are essential for creating the smooth, creamy consistency that makes cookie butter so appealing.
3-Third Step: Adding Wet Ingredients With the processor running, slowly pour in the sweetened condensed milk. This gradual addition helps the ingredients incorporate smoothly without creating lumps. Continue processing as you add the melted butter, vanilla extract, cinnamon, and salt. If you are using the optional oil for a smoother consistency, add it now as well. Let the mixture process for 2-3 minutes, occasionally stopping to scrape down the sides of the bowl with a spatula.
4-Fourth Step: Achieving the Perfect Consistency After 3-4 minutes of processing, your cookie butter should be coming together beautifully. At this stage, the mixture should be smooth, glossy, and spreadable. If the consistency seems too thick, add the remaining oil one teaspoon at a time until you reach your desired texture. If it appears too thin, add a few more cookie crumbs and process briefly. The perfect cookie butter should hold its shape on a spoon while still being easily spreadable. During this step, you can also adjust the flavor profile. Taste your cookie butter and decide if it needs more cinnamon, salt, or sweetness. Small adjustments at this stage can customize the final flavor to your exact preferences. Remember that the flavors will continue to meld as the mixture rests, so be conservative with any additions.
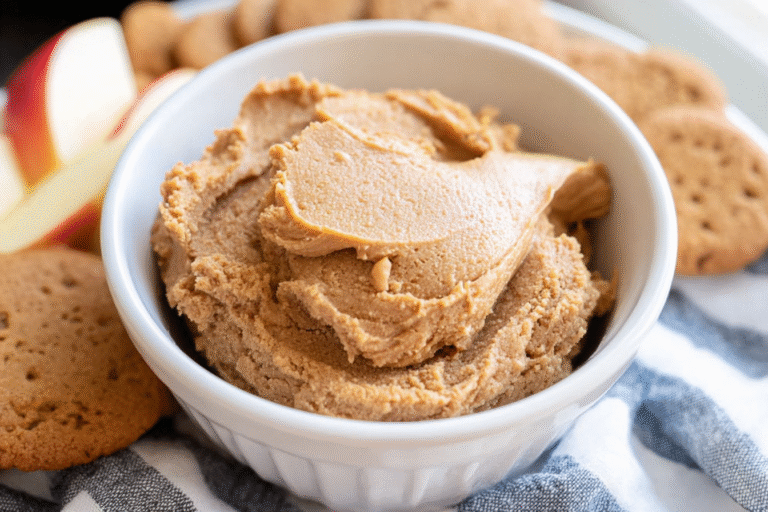
5-Final Step: Finishing and Serving Once you are satisfied with both the texture and flavor of your cookie butter, transfer it to an airtight container. Glass jars work particularly well as they showcase the beautiful caramel color of the spread. Smooth the top with a spatula for a professional appearance. Allow the cookie butter to cool completely before covering and storing. This cooling period helps the flavors develop and the texture stabilize. Your homemade cookie butter is now ready to enjoy! Spread it on toast, swirl it into oatmeal, dip apple slices into it, or simply eat it by the spoonful. Unlike store-bought versions, this homemade creation contains no preservatives, so remember to store it properly and enjoy it within the recommended time frame.
Last Step:
Please leave a rating and comment letting us know how you liked this recipe! This helps our business to thrive and continue providing free, high-quality recipes for you.Notes
🔥 Use a high-powered food processor or blender for ultra-smooth texture.
🥛 Adjust milk gradually – start less for thicker spread, more for pourable sauce.
❄️ Keeps in fridge up to 2 weeks; bring to room temp for best spreadability.
- Prep Time: 10 minutes
- Category: Desserts
- Method: No-Bake
- Cuisine: American
- Diet: Vegetarian
Nutrition
- Serving Size: 2 tablespoons
- Calories: 180 kcal
- Sugar: 12g
- Sodium: 100mg
- Fat: 10g
- Saturated Fat: 7g
- Unsaturated Fat: 2.5g
- Trans Fat: 0g
- Carbohydrates: 22g
- Fiber: 1g
- Protein: 2g
- Cholesterol: 2mg