Ingredients
– 1 cup cold heavy whipping cream
– 3 tablespoons unsweetened cocoa powder
– 3-4 tablespoons powdered sugar
– ½ teaspoon vanilla extract
– Pinch of salt
Instructions
1-First Step: Preparation and Mise en Place Before you start mixing, you need to prepare your tools and ingredients. Place your metal mixing bowl and the whisk attachment or beaters from your hand mixer into the freezer for at least 15 to 20 minutes. This step is vital because a cold bowl helps the cream whip up faster and hold its shape better. While your tools are chilling, measure out all your ingredients so they are ready to go. Ensure your heavy whipping cream is straight from the refrigerator, not room temperature. If you are using vanilla extract, have it measured and waiting. Sifting your cocoa powder before you start is also a good idea to prevent lumps from forming in your finished chocolate whipped cream.
2-Second Step: Whipping the Cream Remove the chilled bowl and beaters from the freezer. Pour the cold heavy whipping cream into the bowl. Begin beating on medium speed. You want to incorporate air into the cream gradually. Starting on medium speed prevents splashing and helps build a stable structure. Watch the cream closely as it mixes. It will go from a liquid state to frothy, and then start to thicken. You are looking for the “soft peak” stage. This is when you lift the beaters out of the cream, and the peaks that form droop over slightly at the tips. This usually takes about 1 to 2 minutes. Do not rush this step, as the foundation you build now determines the final volume.
3-Third Step: Adding Flavor and Sweetness Once you have achieved soft peaks, it is time to add the flavor. Reduce the mixer speed to low to prevent a cloud of cocoa powder from puffing out of the bowl. Sprinkle in the unsweetened cocoa powder, the powdered sugar, the salt, and the vanilla extract. Once the ingredients are added, increase the speed back to medium-high. Continue to whip the mixture until all the dry ingredients are fully incorporated. Scrape down the sides of the bowl with a spatula to make sure no pockets of cocoa powder are hiding at the bottom. You want the color to be uniform and a rich, deep brown.
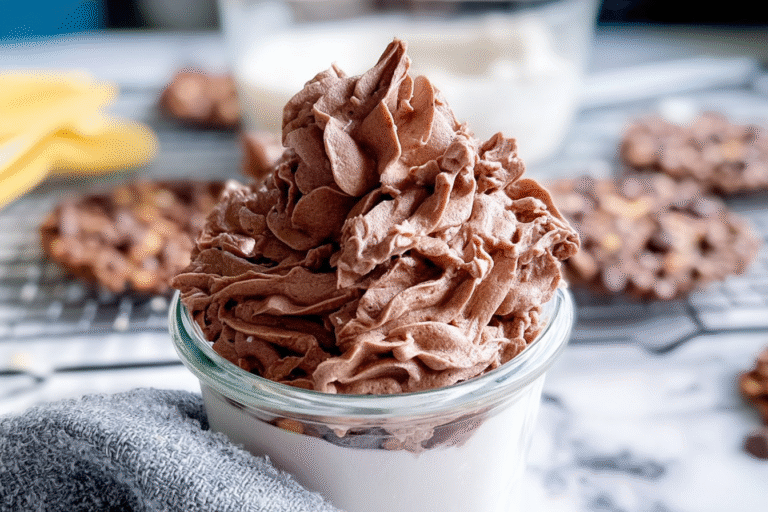
4-Fourth Step: Achieving Stiff Peaks Increase the mixer to high speed. Continue whipping until the cream reaches the “stiff peak” stage. This is the crucial moment for perfect chocolate whipped cream. When you lift the beaters, the peaks should stand up straight without drooping or folding over. The mixture should look thick and glossy. Be very careful not to overwhip at this stage. If you whip too long, the cream will start to turn grainy and eventually separate into butter and buttermilk. If you notice the mixture looking slightly yellow or curdled, you have gone too far. Stop the mixer as soon as you see stiff peaks form.
5-Final Step: Serving and Storage Your homemade chocolate whipped cream is now ready to use. You can transfer it to a piping bag fitted with a decorative tip to frost cakes or top cupcakes. Alternatively, simply spoon it over your favorite desserts like brownies, pies, or fresh berries. For a richer flavor, you can gently fold in 2 tablespoons of melted dark chocolate at the very end using a spatula. This adds a luxurious texture and depth. Serve immediately for the fluffiest texture, or store it in the refrigerator if you are prepping ahead. This recipe yields about 2 cups, which is enough to top 8 to 10 servings.
Last Step:
Please leave a rating and comment letting us know how you liked this recipe! This helps our business to thrive and continue providing free, high-quality recipes for you.Notes
❄️ Chill bowl, beaters, and cream for maximum volume and stability.
🍫 Sift cocoa powder to prevent bitter lumps in the cream.
⏱️ Stop at stiff peaks – overwhipping turns it into butter!
- Prep Time: 5 minutes
- Category: Dessert
- Method: No-Bake
- Cuisine: American
- Diet: Vegetarian
Nutrition
- Serving Size: 2 tablespoons
- Calories: 100 calories
- Sugar: 6g
- Sodium: 20mg
- Fat: 10g
- Saturated Fat: 6g
- Unsaturated Fat: 3g
- Trans Fat: 0g
- Carbohydrates: 6g
- Fiber: 1g
- Protein: 1g
- Cholesterol: 35mg