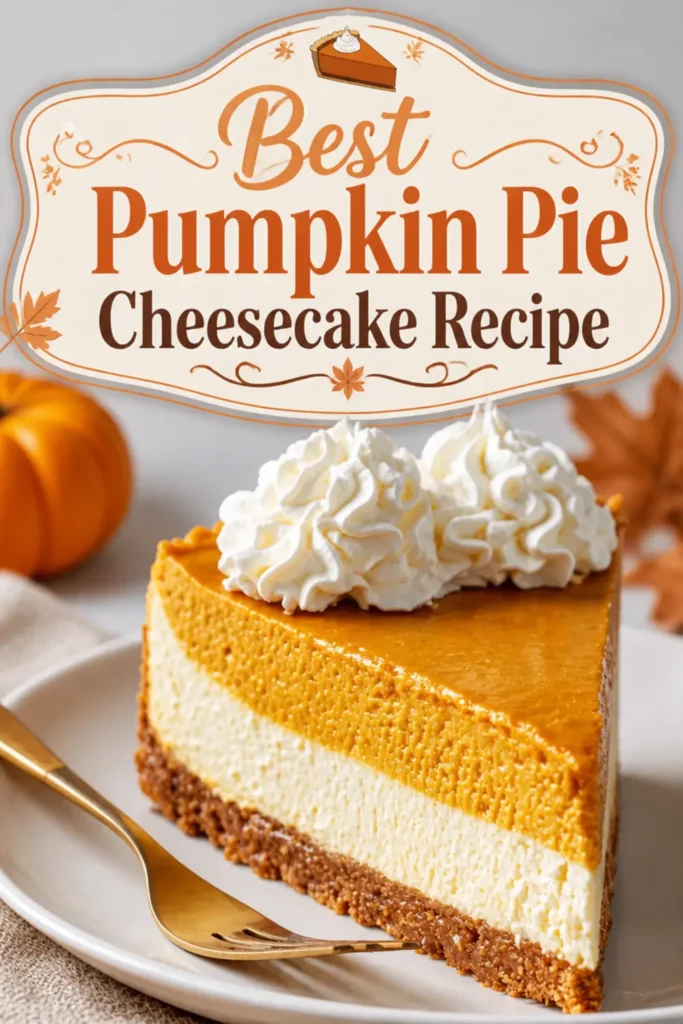
Best Pumpkin Pie Cheesecake Recipe
Wondering which dessert to bring this year? Choosing between pumpkin pie and cheesecake for a holiday dessert is genuinely hard. Both are classics, and picking only one can disappoint somebody at the table.
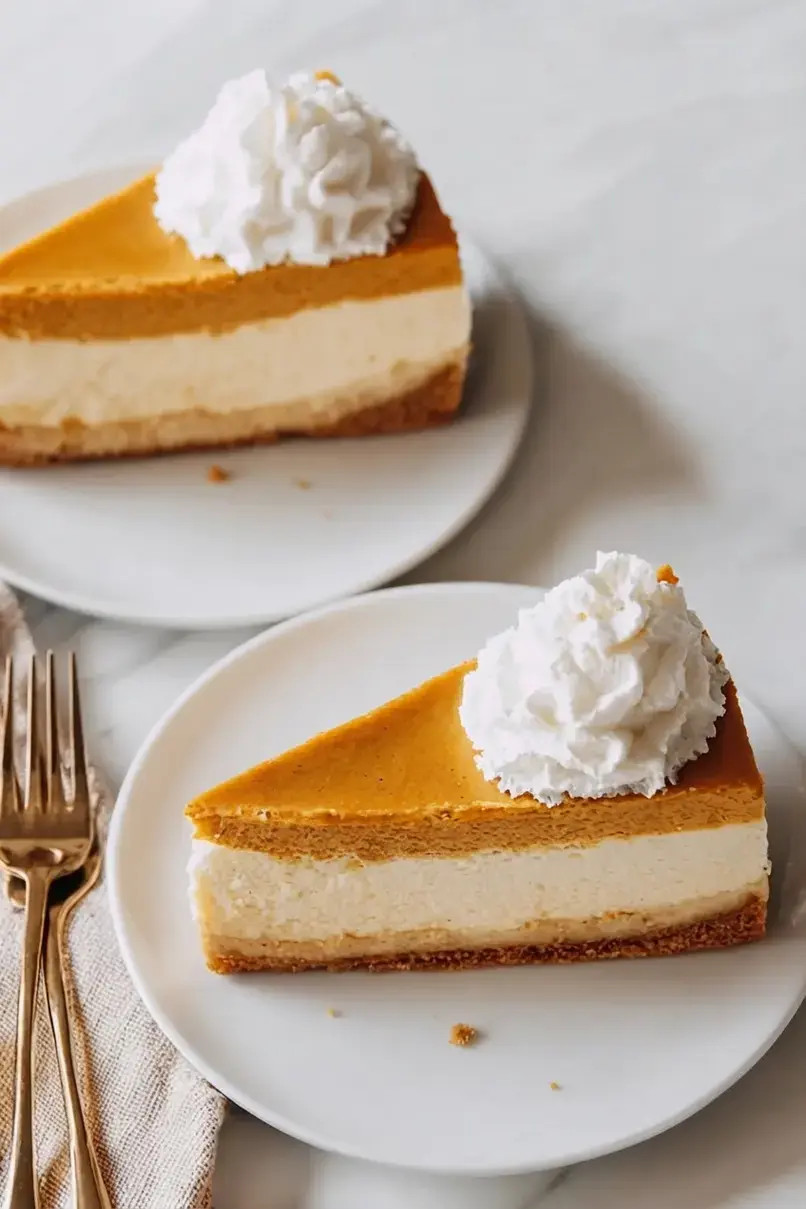
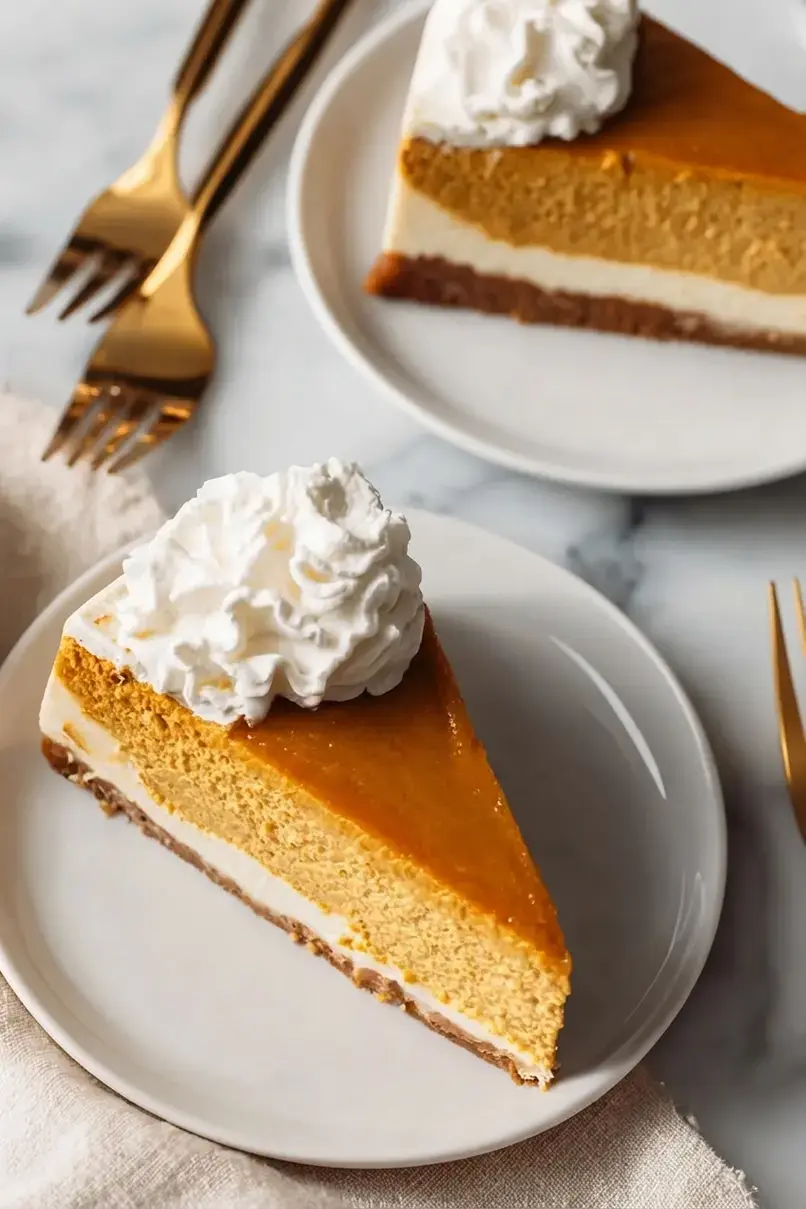
This pumpkin pie cheesecake solves that problem by merging the two into a single creamy dessert. It fits Thanksgiving or any fall baking day, pairing the smooth texture of cheesecake with the warm spices of traditional pumpkin pie.

You get one pan, two layers, and a slice that tastes like the best of both holiday favorites.
Jump to:
- Best Pumpkin Pie Cheesecake Recipe
- Why You’ll Love This Pumpkin Pie Cheesecake
- What Kind of Cream Cheese Should I Use?
- Options for Substitutions
- How to Know When the Pumpkin Pie Cheesecake is Done
- Watch Out for These Mistakes
- What to Serve With Pumpkin Pie Cheesecake?
- Storage Instructions
- Ingredients
- Step 1: Preheat the Oven
- Step 2: Prepare the Cream Cheese Mixture
- Step 3: Create the Cheesecake Layers
- Step 4: Bake the Cheesecake
- Step 5: Cool and Refrigerate
- Step 6: Serve and Enjoy
- FAQs
- What is the best cream cheese to use for pumpkin pie cheesecake?
- How do I keep my pumpkin cheesecake from cracking?
- How do I know when the pumpkin pie cheesecake is done baking?
- Can you freeze pumpkin pie cheesecake, and how long does it last?
- Best Pumpkin Pie Cheesecake Recipe
- Ingredients
- Instructions
- Last Step:
- Did you make this recipe?
Why You’ll Love This Pumpkin Pie Cheesecake
This is the kind of holiday dessert that works hard for you. It brings pumpkin pie and cheesecake together in one dish, so nobody has to choose. It suits Thanksgiving dinner and every fall gathering after that.
The ingredient list is short and easy to find, especially once pumpkin spice shows up on store shelves in September. Better still, you can make it a day or two ahead, which means one less thing to worry about on the big day.
- No water bath required, so there is no foil wrapping and no heavy pan of hot water to wrestle with.
- Simple steps that suit beginners and experienced bakers alike.
- Basic, affordable ingredients you probably already have in the fridge.
- Make ahead friendly, so dessert is done before the turkey goes in.
If you have ever talked yourself out of baking a cheesecake because it felt fussy, this is the recipe that changes your mind. You will get that creamy, bakery style slice without the drama.
What Kind of Cream Cheese Should I Use?
Let’s face it, the cream cheese matters more than most people think. Use regular full fat block cream cheese, not the spreadable kind that comes in a tub. Blocks contain less water, and that difference shows up in the final texture.
A tub spread is whipped and softer, so it can leave you with a loose filling instead of a dense, sliceable cheesecake.
Bring the cream cheese to room temperature before you start mixing, about an hour on the counter. Room temperature cream cheese blends smoothly and helps prevent lumps that never quite disappear once the eggs go in.
Store brands work perfectly well if that is what you have on hand. Philadelphia is the go to choice for a lot of bakers because its texture and taste stay consistent from block to block. Either way, take it out of the fridge early and let it soften naturally rather than rushing it in the microwave.
Options for Substitutions
Cream cheese is what gives a cheesecake its classic texture, so it is the one ingredient worth keeping as written. Everything else has a little wiggle room.
- Pumpkin puree: canned or homemade both work. If pumpkin is unavailable, butternut squash puree steps in nicely.
- Pumpkin spice blend: no jar on hand? Stir together cinnamon, ginger, nutmeg, and a pinch of cloves.
- Crust: swap the graham cracker crust for a gingersnap or vanilla wafer crust for a different flavor.
- Sugar: a sugar substitute designed for baking can be used if you are watching your sugar intake.
- Topping: coconut whipped cream makes a dairy free alternative to regular whipped cream.
Try one swap at a time the first time around, so you know exactly what you liked and what you would change next year.
How to Know When the Pumpkin Pie Cheesecake is Done
This is the moment that makes or breaks a cheesecake, and it is easier to read than you might expect. Give the pan a gentle shake. The edges should look set while the center still has a soft wobble, a bit like gelatin.
Touch the surface lightly. It should feel set and a little firm, not sticky. If you want a number to confirm it, an instant read thermometer inserted in the center should register around 150°F (65°C). You may also notice the cheesecake has pulled away slightly from the edges of the pan.
Here is the part I remind myself every single time: slightly underbaking is better than overbaking. The cheesecake keeps setting as it cools, and an overbaked one is far more likely to crack.
When in doubt, pull it out. A wobbly center means a creamy slice, and the fridge will finish the job.
Watch Out for These Mistakes
Cracks are the main risk here, and they almost always come from heat, temperature shock, or overmixing. The good news is that each one is easy to avoid.
- Baking too hot. Bake at 325°F (163°C) rather than a higher temperature, which is gentler on the filling.
- Cold ingredients. Leave the cream cheese and eggs out for at least 2 hours before you begin. Cold ingredients create a lumpy batter that bakes unevenly.
- Overmixing after the eggs. Once the eggs go in, mix just until combined. Extra beating traps air, which can make the cheesecake rise quickly and then collapse. Scrape down the sides of the bowl often so everything blends evenly.
Many cheesecake recipes insist on a water bath, and this one is built to skip that step entirely, which is a big part of why it feels so approachable. If you would like extra insurance against cracks, you can still use one: wrap the pan in foil and set it inside a larger pan filled with hot water.
Cooling matters just as much as baking. My favorite trick is to turn the oven off when the bake finishes, crack the door open, and let the cheesecake sit inside for about an hour.
That slow, gradual cooldown avoids the sudden temperature change that causes sinking and cracking. After that, move it to the counter to finish cooling at room temperature.
What to Serve With Pumpkin Pie Cheesecake?
A chilled slice of this fall dessert loves a warm drink beside it. Hot coffee is the easy answer, and spiced chai tea is lovely when the weather turns cool.
A generous dollop of fresh whipped cream on top is a fitting finish. Sprinkle a little extra pumpkin pie spice over it, or add crushed pecans if you want some crunch.
For a holiday gathering, set up a hot beverage bar with coffee, tea, and warm apple cider so guests can pour whatever sounds good. A drizzle of caramel sauce or a small scoop of vanilla ice cream takes it straight into cozy territory, and nobody at the table will complain about that.
Storage Instructions
Keep the cheesecake refrigerated in an airtight container, where it stays fresh for up to 5 days. It can be made a day ahead, and honestly, it is better that way. Chilling overnight helps the flavors settle and makes clean slices much easier.
To freeze, wrap individual slices or the whole cheesecake tightly in plastic wrap and then in aluminum foil, and freeze for up to 3 months. Thaw overnight in the refrigerator. Add whipped cream or any other topping just before serving, not before freezing.
Bake it Friday, slice it Saturday, and enjoy the fact that dessert is already handled.
Ingredients
This recipe makes one 9 inch cheesecake with two distinct layers, built on a pre made graham cracker crust. Here is everything you need.
| Component | Ingredients |
|---|---|
| Base | 1 (9 inch) graham cracker crust |
| Plain cheesecake layer | 8 oz cream cheese, room temperature, about 70°F; 1/4 cup white sugar; 1/2 tsp vanilla extract; 1 large egg |
| Pumpkin cheesecake layer | 8 oz cream cheese, softened; 1/4 cup white sugar; 1/2 tsp vanilla extract; 1 large egg; 1/2 cup pumpkin puree; 2 tsp pumpkin spice blend |
| For serving, optional | Whipped cream |
Both layers start from the same base batter. You mix it once, then split it, which keeps the whole process simple and means fewer bowls to wash at the end.
Step 1: Preheat the Oven
Preheat the oven to 325°F (163°C) so it is fully heated and steady by the time the filled crust goes in.
Step 2: Prepare the Cream Cheese Mixture
In a large bowl, combine the cream cheese, granulated sugar, and vanilla extract. Beat until the mixture is smooth and well combined. Then blend in the eggs one at a time, beating until each one is fully incorporated and the batter looks silky. Scrape the bowl as you go.
Step 3: Create the Cheesecake Layers
Remove 1 1/3 cups of the cheesecake batter and spread it evenly across the bottom of the graham cracker crust. Set that aside. Add the pumpkin puree and pumpkin spice to the remaining batter and whisk gently until smooth. Using a spatula, carefully spread the pumpkin layer over the plain layer, right to the edges.
Step 4: Bake the Cheesecake
Place the assembled cheesecake in the preheated oven and bake for 35 to 40 minutes, until the center is almost set. It should hold its shape with just a slight jiggle in the middle when you nudge the pan.
Step 5: Cool and Refrigerate
Let the cheesecake cool at room temperature for about 1 hour. Then refrigerate it for at least 3 hours, or overnight, so it sets fully and develops the best texture.
Step 6: Serve and Enjoy
Serve the cheesecake chilled once it has set. If you like, top each slice with whipped cream and dig in.
FAQs
What is the best cream cheese to use for pumpkin pie cheesecake?
How do I keep my pumpkin cheesecake from cracking?
How do I know when the pumpkin pie cheesecake is done baking?
Can you freeze pumpkin pie cheesecake, and how long does it last?
Best Pumpkin Pie Cheesecake Recipe
Best Pumpkin Pie Cheesecake Recipe Wondering which dessert to bring this year? Choosing between pumpkin pie and cheesecake for a holiday dessert is genuinely hard.
- Total Time: 0 min
Ingredients
For the cheesecake base
1 graham cracker crust, (9-inch)
For the plain cheesecake layer
1 large egg
1/4 cup white sugar
1/2 tsp vanilla extract
8 oz cream cheese, room temperature, about 70°F
For the pumpkin cheesecake layer
1 large egg
2 tsp pumpkin spice blend
1/2 tsp vanilla extract
1/4 cup white sugar
1/2 cup pumpkin puree
8 oz cream cheese, softened
For serving (optional)
whipped cream
Instructions
1-Preheat your oven to 325°F (163°C) to: Preheat your oven to 325°F (163°C) to ensure it reaches the right temperature while you prepare the cheesecake layers.
2-In a large bowl, combine the cream: In a large bowl, combine the cream cheese, granulated sugar, and vanilla extract. Beat the mixture until well combined and smooth. Next, blend in the eggs one at a time, continuing to beat until the mixture is smooth and well incorporated.
3-Remove 1 1/3 cups of the cheesecake: Remove 1 1/3 cups of the cheesecake batter and spread it evenly into the bottom of the graham cracker crust; set this aside. To the remaining cheesecake batter, add the pumpkin puree and pumpkin spice. Gently whisk until the pumpkin layer is well combined and smooth. Carefully spread this pumpkin layer over the plain cheesecake layer using a spatula.
4-Place the prepared cheesecake in the preheated: Place the prepared cheesecake in the preheated oven and bake for 35 to 40 minutes, or until the center is almost set. This ensures that the cake holds its shape but still has a slight jiggle in the middle.
5-After baking, allow the cheesecake to cool: After baking, allow the cheesecake to cool at room temperature for about 1 hour. Once cooled, place it in the refrigerator for a minimum of 3 hours or overnight to set fully and develop the best texture.
6-Once the cheesecake has set, serve it: Once the cheesecake has set, serve it chilled. For an added treat, top each slice with whipped cream if desired. Enjoy your delicious pumpkin swirl cheesecake!
Last Step:
Please leave a rating and comment letting us know how you liked this recipe! This helps our business to thrive and continue providing free, high-quality recipes for you.- Prep Time: 0 min
- Cook Time: 0 min
- Method: bake