A Quick Look At This Craft
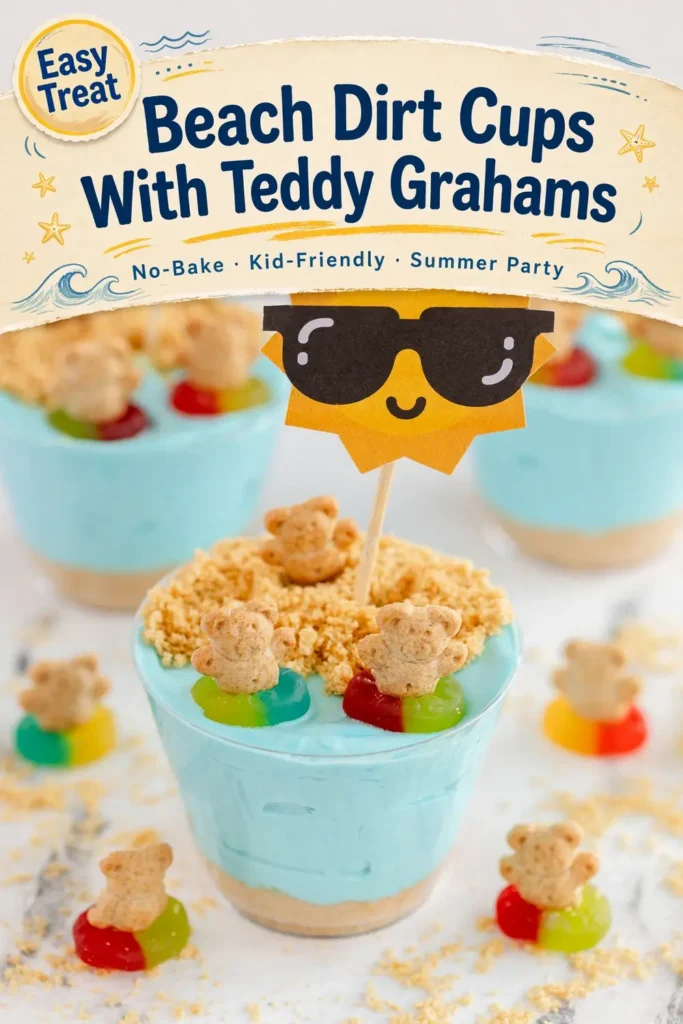
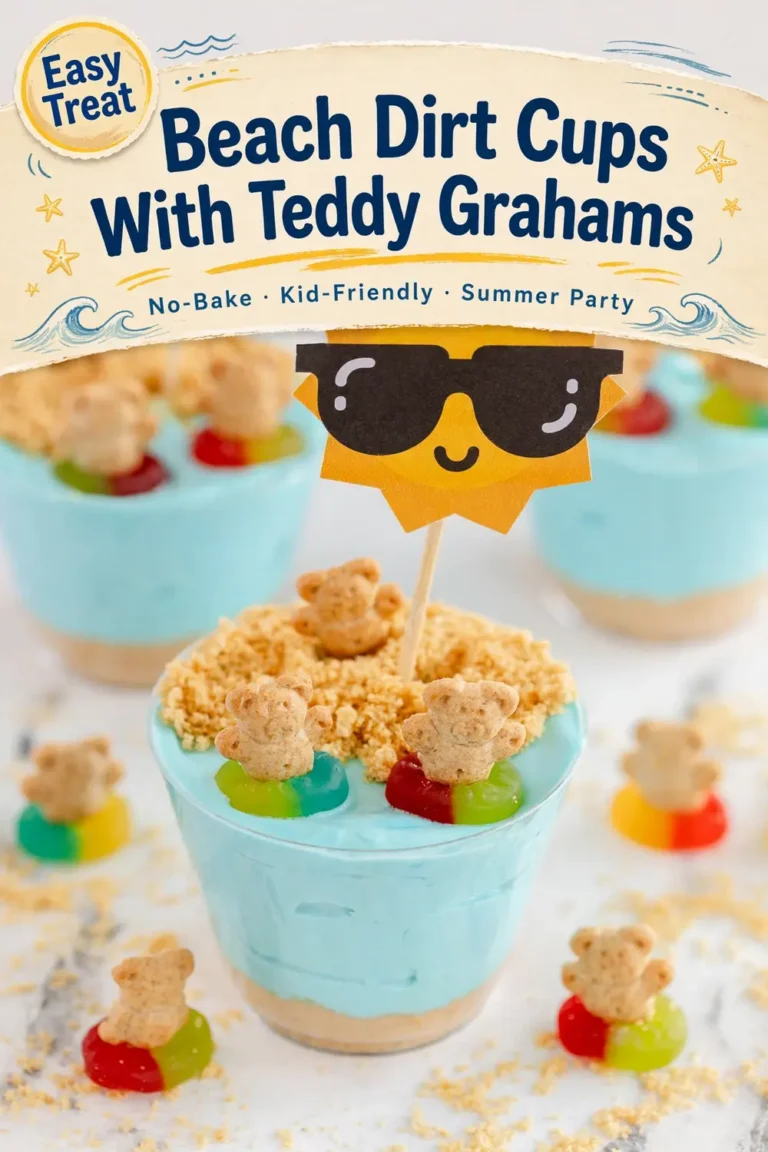
These beach dirt cups give classic dirt pudding cups a fun summer twist. Blue pudding stands in for ocean water. Crushed golden cookies stand in for soft sand. Teddy Grahams sit in gummy rings like little bears floating in inner tubes. It is a cute look that kids notice right away.
This project is Beach Dirt Cups with Teddy Grahams. It is described as a fun variation on classic dirt pudding cups. It suits summer gatherings, pool days, and kids parties. Individual clear cups show the blue and golden layers, so each serving feels like a tiny beach scene.
| Quick look | Details |
|---|---|
| Project | Beach Dirt Cups with Teddy Grahams |
| Style | No bake layered pudding cups with cookie sand |
| Serve for | Summer parties, pool days, and kids gatherings |
Feel free to treat this as a craft as much as a dessert. The idea is adapted from the original beach bear dirt cups recipe, with simple layers and playful toppers.
Jump to:
- A Quick Look At This Craft
- Beach Dirt Cup
- Ingredients to Make Sand Pudding Cups
- Putting Together Sand Pudding Recipe
- Why I Love These Beach Dirt Cups
- Other Fun Ideas for Your Beach Cups
- Looking for More Themed Dirt Cup Desserts?
- FAQs
- How do you make beach dirt cups with Teddy Grahams?
- How far ahead can I make beach dirt cups?
- What pudding works best for blue beach dirt cups?
- How do you keep the cookie sand crisp in beach dirt cups?
- Beach Dirt Cups with Teddy Grahams
- Ingredients
- Instructions
- Last Step:
- Did you make this recipe?
Beach Dirt Cup
Classic dirt cups are a childhood favorite for many families. The familiar version layers pudding with crushed Oreo cookies and gummy worms. There are many variations, and that is part of the fun. You can change the pudding color, the cookie crumbs, and the candy toppers.
Served in individual cups, dirt cups work well as party favors. They suit birthdays, school celebrations, and simple summer snacks. Each cup is easy to hand out and easy to enjoy. Kids love seeing the layers through the clear sides.
This version adds Teddy Grahams on top for a summer look. It uses Golden Oreo cookies for the sand layer. It is often called Sand Pudding Cups. The golden crumbs look just like beach sand next to the bright blue pudding.

The beach idea is simple. Blue pudding suggests ocean water. Golden crumbs suggest sand. Teddy Grahams in gummy rings suggest bears relaxing at the beach. It is a fun twist that keeps the spirit of classic dirt cups while giving them a sunny new outfit.
If you enjoy cup desserts, check out Layered Mango Coconut Pudding Cups for another colorful layered treat. Simple, playful, and easy to share, these beach cups fit right in with other no bake party favorites.
Think beach scene in a cup. Blue for water, golden crumbs for sand, and teddy bears ready for a swim.
Ingredients to Make Sand Pudding Cups
Feel free to make this your own. There is no right or wrong way to build these cups. The list below reflects a simple method that works well for parties. Gather everything before you start so assembly goes smoothly.
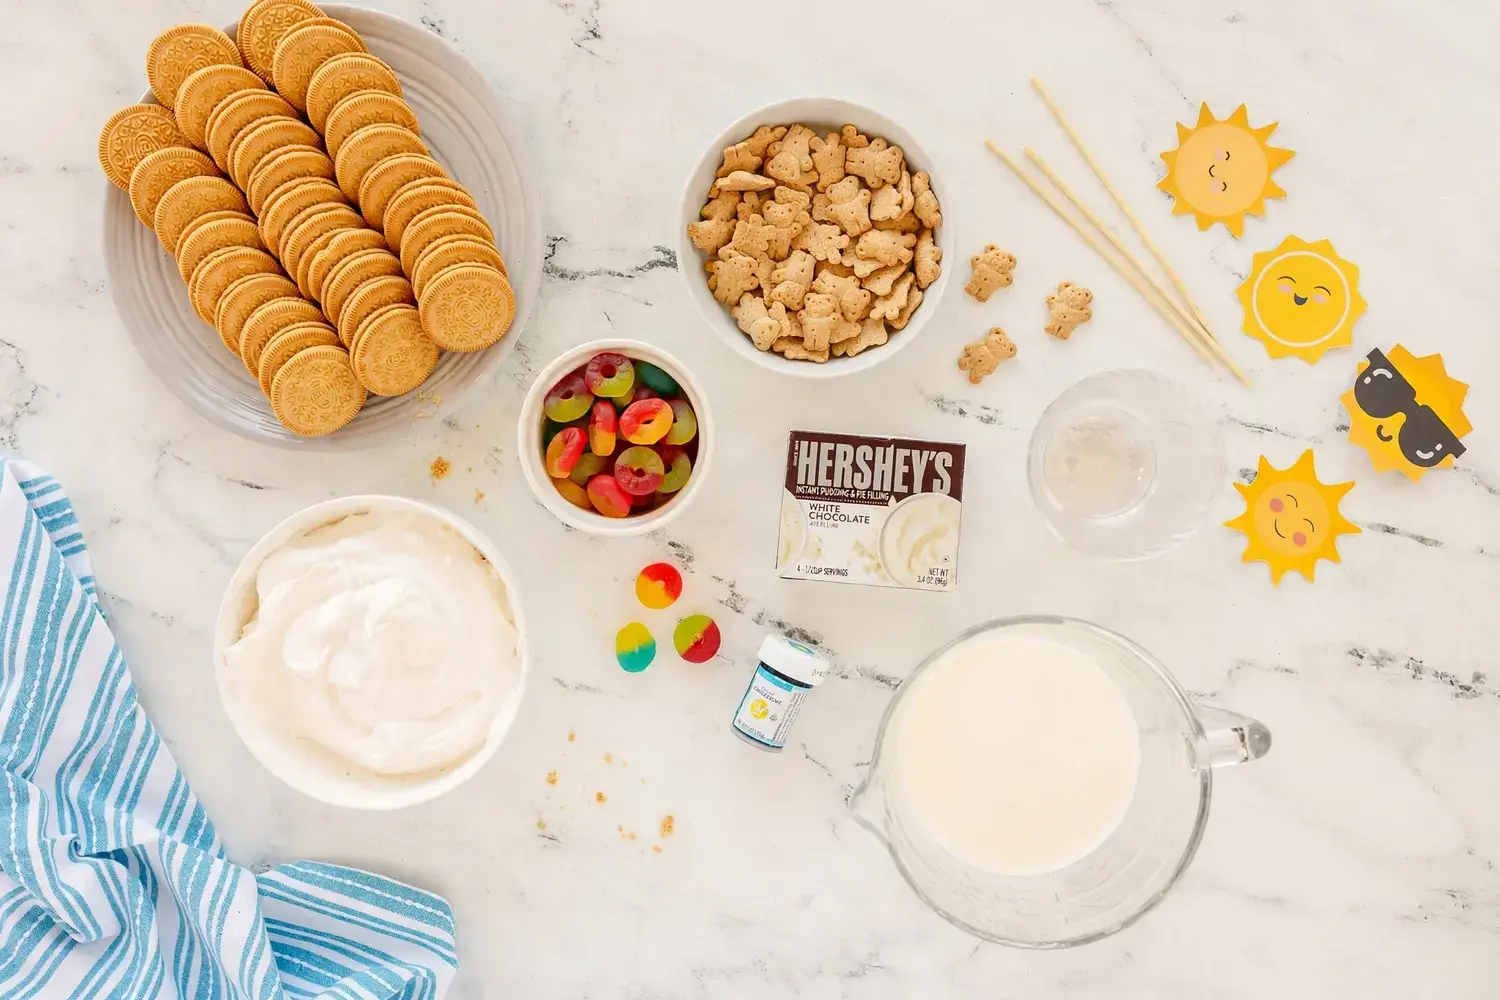
- Teddy Grahams
- 1 (3 ounce) package white chocolate instant pudding mix
- 2 cups milk
- 1 (8 ounce container) Cool Whip or whipped cream
- Golden Graham Oreos or graham crackers
- Gummy Life Savers
- clear plastic cups
- Free Sunshine Printable
Blue food coloring is used in the mixing step to create a pretty ocean blue color. You will add it until the pudding looks like bright sea water. A small drink umbrella can be added for extra decoration if you like that festive touch.
Easy swaps
- Regular graham cracker crumbs can be used instead of Oreo cookies. Both give a sandy color and a pleasant crunch.
- Premade instant vanilla pudding can be used as an alternative to the Cool Whip pudding mixture. Both options taste good in this dessert.
Each ingredient plays a simple role. The white chocolate instant pudding mix plus milk creates the creamy base. Cool Whip folded in makes it light and fluffy. Golden cookies crushed into crumbs create the sand. Teddy Grahams and gummy rings create the cute bears. The printable sunshine gives each cup a finished party look.
Clear plastic cups are useful because they show the layers. The Free Sunshine Printable adds a cheerful craft touch. You will tape the printed sunshine to a wooden skewer that has been cut down to size, then place it in the cup. Keep the Teddy Grahams and gummy rings handy for the final beach scene.
Simple is the goal here. Keep the cups, crumbs, and pudding within reach. Once the blue pudding is ready, you can build quickly and have fun with the decorations.
Putting Together Sand Pudding Recipe
Putting these cups together is simple layering and decorating. Work step by step and keep the decorations for last. Kids can help with crushing, layering, and placing the bears.

- Crush the cookies. Add about 20 Golden Graham Oreos to a food processor and process until crumbly. You can also place the cookies in a large Ziploc bag and crush them with a rolling pin. Aim for sandy crumbs with a little texture.
- Mix the pudding base. In a large bowl, mix the white chocolate pudding mix with 2 cups milk. Stir until the mixture is smooth and well combined.
- Color the ocean. Add blue food coloring to the mixture until a pretty ocean blue color forms. Mix well after each addition so the color stays even and bright.
- Fold in the Cool Whip. Fold in half a container of Cool Whip. Add more Cool Whip if needed for a lighter and fluffier texture. Fold gently to keep the pudding airy.
- Start the sand layer. Add a medium thick layer of golden Oreo crumbs to the bottom of your clear cups. This base layer gives a sandy foundation for the blue pudding.
- Add the blue pudding. Layer the blue pudding on top of the Oreo cookie crumbs. Spoon it carefully so the layers stay neat and visible through the cup.
- Finish the beach. Add a final layer of golden Oreo crumbs on top of the pudding, but only on half of the surface. One side will look like sand and the other side will look like water.
- Place the bears. Put your Teddy Graham half in the gummy Life Saver. If using dual color gummy rings, turn the ring so you can see both colors on either side of the bear. Add two bears per cup for a balanced look.
- Add the sunshine. Print the sunshine clip art and tape it to a wooden skewer that has been cut down to size. Insert it into the pudding cup for a cheerful finishing touch.
Tip. Build the sand on only half the top so each cup shows both beach and ocean at a glance.
Why I Love These Beach Dirt Cups
These cups are easy to love for busy party days. They can be prepared before an event rather than on the morning of the party. That make ahead option saves time when the schedule is full.
They are simple to make the night before and keep in the fridge. The pudding stays creamy and the crumbs hold their sandy look. When guests arrive, the cups are ready to serve.
The finished result is adorable and always a crowd pleasing treat. The blue and golden layers look cheerful. The little bears in gummy rings make people smile. Fun twist, simple steps, and a cute presentation make this a reliable choice for summer gatherings.
Easy to assemble, easy to carry, and easy to enjoy, these cups check every box for kid friendly entertaining.
Other Fun Ideas for Your Beach Cups
Feel free to personalize your beach scenes. The basic cups are cute on their own, but small swaps can change the whole look. Try different gummy candies to create your own shoreline.
Beach towel bears
If you want a different look, or if you prefer not to use Life Savers, rainbow strip candy or sour tape candy works well. Cut the candy into pieces measuring 1 and a half inches. Lay the pieces over the sand. Place the teddy bears on top so they look like they are sunbathing on beach towels.
More candy options

- For a sweeter version, a gummy bear can stand in for the cookie bear. This adds more candy and a chewy texture.
- Swedish fish have been used to suggest fish swimming in the ocean. Tuck them into the blue pudding so they peek out.
- Choose any gummy candy that works for your theme. The beach scenes can be customized again and again.
These cups suit many occasions. They are a good fit for church potlucks, pool parties, and birthday parties. The individual servings make them easy to transport and share.
For another no bake cup idea, try No Bake Strawberry Cheesecake Cups. And if you want more inspiration, this sand pudding cups with Teddy Grahams guide shows a similar sandy take. Simple swaps keep the idea fresh all summer.
Personalize each cup. One beach towel bear, one swimming fish, and one classic float makes a fun trio on a party tray.
Looking for More Themed Dirt Cup Desserts?
If you enjoy this beach version, there are more playful dirt cup ideas to explore. The same simple layering method can take on many fun themes.

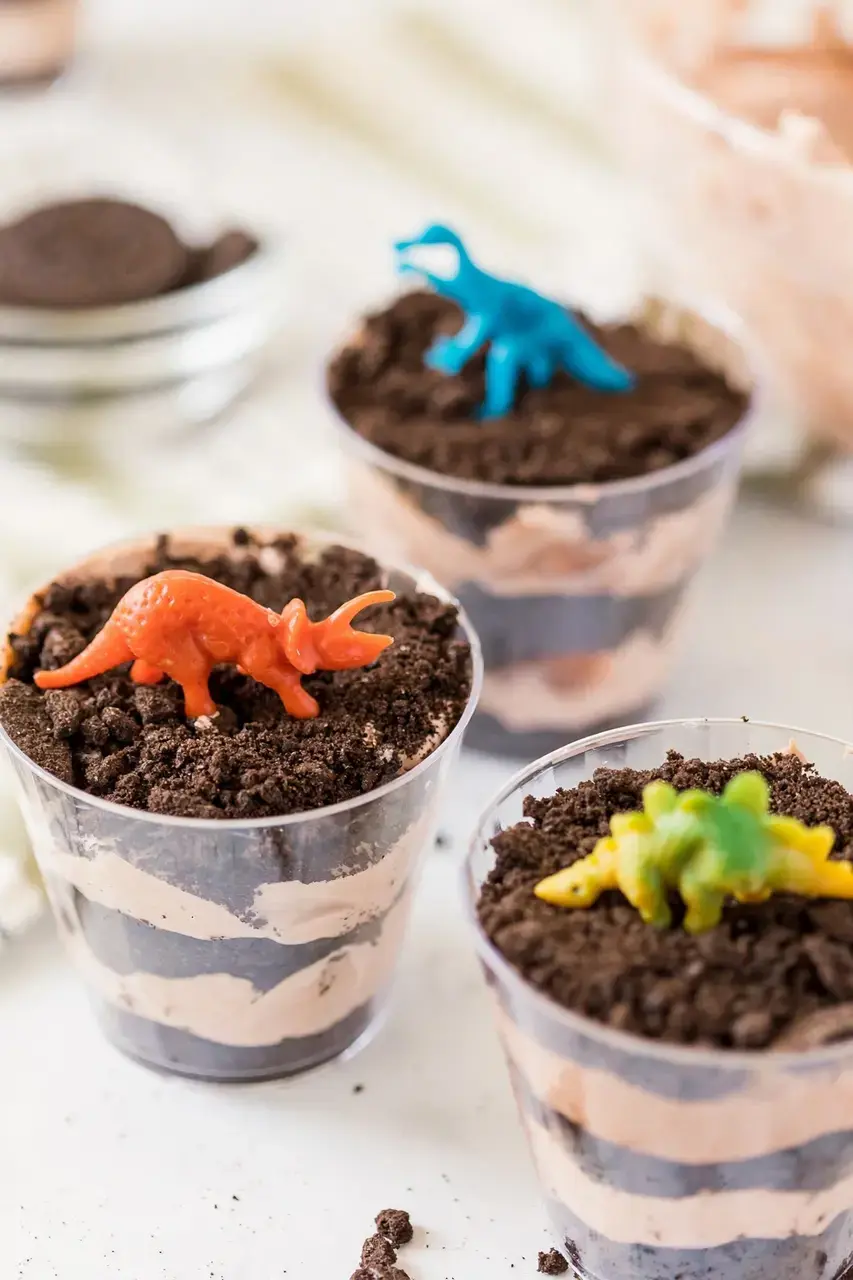
- Dinosaur Dirt Cups
- Unicorn Dirt Cups
- Construction Dirt Cups
Each one uses pudding, cookie crumbs, and creative toppers to tell a new story in a cup. Pick a theme that matches your party and have fun building.

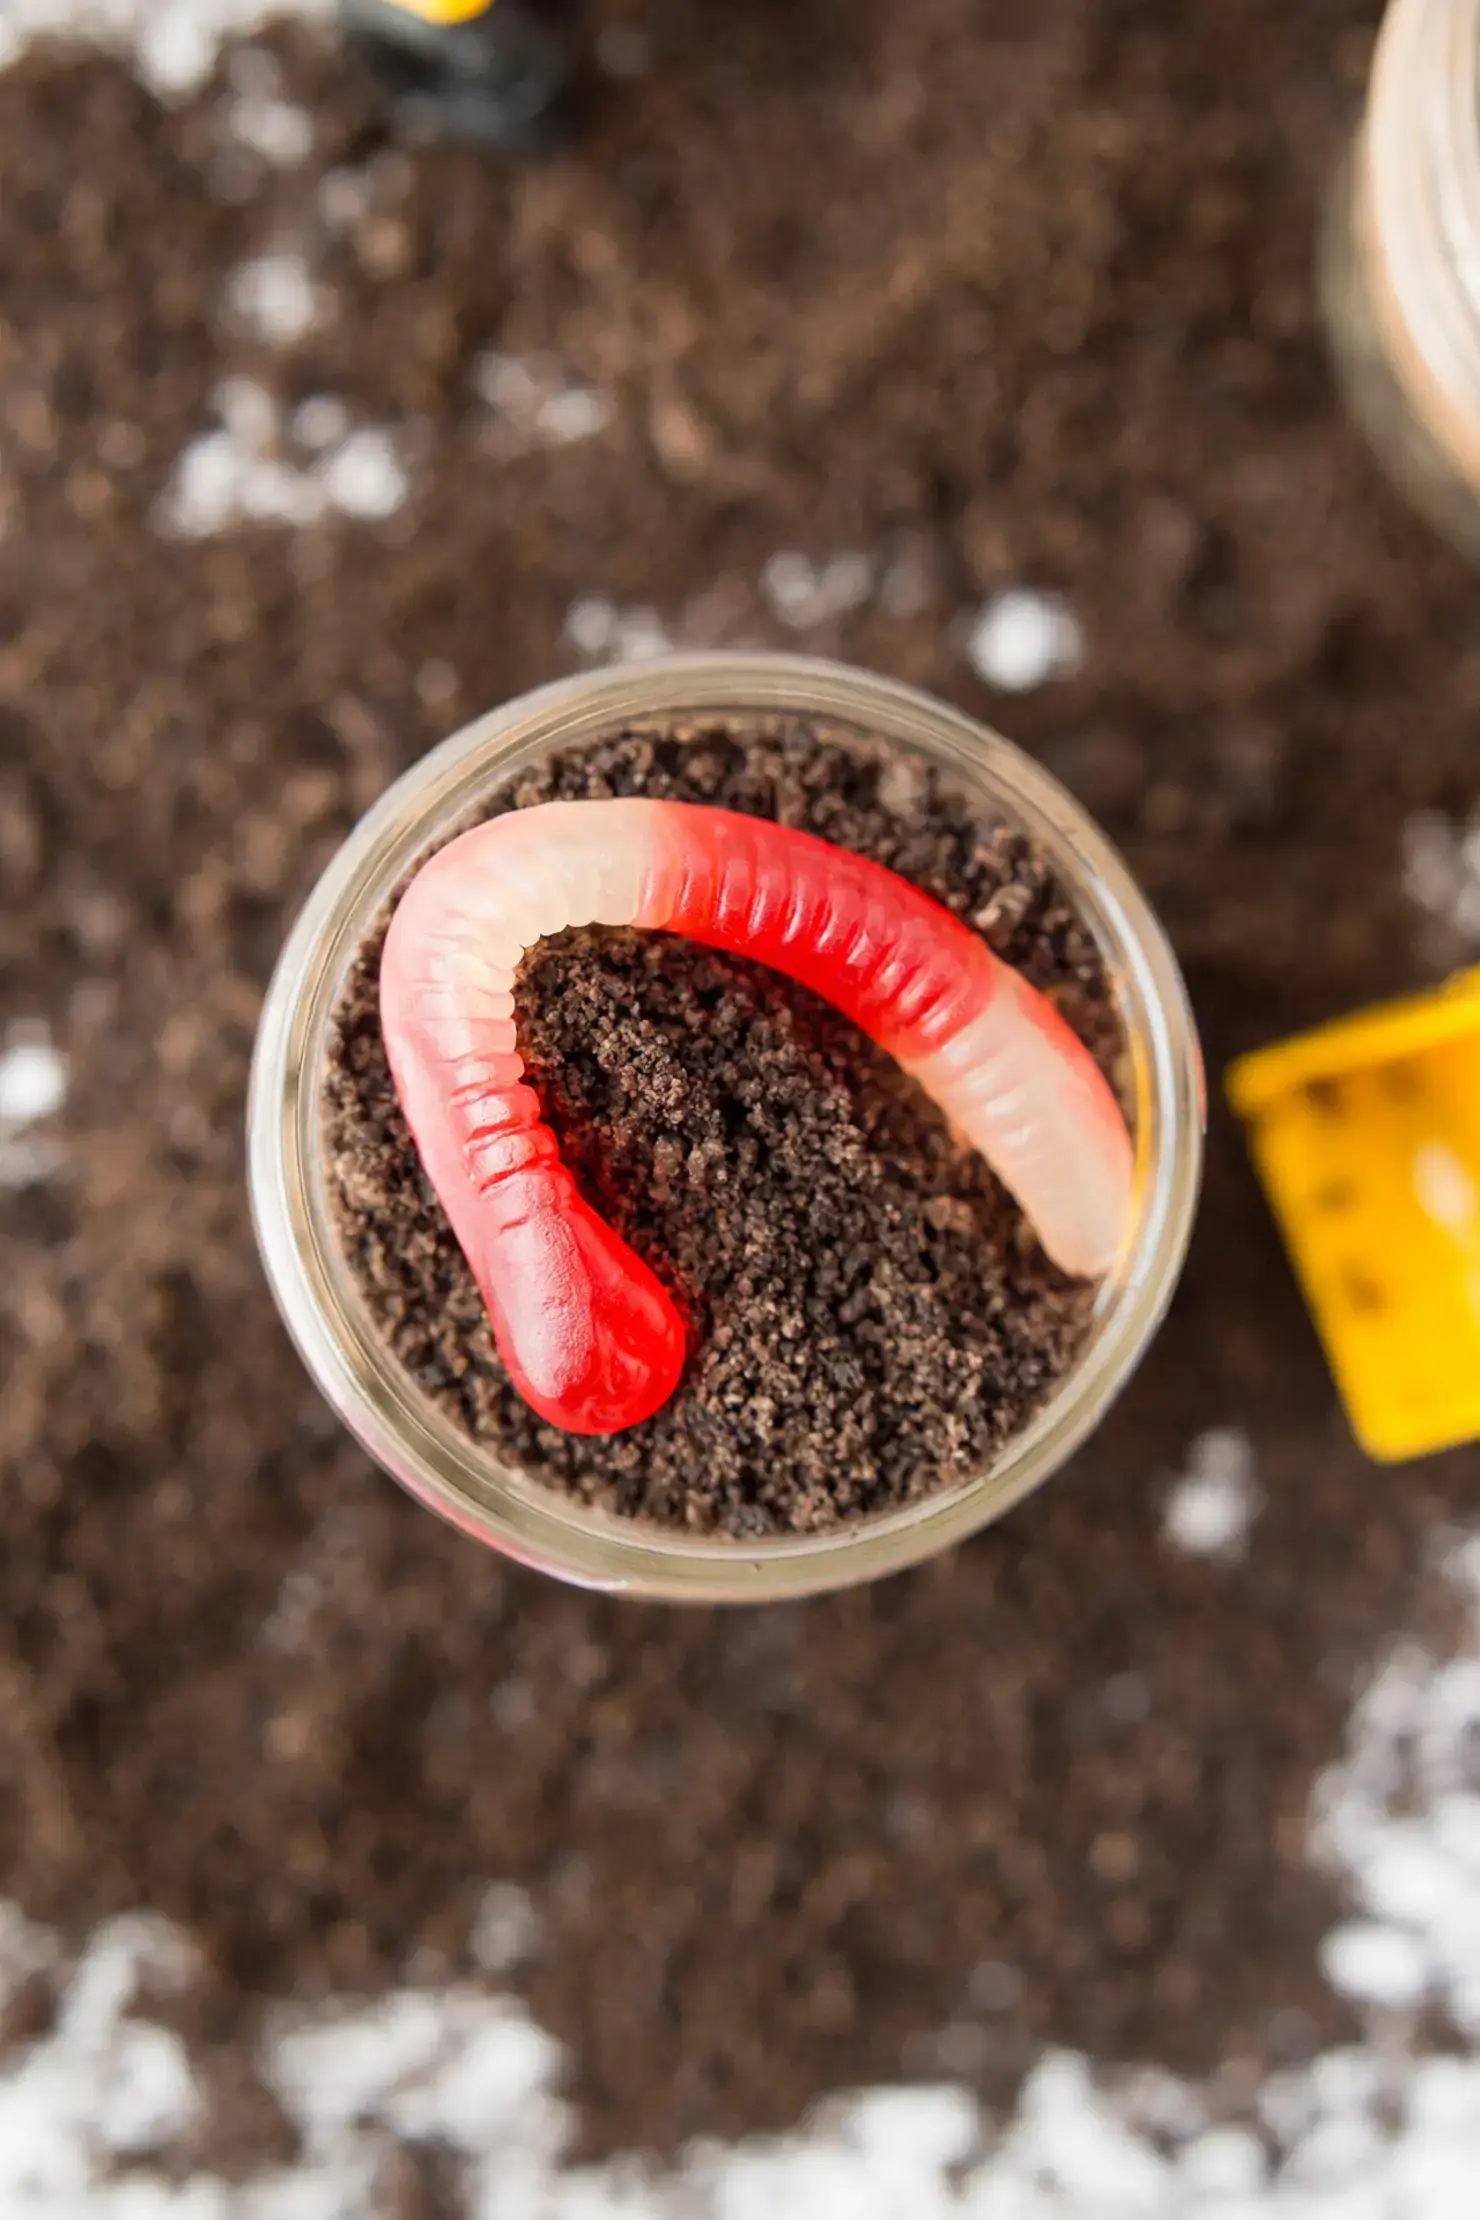
Simple, colorful, and kid friendly, themed dirt cups are an easy way to match dessert to the celebration.
See the additional source.
FAQs
How do you make beach dirt cups with Teddy Grahams?
How far ahead can I make beach dirt cups?
What pudding works best for blue beach dirt cups?
How do you keep the cookie sand crisp in beach dirt cups?
Beach Dirt Cups with Teddy Grahams
A Quick Look At This Craft These beach dirt cups give classic dirt pudding cups a fun summer twist. Blue pudding stands in for ocean water.
Ingredients
Teddy Grahams
1 (3 ounce) package WHITE chocolate instant pudding mix
2 cups milk
1 (8 ounce container) Cool Whip or whipped cream
Golden Graham Oreos or graham crackers
Gummy Life Savers
clear plastic cups
Free Sunshine Printable
Instructions
1-Add about 20 golden graham Oreos to: Add about 20 golden graham Oreos to a food processor and process until crumbly. You can also place your Oreos in a large Ziploc bag and crush them with a rolling pin.
2-In a large bowl, mix together white: In a large bowl, mix together white chocolate pudding mix with the 2 cups of milk.
3-Add blue food coloring to the mixture: Add blue food coloring to the mixture until a pretty ocean blue color forms.
4-Fold in ½ container of Coolwhip: Fold in ½ container of Coolwhip. Add more cool whip if needed.
5-Add a medium-thick layer of golden Oreos: Add a medium-thick layer of golden Oreos to the bottom of your clear cups.
6-Layer the blue pudding on top of: Layer the blue pudding on top of the oreo cookie crumbs.
7-Add a final player of golden Oreo: Add a final player of golden Oreo crumbs on the top of the pudding, but only on ½ of it.
8-Put your teddy graham half in the: Put your teddy graham half in the gummy lifesaver. If using dual-color gummy rings, turn it so you can see both colors on either side of him. We added two bears per cup.
9-Print off the sunshine clip art and: Print off the sunshine clip art and tape it to a cut-down wooden skewer. Insert it into the pudding cup.
Last Step:
Please leave a rating and comment letting us know how you liked this recipe! This helps our business to thrive and continue providing free, high-quality recipes for you.- Method: no_cook