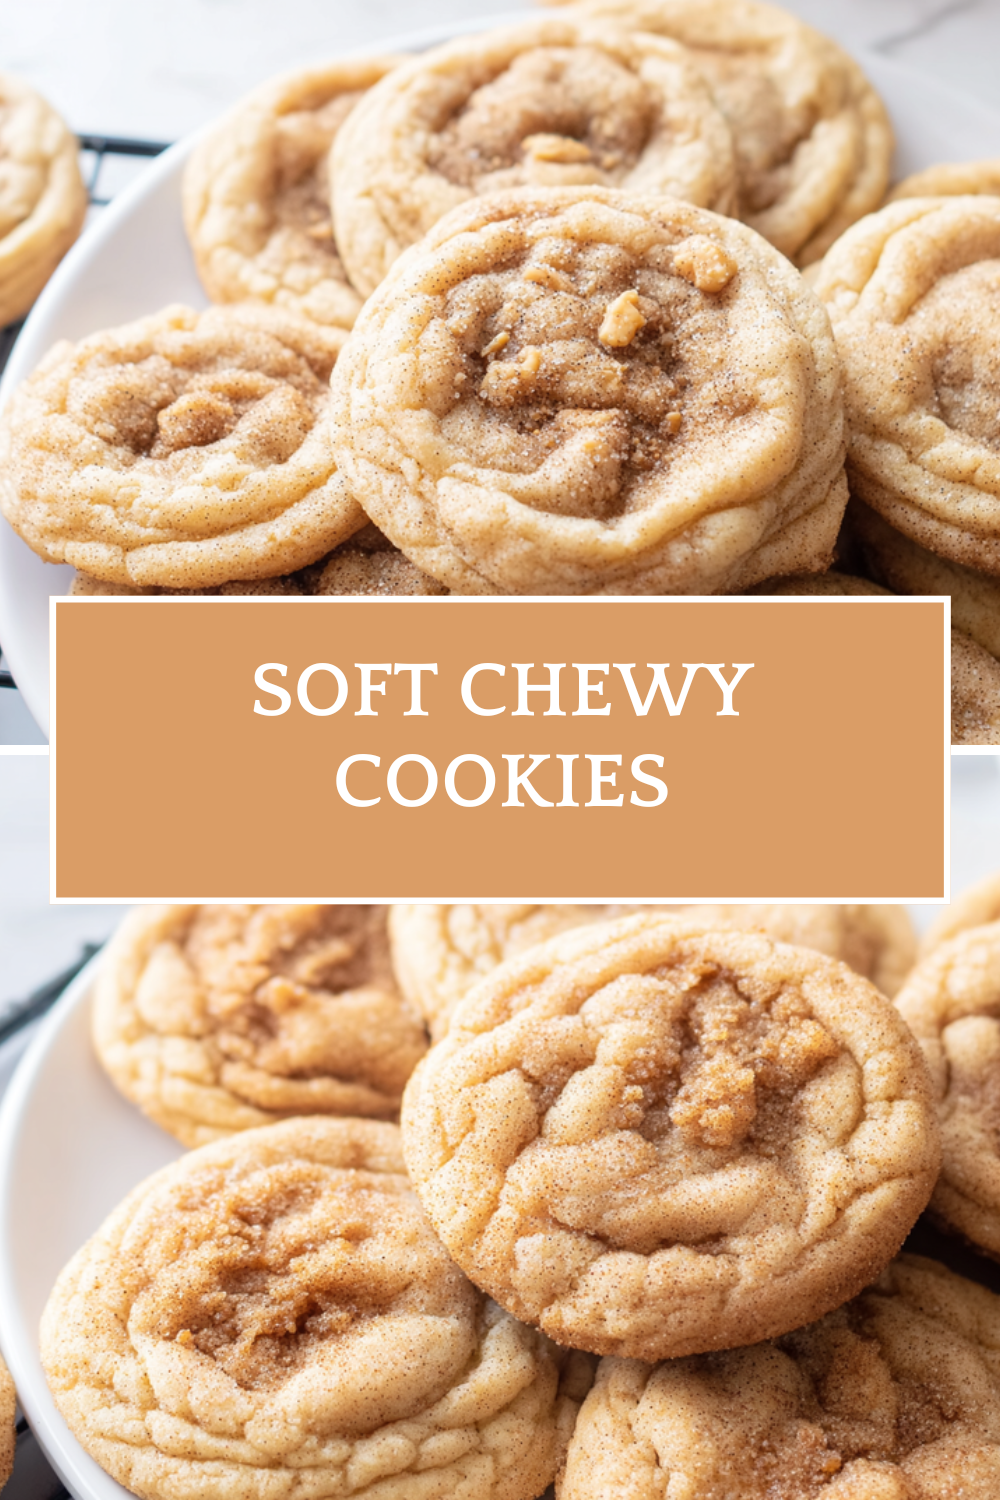
Why You’ll Love This Soft Chewy Cookies
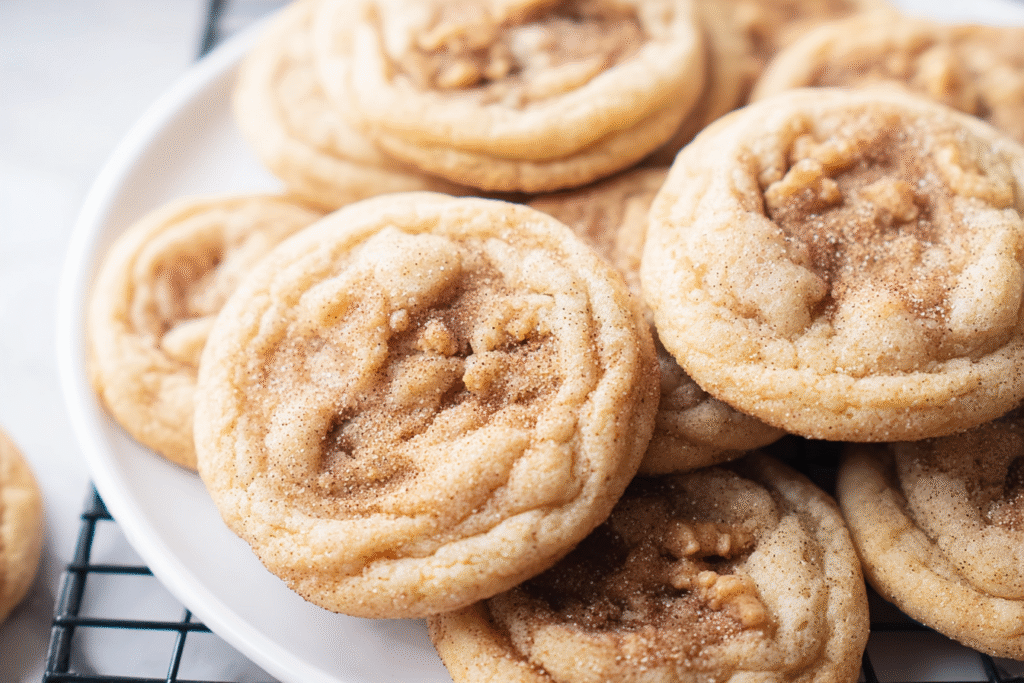
If you’ve been searching for the ultimate soft chewy cookies recipe, your quest ends here. These chocolate chip cookies strike the perfect balance between crispy edges and a melt-in-your-mouth center that will have everyone reaching for seconds. Whether you’re baking for a special occasion or just because, this cookie recipe delivers consistent results that will impress even the most discerning palates.
The Benefits of This Recipe
- Ease of preparation: This recipe comes together quickly with simple ingredients you likely have in your pantry. The straightforward method requires no special equipment beyond basic mixing bowls and a baking sheet, making it accessible to bakers of all skill levels. From start to finish, you can have freshly baked cookies ready to enjoy in under an hour.
- Health benefits: While cookies are certainly an indulgence, this recipe includes quality ingredients like real butter and eggs that provide some nutritional value. The recipe also uses less sugar than many store-bought alternatives, and you can easily customize it with add-ins like nuts, seeds, or dried fruits to boost the nutrient content.
- Versatility: This base recipe adapts beautifully to different dietary needs and flavor preferences. Whether you need gluten-free options, want to reduce sugar, or prefer dark chocolate over milk chocolate, this chewy chocolate chip cookies recipe can be modified to suit your requirements without compromising on texture or taste.
- Distinctive flavor: The combination of brown sugar and vanilla creates a rich, caramel-like flavor profile that sets these cookies apart from ordinary recipes. The perfect ratio of butter to flour ensures that distinctive soft and chewy texture that makes these cookies truly irresistible.
Jump to:
- Why You’ll Love This Soft Chewy Cookies
- The Benefits of This Recipe
- Essential Ingredients for Soft Chewy Cookies
- Ingredients List
- Understanding Your Ingredients
- Special Dietary Options
- How to Prepare the Perfect Soft Chewy Cookies: Step-by-Step Guide
- Preparation and Mise en Place
- Mixing the Dough
- The Importance of Chilling
- Shaping and Baking
- Testing for Doneness
- Dietary Substitutions to Customize Your Soft Chewy Cookies
- Protein and Main Component Alternatives
- Vegetable, Sauce, and Seasoning Modifications
- Mastering Soft Chewy Cookies: Advanced Tips and Variations
- Pro Cooking Techniques
- Flavor Variations
- Presentation Tips
- Make-ahead Options
- How to Store Soft Chewy Cookies: Best Practices
- Refrigeration Guidelines
- Freezing Techniques
- Reheating Methods
- Meal Prep Considerations
- FAQs: Frequently Asked Questions About Soft Chewy Cookies
- How do I make soft chewy chocolate chip cookies?
- What makes cookies soft and chewy instead of crispy?
- Why are my cookies flat and not chewy?
- Should I chill cookie dough for soft chewy cookies?
- How do I store soft chewy cookies to keep them fresh?
- Soft Chewy Cookies
- Ingredients
- Instructions
- Last Step:
- Notes
- Nutrition
- Did you make this recipe?
Essential Ingredients for Soft Chewy Cookies
The secret to creating the best chewy chocolate chip cookie recipe lies in selecting quality ingredients and understanding how each component contributes to the final texture. Here are the essential ingredients you’ll need:
Ingredients List
- 2 1/4 cups all-purpose flour
- 1 tsp baking soda
- 1 tsp salt
- 1 cup softened butter
- 3/4 cup white sugar
- 3/4 cup brown sugar
- 1 tsp vanilla
- 2 eggs
- 2 cups chocolate chips
Understanding Your Ingredients
- All-purpose flour (2 1/4 cups): The foundation of your cookie structure. Using the right amount ensures the perfect balance between spread and thickness. Measuring by weight (approximately 270g) yields the most consistent results.
- Baking soda (1 tsp): Acts as the leavening agent, helping the cookies rise slightly and creating those delightful cracks on the surface. It also promotes browning for that appealing golden appearance.
- Salt (1 tsp): Enhances the overall flavor profile by balancing the sweetness. It might seem like a small amount, but it makes a noticeable difference in bringing out the butter and chocolate flavors.
- Softened butter (1 cup): The key to the perfect texture. Softened butter incorporates air when creamed with sugar, creating tenderness. The fat content contributes to the rich flavor and mouthfeel.
- White sugar (3/4 cup): Promotes spreading and creates crisp edges. Using the right ratio of white to brown sugar is crucial for achieving that ideal contrast between crispy edges and soft centers.
- Brown sugar (3/4 cup): Contains molasses which adds moisture and contributes to the chewy texture. It also provides depth of flavor with its caramel notes.
- Vanilla (1 tsp): The flavor enhancer that brings all ingredients together. Pure vanilla extract delivers superior flavor compared to artificial versions.
- Eggs (2): Provide structure and help bind ingredients together. They also contribute to the chewiness and add richness to the cookie.
- Chocolate chips (2 cups): The star of the show! Feel free to use semi-sweet, milk, or dark chocolate chips depending on your preference. Quality chocolate makes a noticeable difference in the final result.
Special Dietary Options
This soft chewy cookies recipe can be easily adapted to accommodate various dietary needs:
| Dietary Need | Substitution |
|---|---|
| Vegan | Replace butter with vegan butter or coconut oil; use flax eggs (1 tbsp ground flaxseed + 3 tbsp water per egg); use vegan chocolate chips |
| Gluten-free | Use a 1:1 gluten-free flour blend that includes xanthan gum for best results |
| Low-calorie | Replace half the butter with applesauce or Greek yogurt; use sugar substitutes like stevia or erythritol; reduce chocolate chips to 1 cup |
How to Prepare the Perfect Soft Chewy Cookies: Step-by-Step Guide
Creating the perfect batch of easy soft chewy cookies requires attention to detail and proper technique. Follow these steps carefully to achieve consistent results every time.
Preparation and Mise en Place
Before you begin, make sure your kitchen is ready for baking success. Preheat your oven to 375°F (190°C) and line two baking sheets with parchment paper or silicone baking mats. This preparation ensures even baking and easy cleanup. Room temperature ingredients combine more easily, so take your butter and eggs out of the refrigerator about 30 minutes before you start baking.
Professional Baker’s Tip: Weigh your ingredients whenever possible for the most accurate results. This is especially important for flour, which can vary significantly depending on how it’s measured.
Mixing the Dough
Start by whisking together 2 1/4 cups all-purpose flour, 1 tsp baking soda, and 1 tsp salt in a medium bowl. Set this dry mixture aside while you prepare the wet ingredients. In a large bowl, cream together 1 cup softened butter, 3/4 cup white sugar, and 3/4 cup brown sugar. Beat on medium speed for 2-3 minutes until the mixture is light and fluffy. This process incorporates air into the dough, which helps create a tender texture.
Add 1 tsp vanilla and 2 eggs to the butter mixture, beating well after each addition. Continue mixing until the eggs are fully incorporated. Gradually add the dry ingredients to the wet mixture, mixing on low speed just until combined. Be careful not to overmix, as this can develop gluten and result in tough cookies. Finally, fold in 2 cups chocolate chips using a spatula or wooden spoon.
The Importance of Chilling
For the softest, chewiest results, cover your dough and refrigerate for 30-60 minutes. This chilling period allows the flour to hydrate fully and prevents excessive spreading during baking. Cold dough also produces thicker cookies with more pronounced texture contrast between the edges and centers. If time permits, chilling the dough overnight develops even deeper flavors.
Shaping and Baking
Remove the chilled dough from the refrigerator and let it sit at room temperature for 5-10 minutes if it’s too firm to scoop. Using a cookie scoop or tablespoon, portion the dough into balls approximately 2 tablespoons each. Place the dough balls on the prepared baking sheets, spacing them about 2 inches apart to allow for spreading.
Bake the cookies at 375°F (190°C) for 10-12 minutes. The edges should be lightly golden while the centers may still appear slightly underdone. This appearance is intentional as the cookies will continue to set as they cool. Remove from the oven and let the cookies rest on the baking sheet for 5 minutes before transferring them to a wire rack to cool completely. This resting period is crucial as it allows the structure to firm up without becoming hard.
Testing for Doneness
Knowing when your cookies are perfectly baked takes practice. Look for these signs of doneness:
- Edges are set and lightly golden brown
- Centers look slightly soft and underbaked
- Bottoms are golden brown (carefully lift one to check)
- Aromas of toasted butter and sugar fill your kitchen
Remember that cookies continue to bake on the hot baking sheet even after being removed from the oven. It’s always better to slightly underbake than overbake when aiming for soft chewy cookies.

Dietary Substitutions to Customize Your Soft Chewy Cookies
One of the wonderful aspects of this perfect chewy cookies recipe is its adaptability. Whether you’re accommodating allergies, following a specific diet, or simply experimenting with flavors, these substitutions will help you create custom cookies that everyone can enjoy.
Protein and Main Component Alternatives
For those looking to modify the protein content or swap out main ingredients, several options work beautifully in this recipe:
- Egg replacements: For vegan options, use flax eggs (1 tablespoon ground flaxseed meal mixed with 3 tablespoons water per egg), chia eggs (similar to flax), or commercial egg replacers. Each alternative works well, though flax eggs add a slightly nutty flavor.
- Butter alternatives: Coconut oil creates a slightly denser cookie with a subtle coconut flavor. For a neutral taste, try vegan butter sticks or high-quality margarine designed for baking. Note that oil-based cookies may spread differently than butter-based ones.
- Protein additions: Add 1-2 tablespoons of collagen peptides or whey protein powder to increase protein content without significantly altering texture. Be aware that adding more than this may affect the cookie’s consistency.
- Nut flours: Replace up to 1/4 cup of all-purpose flour with almond flour for added protein and a slightly nutty flavor. This substitution works particularly well in combination with chocolate chunks.
Vegetable, Sauce, and Seasoning Modifications
Experimenting with add-ins and flavorings can transform this basic recipe into something extraordinary:
- Fruit additions: Dried cranberries, chopped dried cherries, or raisins add tartness that balances the rich chocolate. For a fresh twist, try adding chopped dried apricots or figs. Keep additions to about 1 cup total to maintain proper dough consistency.
- Nut and seed variations: Chopped walnuts, pecans, or macadamia nuts add crunch and complement the chocolate perfectly. For those with nut allergies, sunflower or pumpkin seeds provide a similar texture without the allergens.
- Spice enhancements: Add 1/2 teaspoon of cinnamon, nutmeg, or a pinch of sea salt on top before baking for added depth of flavor. Espresso powder (1 teaspoon) intensifies the chocolate flavor without making the cookies taste like coffee.
- Sauce drizzles: After baking, drizzle with caramel, white chocolate, or peanut butter sauce for an impressive presentation. These additions should be done just before serving for the best appearance and texture.
Substitution Tip: When making significant changes to ingredients, it’s always wise to bake a test cookie first to see how the modifications affect the final result. This approach saves you from potentially ruining an entire batch.
Mastering Soft Chewy Cookies: Advanced Tips and Variations
Once you’ve mastered the basic recipe, these expert techniques and creative variations will help you elevate your chocolate chip cookies to the next level. Professional bakers use these methods consistently to achieve superior results.
Pro Cooking Techniques
Temperature control plays a crucial role in cookie texture. For exceptionally soft centers, try baking at 375°F (190°C) for just 9-10 minutes, then immediately transferring the baking sheet to a cool surface. This sudden temperature change stops the cooking process while preserving the soft interior. Conversely, for cookies with more uniform texture throughout, reducing the oven temperature to 350°F (175°C) and extending the baking time by 2-3 minutes produces excellent results.
The creaming method deserves careful attention. Creaming butter and sugar for 3-4 minutes instead of the typical 1-2 minutes incorporates more air, resulting in lighter, cakier cookies. For denser, chewier results, cream just until combined. This subtle adjustment makes a significant difference in the final texture.
Consider browning your butter before creaming it with sugars. This simple technique adds nutty, caramel notes that deepen the overall flavor profile. Allow the browned butter to solidify slightly before using it in your recipe, and you may need to reduce the chilling time as the butter will already be more firm.
Flavor Variations
Transform the classic chocolate chip cookie by experimenting with different chocolate combinations. Mixing milk, semi-sweet, and dark chocolate chips creates a complex flavor profile that appeals to sophisticated palates. For those who prefer intensity, using only high-percentage dark chocolate (70% or higher) produces a sophisticated, less sweet cookie that pairs wonderfully with coffee or red wine.
Extract beyond vanilla by incorporating almond, coconut, or maple extract in small quantities (1/4 to 1/2 teaspoon) to create intriguing flavor variations. These subtle changes can completely transform the character of your cookies without straying too far from the classic profile everyone loves.
Infusion techniques offer another way to customize flavor. Warm the butter with cinnamon sticks, vanilla beans, or citrus zest before creaming, then strain out the solids. This process infuses the fat with delicate flavors that distribute evenly throughout the cookie.
Presentation Tips
For bakery-worthy appearance, reserve a portion of chocolate chips to press into the tops of the cookies immediately after removing them from the oven. This technique ensures visible chocolate on the surface and creates an appealing marbled appearance. A light sprinkle of flaky sea salt just before baking enhances the chocolate flavor and adds a sophisticated touch.
Create consistently sized cookies by using a spring-loaded cookie scoop. This simple tool ensures uniform baking and professional presentation. For a rustic look, shape the dough balls into rough spheres rather than perfectly smooth rounds, then press down slightly with the tines of a fork to create a crisscross pattern.
Make-ahead Options
Busy bakers will appreciate these time-saving strategies. Cookie dough can be prepared up to 3 days in advance and stored in the refrigerator, or frozen for up to 3 months. Portion the dough into balls before freezing for easy baking, simply add 1-2 minutes to the baking time when baking from frozen.
For fresh-baked cookies on demand, keep a log of dough wrapped in parchment paper in the freezer. Slice off just what you need and bake immediately. This method provides freshly baked cookies with minimal effort and cleanup.
Pre-scooped dough balls make excellent gifts. Package them in an airtight container with baking instructions for a thoughtful present that allows recipients to enjoy warm, freshly baked cookies at their convenience.
How to Store Soft Chewy Cookies: Best Practices
Proper storage techniques help maintain the perfect texture of your soft chewy cookies for days after baking. Implement these methods to ensure every cookie tastes as fresh as the day it was made.
Refrigeration Guidelines
For short-term storage (up to one week), place cooled cookies in an airtight container at room temperature. Line the container with parchment paper between layers to prevent sticking. Adding a slice of white bread to the container creates a humid microenvironment that keeps cookies remarkably soft. Replace the bread slice every 2-3 days for best results.
If your kitchen is particularly warm or humid, refrigeration might be necessary. However, be aware that refrigeration can accelerate staling. To mitigate this, wrap individual cookies in plastic wrap before placing them in an airtight container in the refrigerator. Allow refrigerated cookies to come to room temperature before serving for the best texture and flavor.
Freezing Techniques
For long-term storage (up to 3 months), freezing is your best option. Flash-freeze individual cookies on a baking sheet until firm (about 2 hours), then transfer them to freezer-safe bags or containers. This method prevents cookies from sticking together and allows you to remove just what you need.
For the best results, thaw frozen cookies on a wire rack at room temperature. To refresh the texture, place them in a 300°F (150°C) oven for 3-5 minutes. This brief warming restores some of the freshly baked quality without further cooking the cookies.
Reheating Methods
Revive day-old cookies by warming them in the microwave for just 5-10 seconds. This brief heating softens the interior without making them hot. Alternatively, place cookies in a 275°F (135°C) oven for 5-7 minutes to restore that freshly baked texture throughout.
For a special treat, try warming cookies in a skillet over low heat for 1-2 minutes per side. This method creates slightly crispy edges while maintaining a soft center, mimicking the contrast of freshly baked cookies.
Meal Prep Considerations
Efficient batch cooking ensures you always have cookies on hand. When planning to bake multiple batches, prepare all the dough at once, then portion and freeze according to your needs. This approach saves time and cleanup while providing the convenience of fresh cookies on demand.
Consider creating a baking schedule that aligns with your weekly routine. For example, bake a fresh batch on Sunday to enjoy throughout the week, or prepare dough on weekends and bake just what you need each morning for breakfast or snacks.
FAQs: Frequently Asked Questions About Soft Chewy Cookies
How do I make soft chewy chocolate chip cookies?
What makes cookies soft and chewy instead of crispy?
Why are my cookies flat and not chewy?
Should I chill cookie dough for soft chewy cookies?
How do I store soft chewy cookies to keep them fresh?

Soft Chewy Cookies
🍪 Achieve bakery-style chewy chocolate chip cookies with gooey centers and crisp edges every time!
🍫 Timeless recipe using pantry staples – bake fresh, freeze dough, or share the homemade joy with family.
- Total Time: 55 minutes
- Yield: 48 cookies
Ingredients
– 2 1/4 cups all-purpose flour
– 1 tsp baking soda
– 1 tsp salt
– 1 cup softened butter
– 3/4 cup white sugar
– 3/4 cup brown sugar
– 1 tsp vanilla
– 2 eggs
– 2 cups chocolate chips
Instructions
1-Preparation and Mise en Place: Before you begin, make sure your kitchen is ready for baking success. Preheat your oven to 375°F (190°C) and line two baking sheets with parchment paper or silicone baking mats. This preparation ensures even baking and easy cleanup. Room temperature ingredients combine more easily, so take your butter and eggs out of the refrigerator about 30 minutes before you start baking.
2-Mixing the Dough: Start by whisking together 2 1/4 cups all-purpose flour, 1 tsp baking soda, and 1 tsp salt in a medium bowl. Set this dry mixture aside while you prepare the wet ingredients. In a large bowl, cream together 1 cup softened butter, 3/4 cup white sugar, and 3/4 cup brown sugar. Beat on medium speed for 2-3 minutes until the mixture is light and fluffy. This process incorporates air into the dough, which helps create a tender texture. Add 1 tsp vanilla and 2 eggs to the butter mixture, beating well after each addition. Continue mixing until the eggs are fully incorporated. Gradually add the dry ingredients to the wet mixture, mixing on low speed just until combined. Be careful not to overmix, as this can develop gluten and result in tough cookies. Finally, fold in 2 cups chocolate chips using a spatula or wooden spoon.
3-The Importance of Chilling: For the softest, chewiest results, cover your dough and refrigerate for 30-60 minutes. This chilling period allows the flour to hydrate fully and prevents excessive spreading during baking. Cold dough also produces thicker cookies with more pronounced texture contrast between the edges and centers. If time permits, chilling the dough overnight develops even deeper flavors.
4-Shaping and Baking: Remove the chilled dough from the refrigerator and let it sit at room temperature for 5-10 minutes if it’s too firm to scoop. Using a cookie scoop or tablespoon, portion the dough into balls approximately 2 tablespoons each. Place the dough balls on the prepared baking sheets, spacing them about 2 inches apart to allow for spreading. Bake the cookies at 375°F (190°C) for 10-12 minutes. The edges should be lightly golden while the centers may still appear slightly underdone. This appearance is intentional as the cookies will continue to set as they cool. Remove from the oven and let the cookies rest on the baking sheet for 5 minutes before transferring them to a wire rack to cool completely. This resting period is crucial as it allows the structure to firm up without becoming hard.
5-Testing for Doneness: Knowing when your cookies are perfectly baked takes practice. Look for these signs of doneness:* Edges are set and lightly golden brown* Centers look slightly soft and underbaked* Bottoms are golden brown (carefully lift one to check)* Aromas of toasted butter and sugar fill your kitchen Remember that cookies continue to bake on the hot baking sheet even after being removed from the oven. It’s always better to slightly underbake than overbake when aiming for soft chewy cookies.
Last Step:
Please leave a rating and comment letting us know how you liked this recipe! This helps our business to thrive and continue providing free, high-quality recipes for you.Notes
❄️ Chill dough 30 minutes (or overnight) for thicker, chewier cookies.
👆 Use more brown sugar than white for extra moisture and chew.
🔥 Pull from oven when edges are set – centers will finish baking on the sheet.
- Prep Time: 15 minutes
- Chill: 30 minutes
- Cook Time: 10 minutes
- Category: Dessert
- Method: Baking
- Cuisine: American
- Diet: Vegetarian
Nutrition
- Serving Size: 1 cookie
- Calories: 160 calories
- Sugar: 14g
- Sodium: 130mg
- Fat: 9g
- Saturated Fat: 5g
- Unsaturated Fat: 3g
- Trans Fat: 0g
- Carbohydrates: 20g
- Fiber: 1g
- Protein: 2g
- Cholesterol: 25mg


