Why You’ll Love This Cookie Dough Frosting
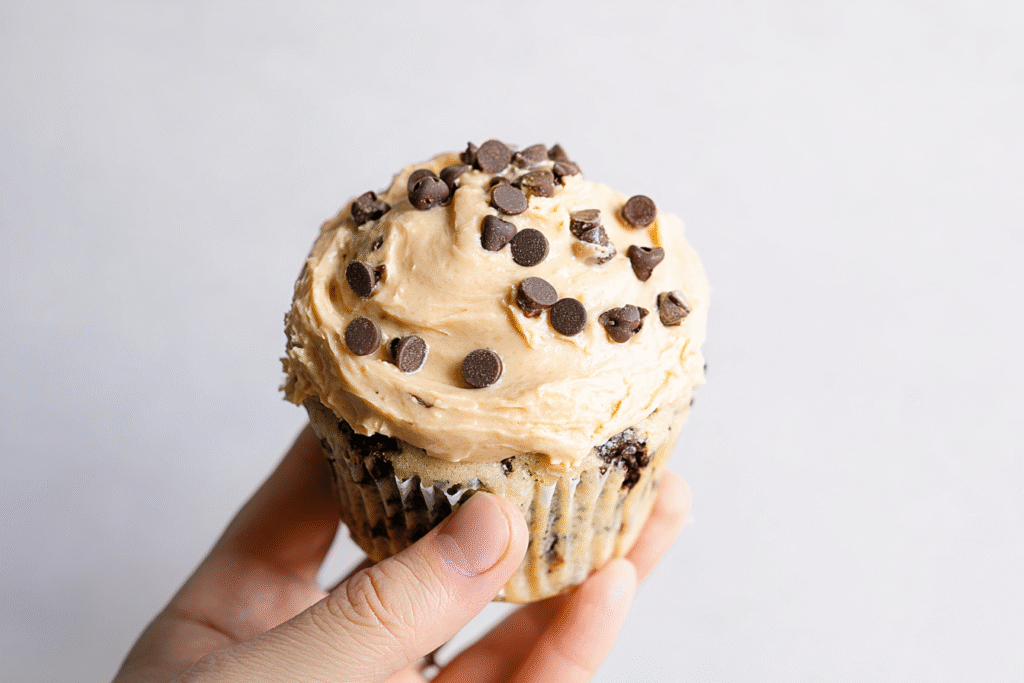
There’s nothing quite like the taste of raw cookie dough, and this frosting captures that nostalgic flavor perfectly. Whether you’re decorating cupcakes for a birthday party or simply want to indulge your sweet tooth, this cookie dough frosting delivers an irresistible experience that will have everyone coming back for seconds.The Benefits of This Recipe
- Ease of preparation: This recipe comes together in just 10 minutes with simple ingredients you likely already have in your pantry. No complicated techniques or special equipment required, making it perfect for beginner bakers and busy parents alike. You can whip up a batch right before serving your guests.
- Safe to eat: Unlike traditional cookie dough, this edible cookie dough frosting eliminates health concerns by using heat-treated flour and no raw eggs. You can enjoy that delicious dough flavor without worrying about food safety issues, making it perfect for kids and adults alike.
- Versatility: This frosting works beautifully on cakes, cupcakes, brownies, and even as a dip for fruit or pretzels. It adapts easily to different dietary needs with simple substitutions, so everyone at your table can enjoy this treat regardless of their restrictions.
- Distinctive flavor: The combination of brown sugar, butter, and vanilla creates that authentic cookie dough taste that’s unlike any other frosting. The mini chocolate chips add texture and bursts of chocolate in every bite, making this frosting truly stand out from traditional buttercream or cream cheese options.
Jump to:
- Why You’ll Love This Cookie Dough Frosting
- The Benefits of This Recipe
- Essential Ingredients for Cookie Dough Frosting
- Main Ingredients
- Special Dietary Options
- How to Prepare the Perfect Cookie Dough Frosting: Step-by-Step Guide
- First Step: Heat-Treat the Flour
- Second Step: Cream the Butter
- Third Step: Add Sugars and Vanilla
- Fourth Step: Incorporate Dry Ingredients
- Fifth Step: Adjust Consistency
- Final Step: Fold in Chocolate Chips
- Dietary Substitutions to Customize Your Cookie Dough Frosting
- Protein and Main Component Alternatives
- Vegetable, Sauce, and Seasoning Modifications
- Mastering Cookie Dough Frosting: Advanced Tips and Variations
- Pro Cooking Techniques
- Flavor Variations
- Presentation Tips
- Make-Ahead Options
- How to Store Cookie Dough Frosting: Best Practices
- Refrigeration
- Freezing
- Reheating and Meal Prep Considerations
- FAQs: Frequently Asked Questions About Cookie Dough Frosting
- What is cookie dough frosting?
- Is cookie dough frosting safe to eat raw?
- How do you make cookie dough frosting at home?
- What desserts work best with cookie dough frosting?
- How long does cookie dough frosting last in the fridge?
- Cookie Dough Frosting
- Ingredients
- Instructions
- Last Step:
- Notes
- Nutrition
- Did you make this recipe?
Essential Ingredients for Cookie Dough Frosting
Creating the perfect cookie dough frosting starts with gathering the right ingredients. Each component plays a crucial role in achieving that authentic dough flavor and creamy texture we all love.Main Ingredients
- 1 cup softened unsalted butter – The base of our frosting, providing rich flavor and creamy texture
- ¾ cup packed brown sugar – Adds deep caramel notes and that classic cookie dough taste
- 2 teaspoons vanilla extract – Enhances the overall flavor profile with warm, aromatic notes
- 2 cups heat-treated all-purpose flour – Creates the dough-like texture without raw flour concerns
- 1 cup powdered sugar – Adds sweetness and helps achieve the perfect spreading consistency
- 3-4 tablespoons milk or heavy cream – Adjusts the frosting to your desired consistency
- 1 cup mini chocolate chips – Provides authentic texture and chocolate flavor in every bite
Pro tip: Always measure flour by spooning it into your measuring cup and leveling off with a knife for consistent results every time.
Special Dietary Options
| Dietary Need | Substitutions |
|---|---|
| Vegan | Use plant-based butter and dairy-free milk; ensure chocolate chips are vegan-friendly |
| Gluten-free | Replace all-purpose flour with a 1-to-1 gluten-free flour blend |
| Low-calorie | Use light butter and reduce sugar; add Greek yogurt for creaminess |
| Dairy-free | Substitute with coconut oil or vegan butter and non-dairy milk alternatives |
How to Prepare the Perfect Cookie Dough Frosting: Step-by-Step Guide
Making this delicious frosting is easier than you might think. Follow these detailed instructions to create a batch that will impress everyone who tries it. This eggless frosting recipe yields approximately 3 cups, enough to generously frost 24 cupcakes or a two-layer 8-inch cake.First Step: Heat-Treat the Flour
Before you begin mixing, it’s crucial to heat-treat your flour to eliminate any bacteria. Spread the 2 cups of all-purpose flour in an even layer on a baking sheet. Bake at 350°F for 5-10 minutes, stirring halfway through, until the flour reaches 160°F internally. Alternatively, you can microwave the flour in 30-second intervals, stirring between each, until it reaches the safe temperature. Allow the flour to cool completely before using it in your frosting. This step is what makes this safe cookie dough suitable for eating without baking.Second Step: Cream the Butter
Place 1 cup of softened unsalted butter in a large mixing bowl. Using an electric mixer or stand mixer fitted with the paddle attachment, beat the butter on medium speed for about 2-3 minutes until it becomes pale, creamy, and smooth. This process incorporates air into the butter, which helps create a lighter texture in your finished frosting. If your butter is too cold, let it sit at room temperature for 30-60 minutes before starting. Cold butter won’t cream properly and will result in a lumpy frosting.Third Step: Add Sugars and Vanilla
Add the ¾ cup of packed brown sugar and 2 teaspoons of vanilla extract to the creamed butter. Mix on medium speed for another 2-3 minutes until the mixture is light and fluffy. The brown sugar will dissolve slightly, releasing its molasses content which contributes to that authentic cookie dough flavor. Scrape down the sides of the bowl with a spatula to ensure all ingredients are well incorporated. This chocolate chip frosting base should now look smooth and slightly lighter in color.Fourth Step: Incorporate Dry Ingredients
With the mixer on low speed, gradually add the cooled, heat-treated flour and 1 cup of powdered sugar. Mixing on low prevents the flour from flying out of the bowl. Once all the dry ingredients are added, increase the speed to medium and mix for 1-2 minutes until everything is combined. The mixture will look thick and somewhat like actual cookie dough at this point. This brown sugar frosting has a unique texture that’s denser than traditional buttercream but still spreadable.Fifth Step: Adjust Consistency
Add 3-4 tablespoons of milk or heavy cream, one tablespoon at a time, mixing after each addition. Continue adding liquid until you reach your desired consistency. For frosting that’s easy to spread, aim for a medium-thick texture. If you plan to pipe the frosting, keep it slightly thicker. For a softer, more dip-like consistency, add a little more milk. Remember that chilling the frosting later will firm it up, so it’s better to have it slightly softer than you think you need.Final Step: Fold in Chocolate Chips
Remove the bowl from the mixer stand and fold in 1 cup of mini chocolate chips using a spatula. Folding by hand prevents the chocolate chips from breaking apart and distributes them evenly throughout the frosting. Your cookie dough buttercream is now ready to use! You can spread it immediately on your baked goods, or chill it for 30 minutes if it feels too soft.Did you know? You can customize this no raw egg cookie dough icing by adding mix-ins like crushed pretzels, sprinkles, or chopped nuts for extra texture and flavor variety!

Dietary Substitutions to Customize Your Cookie Dough Frosting
This recipe is wonderfully adaptable to various dietary needs and preferences. With just a few simple swaps, you can create a version that works for everyone at your table while maintaining that delicious cookie dough taste.Protein and Main Component Alternatives
For those avoiding dairy, vegan butter works exceptionally well in this recipe. Look for a stick-style vegan butter rather than tub margarine, as it has a better fat content for frosting. Coconut cream can replace heavy cream for a rich, tropical twist. If you’re looking to add protein, consider substituting some of the flour with almond flour or finely ground oats. These alternatives not only change the nutritional profile but also add subtle flavor variations that can enhance the overall taste of your edible cookie dough buttercream.Vegetable, Sauce, and Seasoning Modifications
While this frosting doesn’t typically include vegetables, you can incorporate natural flavors like pureed pumpkin or mashed sweet potato for a seasonal variation. For chocolate lovers, add 2 tablespoons of cocoa powder to create a double chocolate version. A pinch of sea salt enhances the sweetness and balances the flavors, while a teaspoon of cinnamon or nutmeg adds warmth. Coffee lovers can dissolve 1 teaspoon of instant espresso powder in the milk before adding it to the frosting for a mocha cookie dough flavor that’s absolutely divine.Check out our collection of cake recipes that pair perfectly with this versatile frosting.
Mastering Cookie Dough Frosting: Advanced Tips and Variations
Once you’ve mastered the basic recipe, try these expert techniques and creative variations to take your cookie dough frosting to the next level. These tips will help you achieve professional results and impress everyone who tries your creations.Pro Cooking Techniques
For the smoothest texture, sift your powdered sugar before adding it to the mixture to prevent lumps. When beating the butter, make sure it’s at the perfect temperature, around 65-67°F. Too cold and it won’t cream properly; too warm and it won’t hold air. For a brown butter cookie dough frosting variation, brown the butter first and chill it until solid before creaming. This adds a wonderfully nutty, caramelized flavor that elevates the entire dessert.Flavor Variations
Experiment with different extracts to create unique flavor profiles. Almond, coconut, or maple extract work beautifully in place of or alongside vanilla. For a peanut butter cookie dough frosting, replace half the butter with creamy peanut butter. Try adding 2 tablespoons of Nutella for a hazelnut chocolate variation. For mint lovers, add ½ teaspoon of peppermint extract and use green food coloring for a festive holiday treat.Presentation Tips
This frosting pipes beautifully, so use it to create impressive swirls on cupcakes. For a stunning finish on cakes, apply a thin crumb coat first, chill for 15 minutes, then apply a final thick layer. Top with additional mini chocolate chips, a drizzle of melted chocolate, or even a whole cookie for decoration. The frosting also makes an excellent filling for cookie sandwiches or whoopie pies.Make-Ahead Options
You can prepare this frosting up to 3 days in advance. Store it in an airtight container in the refrigerator and bring it to room temperature before using. For even longer storage, freeze portions in sealed bags for up to 2 months. This makes it perfect for party planning, allowing you to prep ahead and focus on other elements of your dessert when the big day arrives.How to Store Cookie Dough Frosting: Best Practices
Proper storage ensures your cookie dough frosting stays fresh and delicious for as long as possible. Follow these guidelines to maintain quality and safety whether you’re storing it for a few days or several weeks.Refrigeration
For short-term storage, place your frosting in an airtight container and refrigerate for up to 1 week. Before using, let it sit at room temperature for 15-20 minutes to soften, then give it a quick stir or whip with a mixer to restore its creamy texture. Always use clean utensils when removing frosting from the container to prevent contamination that could shorten its shelf life.Freezing
Cookie dough frosting freezes exceptionally well. Portion it into freezer-safe bags or containers, removing as much air as possible before sealing. Label with the date and freeze for up to 2 months. To thaw, place the container in the refrigerator overnight, then bring to room temperature before using. For convenience, consider pre-portioning the frosting into piping bags before freezing for quick thawing and easy application.Reheating and Meal Prep Considerations
Never microwave frozen frosting directly, as this can cause separation and texture issues. Instead, allow it to thaw gradually in the refrigerator. For meal prep, make a double batch on the weekend and portion it for use throughout the week. This saves time on busy weekdays and ensures you always have delicious frosting ready for impromptu baking sessions.Learn more cake decorating tips on our blog to create stunning desserts with this frosting.
FAQs: Frequently Asked Questions About Cookie Dough Frosting
What is cookie dough frosting?
Is cookie dough frosting safe to eat raw?
How do you make cookie dough frosting at home?
What desserts work best with cookie dough frosting?
How long does cookie dough frosting last in the fridge?

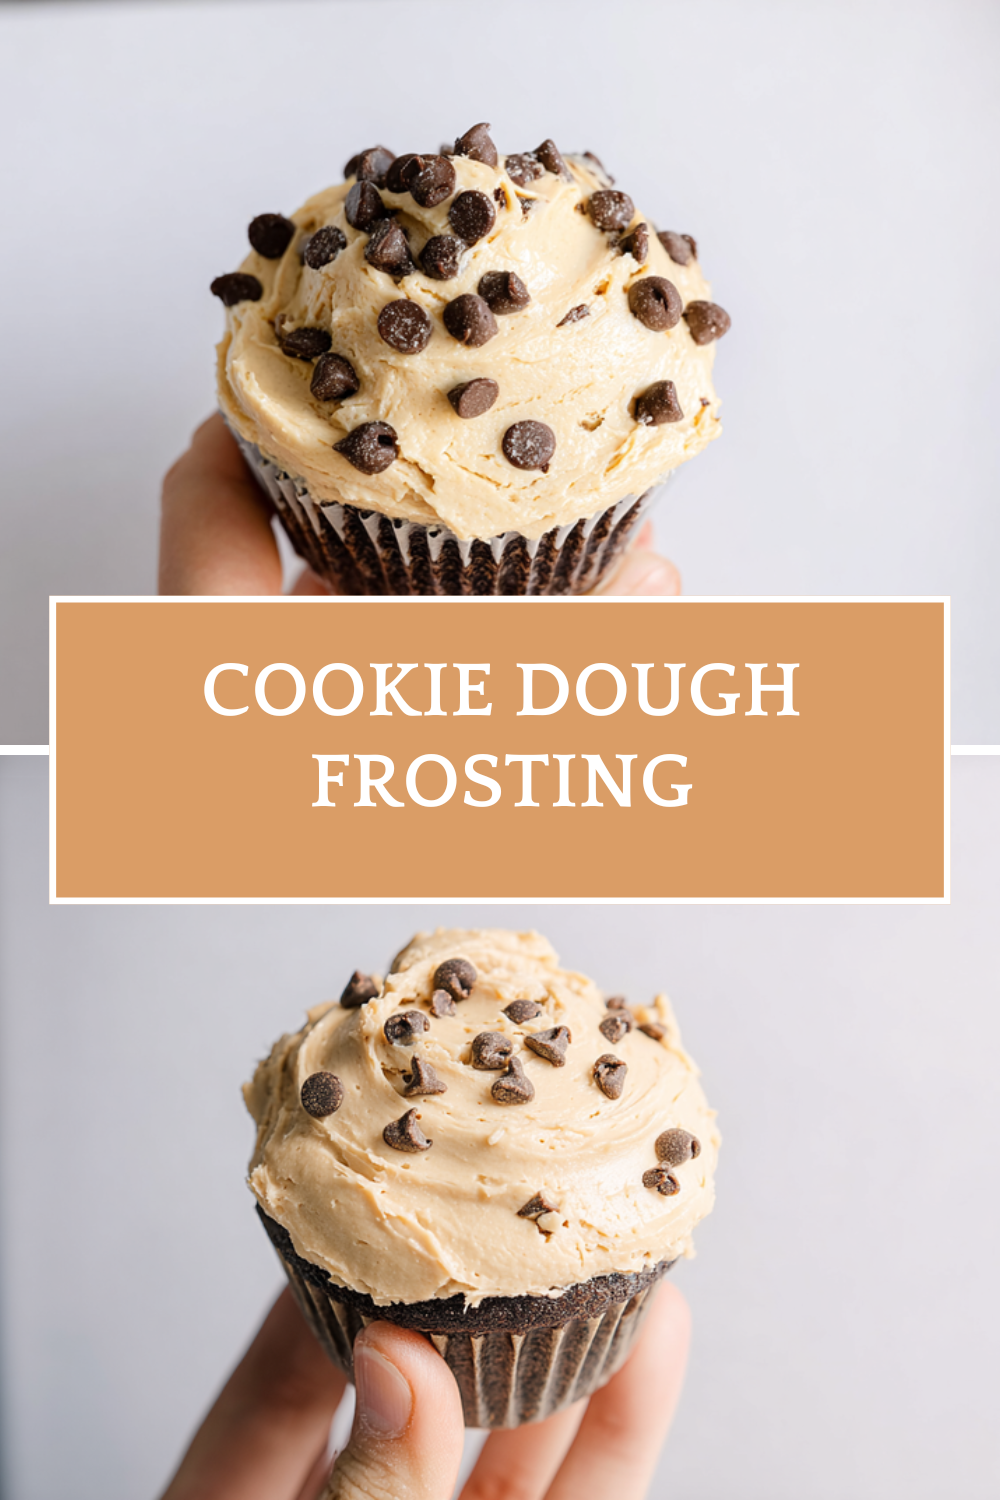
Cookie Dough Frosting
🍪 Indulge in frosting that tastes just like edible cookie dough – creamy, sweet, and loaded with chocolate chips for ultimate frosting upgrade!
🧁 Safe to eat raw with heat-treated flour; transforms cakes, cupcakes, or cookies into crowd-pleasing masterpieces everyone craves.
- Total Time: 10 minutes
- Yield: 3 cups (enough for 24 cupcakes)
Ingredients
– 1 cup softened unsalted butter for the base of our frosting, providing rich flavor and creamy texture
– ¾ cup packed brown sugar for adding deep caramel notes and that classic cookie dough taste
– 2 teaspoons vanilla extract for enhancing the overall flavor profile with warm, aromatic notes
– 2 cups heat-treated all-purpose flour for creating the dough-like texture without raw flour concerns
– 1 cup powdered sugar for adding sweetness and helps achieve the perfect spreading consistency
– 3-4 tablespoons milk or heavy cream for adjusting the frosting to your desired consistency
– 1 cup mini chocolate chips for providing authentic texture and chocolate flavor in every bite
Instructions
1-First Step: Heat-Treat the Flour Before you begin mixing, it’s crucial to heat-treat your flour to eliminate any bacteria. Spread the 2 cups of all-purpose flour in an even layer on a baking sheet. Bake at 350°F for 5-10 minutes, stirring halfway through, until the flour reaches 160°F internally. Alternatively, you can microwave the flour in 30-second intervals, stirring between each, until it reaches the safe temperature. Allow the flour to cool completely before using it in your frosting. This step is what makes this safe cookie dough suitable for eating without baking.
2-Second Step: Cream the Butter Place 1 cup of softened unsalted butter in a large mixing bowl. Using an electric mixer or stand mixer fitted with the paddle attachment, beat the butter on medium speed for about 2-3 minutes until it becomes pale, creamy, and smooth. This process incorporates air into the butter, which helps create a lighter texture in your finished frosting. If your butter is too cold, let it sit at room temperature for 30-60 minutes before starting. Cold butter won’t cream properly and will result in a lumpy frosting.
3-Third Step: Add Sugars and Vanilla Add the ¾ cup of packed brown sugar and 2 teaspoons of vanilla extract to the creamed butter. Mix on medium speed for another 2-3 minutes until the mixture is light and fluffy. The brown sugar will dissolve slightly, releasing its molasses content which contributes to that authentic cookie dough flavor. Scrape down the sides of the bowl with a spatula to ensure all ingredients are well incorporated. This chocolate chip frosting base should now look smooth and slightly lighter in color.
4-Fourth Step: Incorporate Dry Ingredients With the mixer on low speed, gradually add the cooled, heat-treated flour and 1 cup of powdered sugar. Mixing on low prevents the flour from flying out of the bowl. Once all the dry ingredients are added, increase the speed to medium and mix for 1-2 minutes until everything is combined. The mixture will look thick and somewhat like actual cookie dough at this point. This brown sugar frosting has a unique texture that’s denser than traditional buttercream but still spreadable.
5-Fifth Step: Adjust Consistency Add 3-4 tablespoons of milk or heavy cream, one tablespoon at a time, mixing after each addition. Continue adding liquid until you reach your desired consistency. For frosting that’s easy to spread, aim for a medium-thick texture. If you plan to pipe the frosting, keep it slightly thicker. For a softer, more dip-like consistency, add a little more milk. Remember that chilling the frosting later will firm it up, so it’s better to have it slightly softer than you think you need.
6-Final Step: Fold in Chocolate Chips Remove the bowl from the mixer stand and fold in 1 cup of mini chocolate chips using a spatula. Folding by hand prevents the chocolate chips from breaking apart and distributes them evenly throughout the frosting. Your cookie dough buttercream is now ready to use! You can spread it immediately on your baked goods, or chill it for 30 minutes if it feels too soft.
Last Step:
Please leave a rating and comment letting us know how you liked this recipe! This helps our business to thrive and continue providing free, high-quality recipes for you.Notes
🌡️ Always heat-treat flour first for food safety in raw frostings.
🍫 Use mini chips to avoid sinking in cakes; regular chips for cookies.
❄️ Frosting thickens when chilled; thin with milk if needed before piping.
- Prep Time: 10 minutes
- Chill: Optional
- Category: Dessert
- Method: No-Bake
- Cuisine: American
- Diet: Vegetarian
Nutrition
- Serving Size: 1/4 cup
- Calories: 250 calories
- Sugar: 25g
- Sodium: 150mg
- Fat: 15g
- Saturated Fat: 9g
- Unsaturated Fat: 5g
- Trans Fat: 0g
- Carbohydrates: 30g
- Fiber: 0g
- Protein: 1g
- Cholesterol: 40mg


