
Why You’ll Love This 7 Layer Bars
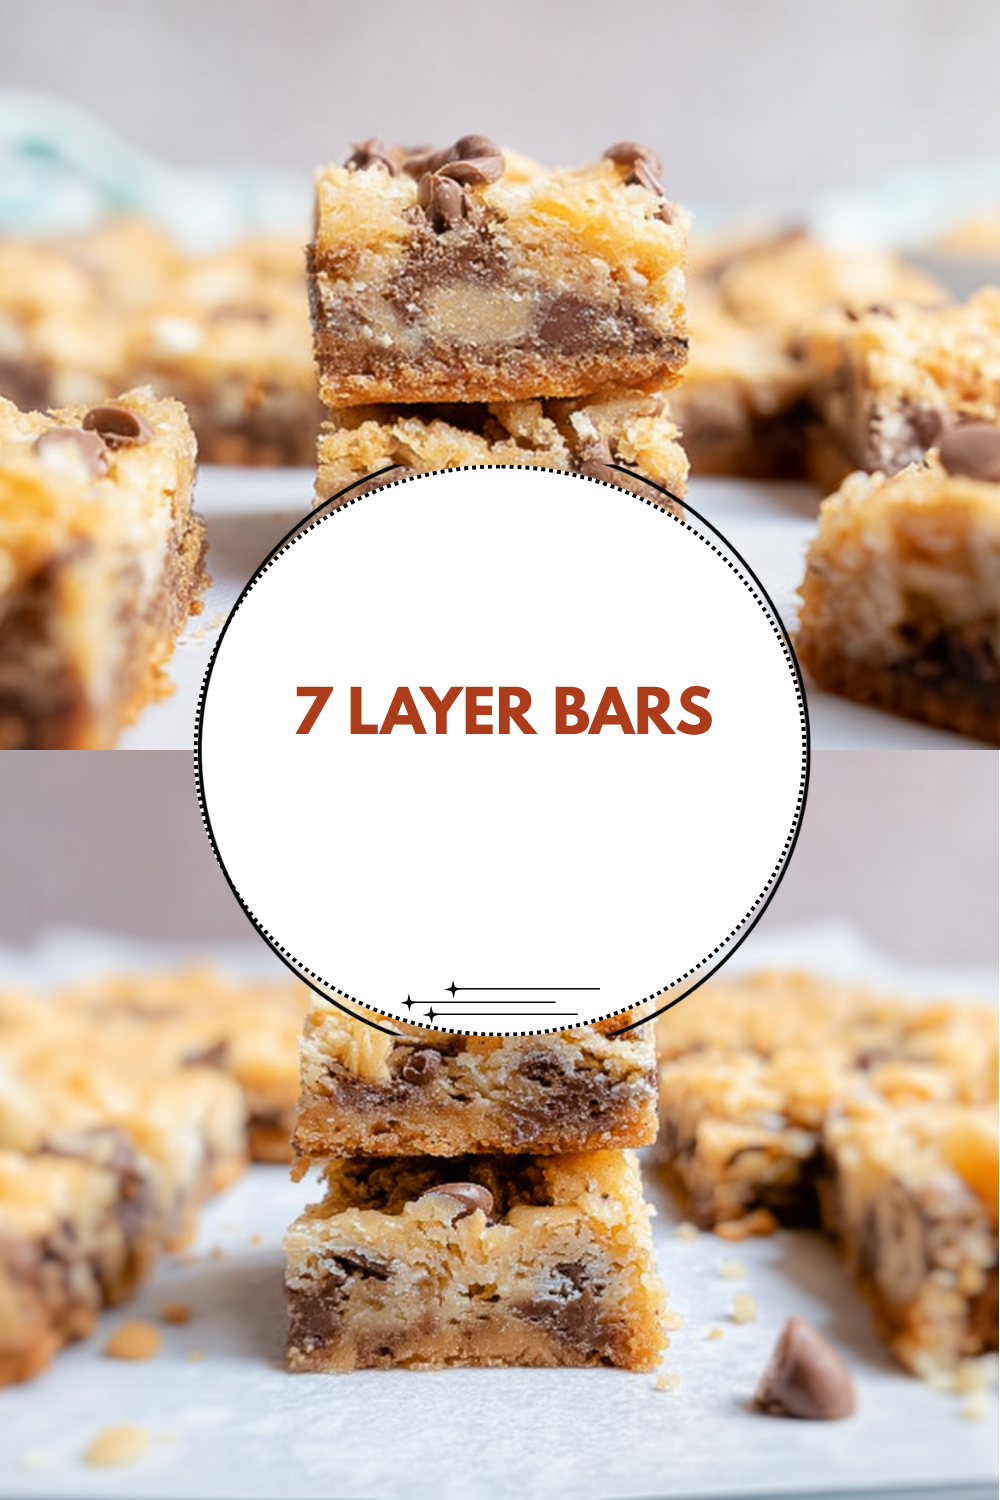
If you are looking for a dessert that impresses without the stress, this old fashioned 7 layer bars recipe is your answer. These bars, also known as magic bars or Hello Dolly bars, are a staple in kitchens for good reason. They offer a perfect balance of textures and flavors that satisfy every sweet tooth.
- Ease of preparation: You do not need advanced baking skills to make these treats. The process simply involves layering ingredients directly into a baking pan. There is no mixer required, and the prep time takes less than 15 minutes. This makes them an ideal choice for busy weeknights or when you need a last-minute dessert for a gathering.
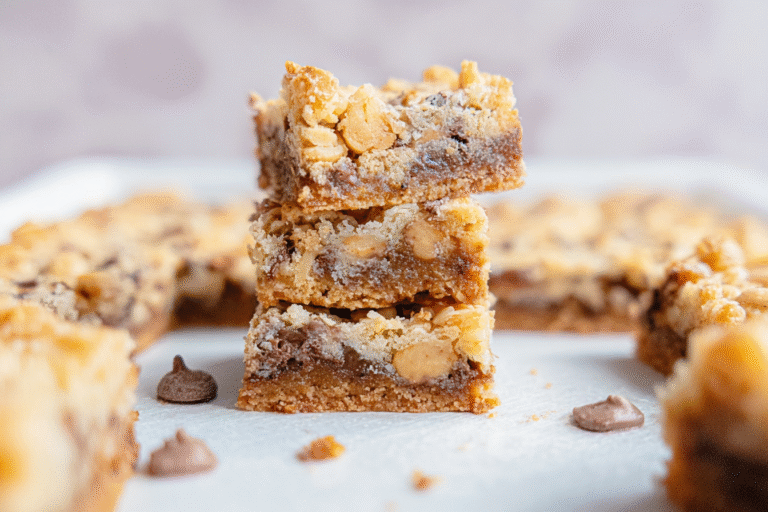
- Distinctive flavor: The combination of gooey sweetened condensed milk, rich chocolate, crunchy nuts, and toasted coconut creates a complex taste profile in every bite. The graham cracker crust adds a buttery, sandy base that holds everything together. It is a harmonious mix of sweet, salty, and nutty elements that keeps people coming back for seconds.
- Versatility: This classic seven layer bars recipe is incredibly forgiving. You can easily swap out ingredients based on what you have in your pantry or to accommodate dietary restrictions. Whether you want to add a seventh layer like white chocolate or make them nut-free for a school event, the recipe adapts beautifully to your needs.
- Health benefits: While these are certainly an indulgent treat, they do contain nutritious ingredients like nuts and coconut. Pecans or walnuts provide healthy fats and protein, while coconut offers fiber. By using high-quality dark chocolate chips, you can even add a dose of antioxidants to your homemade 7 layer bars.
Jump to:
- Why You’ll Love This 7 Layer Bars
- Essential Ingredients for 7 Layer Bars
- Main Ingredients
- Special Dietary Options
- Vegan
- Gluten-free
- Low-calorie
- How to Prepare the Perfect 7 Layer Bars: Step-by-Step Guide
- First Step: Prepare the Oven and Pan
- Second Step: Create the Graham Cracker Crust
- Third Step: Pour the Sweetened Condensed Milk
- Fourth Step: Add the Chocolate and Butterscotch Layers
- Fifth Step: Layer the Nuts and Coconut
- Sixth Step: The Seventh Layer and Baking
- Final Step: Cooling and Cutting
- Dietary Substitutions to Customize Your 7 Layer Bars
- Protein and Main Component Alternatives
- Vegetable, Sauce, and Seasoning Modifications
- Mastering 7 Layer Bars: Advanced Tips and Variations
- Pro Cooking Techniques
- Flavor Variations
- Presentation Tips
- Make-ahead Options
- How to Store 7 Layer Bars: Best Practices
- Refrigeration
- Freezing
- Reheating
- Meal Prep Considerations
- FAQs: Frequently Asked Questions About 7 Layer Bars
- What are 7 layer bars?
- How do you make 7 layer bars from scratch?
- Can you freeze 7 layer bars?
- How long do 7 layer bars last?
- What are common 7 layer bar variations?
- 7 Layer Bars
- Ingredients
- Instructions
- Last Step:
- Notes
- Nutrition
- Did you make this recipe?
Essential Ingredients for 7 Layer Bars
Gathering your ingredients is the most important part of the mise en place process. For the best results, ensure you have everything measured and ready before you start assembling the layers.
Main Ingredients
- 1 1/2 cups graham cracker crumbs – This forms the sturdy, buttery base of the dessert.
- 1/2 cup melted butter – The butter binds the crumbs together and adds rich flavor.
- 14 oz can sweetened condensed milk – This is the sticky, sweet glue that holds the layers together as they bake.
- 1 cup semi-sweet chocolate chips – Provides a classic, deep chocolate flavor.
- 1 cup butterscotch chips – Adds a unique, caramel-like sweetness that complements the chocolate.
- 1 cup chopped pecans – Offers a crunchy texture and nutty taste.
- 1 1/3 cups sweetened shredded coconut – Creates a chewy topping and toasts beautifully in the oven.
- 1 cup white chocolate chips – This is the optional seventh layer for extra creaminess.
Did you know? The combination of butterscotch and chocolate is what gives these bars their distinctive “old fashioned” taste that many of us remember from childhood.
Special Dietary Options
Making traditional recipes fit your lifestyle is easy with a few simple swaps.
Vegan
To make vegan magic bars, use vegan graham crackers, coconut oil or vegan butter instead of dairy butter, and a can of coconut condensed milk or dairy-free sweetened condensed milk. Ensure your chocolate and butterscotch chips are labeled vegan, as many contain milk fat.
Gluten-free
Use gluten-free graham crackers or crushed gluten-free vanilla wafers for the crust. Double-check that your chips and condensed milk are certified gluten-free to avoid cross-contamination.
Low-calorie
For a lighter version, use reduced-fat sweetened condensed milk and sugar-free or dark chocolate chips. You can also reduce the amount of butter in the crust slightly, though this may affect the texture.
How to Prepare the Perfect 7 Layer Bars: Step-by-Step Guide
Making the perfect batch of seven layer bars is all about the order of operations. Follow these detailed steps to ensure every layer bakes evenly and the bars cut cleanly.
First Step: Prepare the Oven and Pan
Start by preheating your oven to 350°F. This temperature is ideal for melting the chips and caramelizing the milk without burning the coconut. While the oven heats, grab a 9×13-inch baking pan. Grease the pan thoroughly with butter or cooking spray, or line it with parchment paper for easy removal. Lining the pan is highly recommended as it makes lifting the bars out for cutting much simpler.
Second Step: Create the Graham Cracker Crust
In a medium bowl, combine the 1 1/2 cups of graham cracker crumbs with the 1/2 cup of melted butter. Stir until the crumbs are evenly coated and resemble wet sand. Pour this mixture into your prepared pan. Using the back of a measuring cup or a spatula, press the crumbs firmly and evenly into the bottom of the pan. A compact crust is essential to prevent the bars from crumbling when you serve them.
Third Step: Pour the Sweetened Condensed Milk
Open the 14 oz can of sweetened condensed milk. Pour the milk evenly over the graham cracker crust. Be careful not to pour too fast, or you might disturb the crust you just pressed down. Try to cover as much of the surface area as possible. This layer acts as the binding agent for all the toppings, so even distribution ensures the bars hold together well after baking.
Fourth Step: Add the Chocolate and Butterscotch Layers
Sprinkle the 1 cup of semi-sweet chocolate chips evenly over the condensed milk. Follow this immediately with the 1 cup of butterscotch chips. Spreading them out in separate layers rather than mixing them helps distinct flavors shine through in every bite. However, they will naturally merge slightly as they melt, creating a marbled, gooey effect.
Fifth Step: Layer the Nuts and Coconut
Next, sprinkle the 1 cup of chopped pecans over the chocolate and butterscotch layers. If you prefer walnuts or have a nut allergy, you can swap these out. Finally, top everything with the 1 1/3 cups of sweetened shredded coconut. The coconut layer protects the ingredients underneath from burning too quickly and adds a delightful crunch once toasted.
Sixth Step: The Seventh Layer and Baking
If you want to stick to the name “seven layer bars,” sprinkle the 1 cup of white chocolate chips as your final layer. Place the pan in the preheated oven and bake for 25 to 30 minutes. You will know the bars are done when the edges are golden brown and the coconut has toasted to a light brown color. The center should still look slightly jiggly, but it will set as it cools.
Final Step: Cooling and Cutting
This is the hardest part, waiting. Remove the pan from the oven and place it on a wire rack. You must let the bars cool completely before attempting to cut them. If you cut them while they are warm, they will likely fall apart. Cooling allows the sweetened condensed milk to firm up and act like glue. Once cool, use a sharp knife to cut them into squares. For the cleanest cuts, dip your knife in hot water and wipe it clean between each slice.
| Ingredient | Quantity |
|---|---|
| Graham Cracker Crumbs | 1 1/2 cups |
| Melted Butter | 1/2 cup |
| Sweetened Condensed Milk | 14 oz can |
| Semi-Sweet Chocolate Chips | 1 cup |
| Butterscotch Chips | 1 cup |
| Chopped Pecans | 1 cup |
| Sweetened Shredded Coconut | 1 1/3 cups |

Dietary Substitutions to Customize Your 7 Layer Bars
One of the best things about this recipe is how adaptable it is. You can easily modify the ingredients to suit various dietary needs or simply to use what you have in your pantry.
Protein and Main Component Alternatives
The nuts in this recipe provide a good source of protein and healthy fats, but you can adjust this layer based on your preferences. If you have a nut allergy, replace the pecans with sunflower seeds, pumpkin seeds, or extra coconut for a nut-free version that still offers crunch. For those looking to boost the protein content further, consider adding a layer of chopped almonds or walnuts instead of pecans. If you prefer a softer texture, you can omit the nuts entirely, though the bars will be less crunchy.
Vegetable, Sauce, and Seasoning Modifications
While traditional magic cookie bars do not typically include vegetables, you can introduce flavors that add depth. A pinch of sea salt sprinkled over the top before baking can contrast the sweetness beautifully. For the “sauce” component, which is the sweetened condensed milk, you can use dulce de leche for a richer, more caramel-heavy flavor. If you want to add a festive touch during the holidays, mix in dried cranberries or chopped dried cherries with the chocolate chips. You can also swap the butterscotch chips for peanut butter chips or white chocolate chips to completely change the flavor profile.
Mastering 7 Layer Bars: Advanced Tips and Variations
Once you have mastered the basic recipe, there are several techniques and creative twists you can use to make your bars stand out even more.
Pro Cooking Techniques
For a consistently thick crust, ensure you pack the graham cracker crumbs down tightly with the bottom of a flat measuring cup. If the crust is too loose, the condensed milk will seep underneath, making the bars soggy. Another tip is to rotate the pan halfway through the baking time. This ensures even browning, especially if your oven has hot spots. Finally, always use room temperature ingredients, specifically the condensed milk, to ensure it pours evenly over the crust.
Flavor Variations
Do not be afraid to experiment with different types of chips. A salted caramel chip version is incredibly popular. You can also create a “Tropical” version by using macadamia nuts instead of pecans and adding dried pineapple chunks with the coconut. For a “Mounds” bar vibe, double the coconut and use only dark chocolate chips. Easy 7 layer bars can also be made into a “S’mores” version by using milk chocolate chips and swapping the coconut for mini marshmallows, adding them in the last 5 minutes of baking so they do not burn.
Presentation Tips
To make these bars look professional, cut them into uniform squares. Wiping the knife off between cuts keeps the edges neat. You can also drizzle melted white chocolate or caramel sauce over the top after they have cooled for an elegant finish. Serving them on a wooden board or a colorful platter makes them perfect for parties.
Make-ahead Options
These bars are excellent for making ahead of time. You can prepare the crust and store it in the fridge covered for up to a day before baking. Alternatively, bake the entire batch, cool it completely, wrap it tightly in plastic wrap and foil, and freeze it before cutting. This way, you can pull out a whole pan, thaw it, and cut fresh squares right before a party.
How to Store 7 Layer Bars: Best Practices
Proper storage ensures your bars stay fresh and delicious for as long as possible. Because they contain milk and butter, knowing how to store them correctly is key.
Refrigeration
For short-term storage, keep the bars in an airtight container at room temperature. They will stay fresh for up to 5 days. However, if your kitchen is particularly warm or you prefer a firmer texture, you can store them in the refrigerator. When refrigerated, they will last for 1 to 2 weeks. Just be aware that cold bars are harder to cut, so let them sit at room temperature for about 15 minutes before serving.
Freezing
Yes, you can freeze 7 layer bars! To do this, first ensure the bars are completely cool. Cut them into squares if you prefer individual portions, or freeze the whole uncut slab. Wrap the bars tightly in plastic wrap and then place them in a freezer-safe bag or container. They will keep well in the freezer for up to 3 months. Thaw them overnight in the refrigerator or on the counter for a few hours before enjoying.
Reheating
While these are typically eaten at room temperature or chilled, you can enjoy them warm. Microwave a single bar for about 10 to 15 seconds for a gooey, fresh-from-the-oven texture. Avoid microwaving them for too long, or the chocolate and coconut will become too hot to handle and may lose their texture.
Meal Prep Considerations
These bars are fantastic for meal prep or batch cooking for school lunches and office treats. Baking a double batch on the weekend can provide desserts for weeks. If storing in layers within a container, separate the layers with parchment paper to prevent the bars from sticking to each other.
FAQs: Frequently Asked Questions About 7 Layer Bars
What are 7 layer bars?
How do you make 7 layer bars from scratch?
Can you freeze 7 layer bars?
How long do 7 layer bars last?
What are common 7 layer bar variations?
7 Layer Bars
🍫🥥 Nostalgic gooey 7-layer magic bars loaded with chocolate, coconut, nuts, and caramelized sweetness – pure indulgence!
✨ Effortless assembly, no mixing needed; bakes into chewy, decadent squares everyone craves.
- Total Time: 2 hours 37 minutes
- Yield: 24 bars
Ingredients
– 1 1/2 cups graham cracker crumbs for sturdy, buttery base
– 1/2 cup melted butter for binding crumbs together and adding rich flavor
– 14 oz can sweetened condensed milk for holding layers together as they bake
– 1 cup semi-sweet chocolate chips for classic, deep chocolate flavor
– 1 cup butterscotch chips for unique, caramel-like sweetness
– 1 cup chopped pecans for crunchy texture and nutty taste
– 1 1/3 cups sweetened shredded coconut for chewy topping
– 1 cup white chocolate chips for optional seventh layer extra creaminess
Instructions
1-First Step: Prepare the Oven and Pan Start by preheating your oven to 350°F. This temperature is ideal for melting the chips and caramelizing the milk without burning the coconut. While the oven heats, grab a 9×13-inch baking pan. Grease the pan thoroughly with butter or cooking spray, or line it with parchment paper for easy removal. Lining the pan is highly recommended as it makes lifting the bars out for cutting much simpler.
2-Second Step: Create the Graham Cracker Crust In a medium bowl, combine the 1 1/2 cups of graham cracker crumbs with the 1/2 cup of melted butter. Stir until the crumbs are evenly coated and resemble wet sand. Pour this mixture into your prepared pan. Using the back of a measuring cup or a spatula, press the crumbs firmly and evenly into the bottom of the pan. A compact crust is essential to prevent the bars from crumbling when you serve them.
3-Third Step: Pour the Sweetened Condensed Milk Open the 14 oz can of sweetened condensed milk. Pour the milk evenly over the graham cracker crust. Be careful not to pour too fast, or you might disturb the crust you just pressed down. Try to cover as much of the surface area as possible. This layer acts as the binding agent for all the toppings, so even distribution ensures the bars hold together well after baking.
4-Fourth Step: Add the Chocolate and Butterscotch Layers Sprinkle the 1 cup of semi-sweet chocolate chips evenly over the condensed milk. Follow this immediately with the 1 cup of butterscotch chips. Spreading them out in separate layers rather than mixing them helps distinct flavors shine through in every bite. However, they will naturally merge slightly as they melt, creating a marbled, gooey effect.
5-Fifth Step: Layer the Nuts and Coconut Next, sprinkle the 1 cup of chopped pecans over the chocolate and butterscotch layers. If you prefer walnuts or have a nut allergy, you can swap these out. Finally, top everything with the 1 1/3 cups of sweetened shredded coconut. The coconut layer protects the ingredients underneath from burning too quickly and adds a delightful crunch once toasted.
6-Sixth Step: The Seventh Layer and Baking If you want to stick to the name “seven layer bars,” sprinkle the 1 cup of white chocolate chips as your final layer. Place the pan in the preheated oven and bake for 25 to 30 minutes. You will know the bars are done when the edges are golden brown and the coconut has toasted to a light brown color. The center should still look slightly jiggly, but it will set as it cools.
7-Final Step: Cooling and Cutting This is the hardest part, waiting. Remove the pan from the oven and place it on a wire rack. You must let the bars cool completely before attempting to cut them. If you cut them while they are warm, they will likely fall apart. Cooling allows the sweetened condensed milk to firm up and act like glue. Once cool, use a sharp knife to cut them into squares. For the cleanest cuts, dip your knife in hot water and wipe it clean between each slice.
Last Step:
Please leave a rating and comment letting us know how you liked this recipe! This helps our business to thrive and continue providing free, high-quality recipes for you.Notes
⏳ Cool completely before cutting – they’ll firm up perfectly.
🔥 Toast nuts and coconut lightly first for deeper flavor.
🍬 Press layers gently; milk soaks through for gooey magic.
- Prep Time: 10 minutes
- Cool: 2 hours
- Cook Time: 27 minutes
- Category: Dessert
- Method: Baking
- Cuisine: American
- Diet: Vegetarian
Nutrition
- Serving Size: 1 bar
- Calories: 280 calories
- Sugar: 25g
- Sodium: 140mg
- Fat: 16g
- Saturated Fat: 8g
- Unsaturated Fat: 7g
- Trans Fat: 0g
- Carbohydrates: 32g
- Fiber: 1g
- Protein: 4g
- Cholesterol: 20mg


